
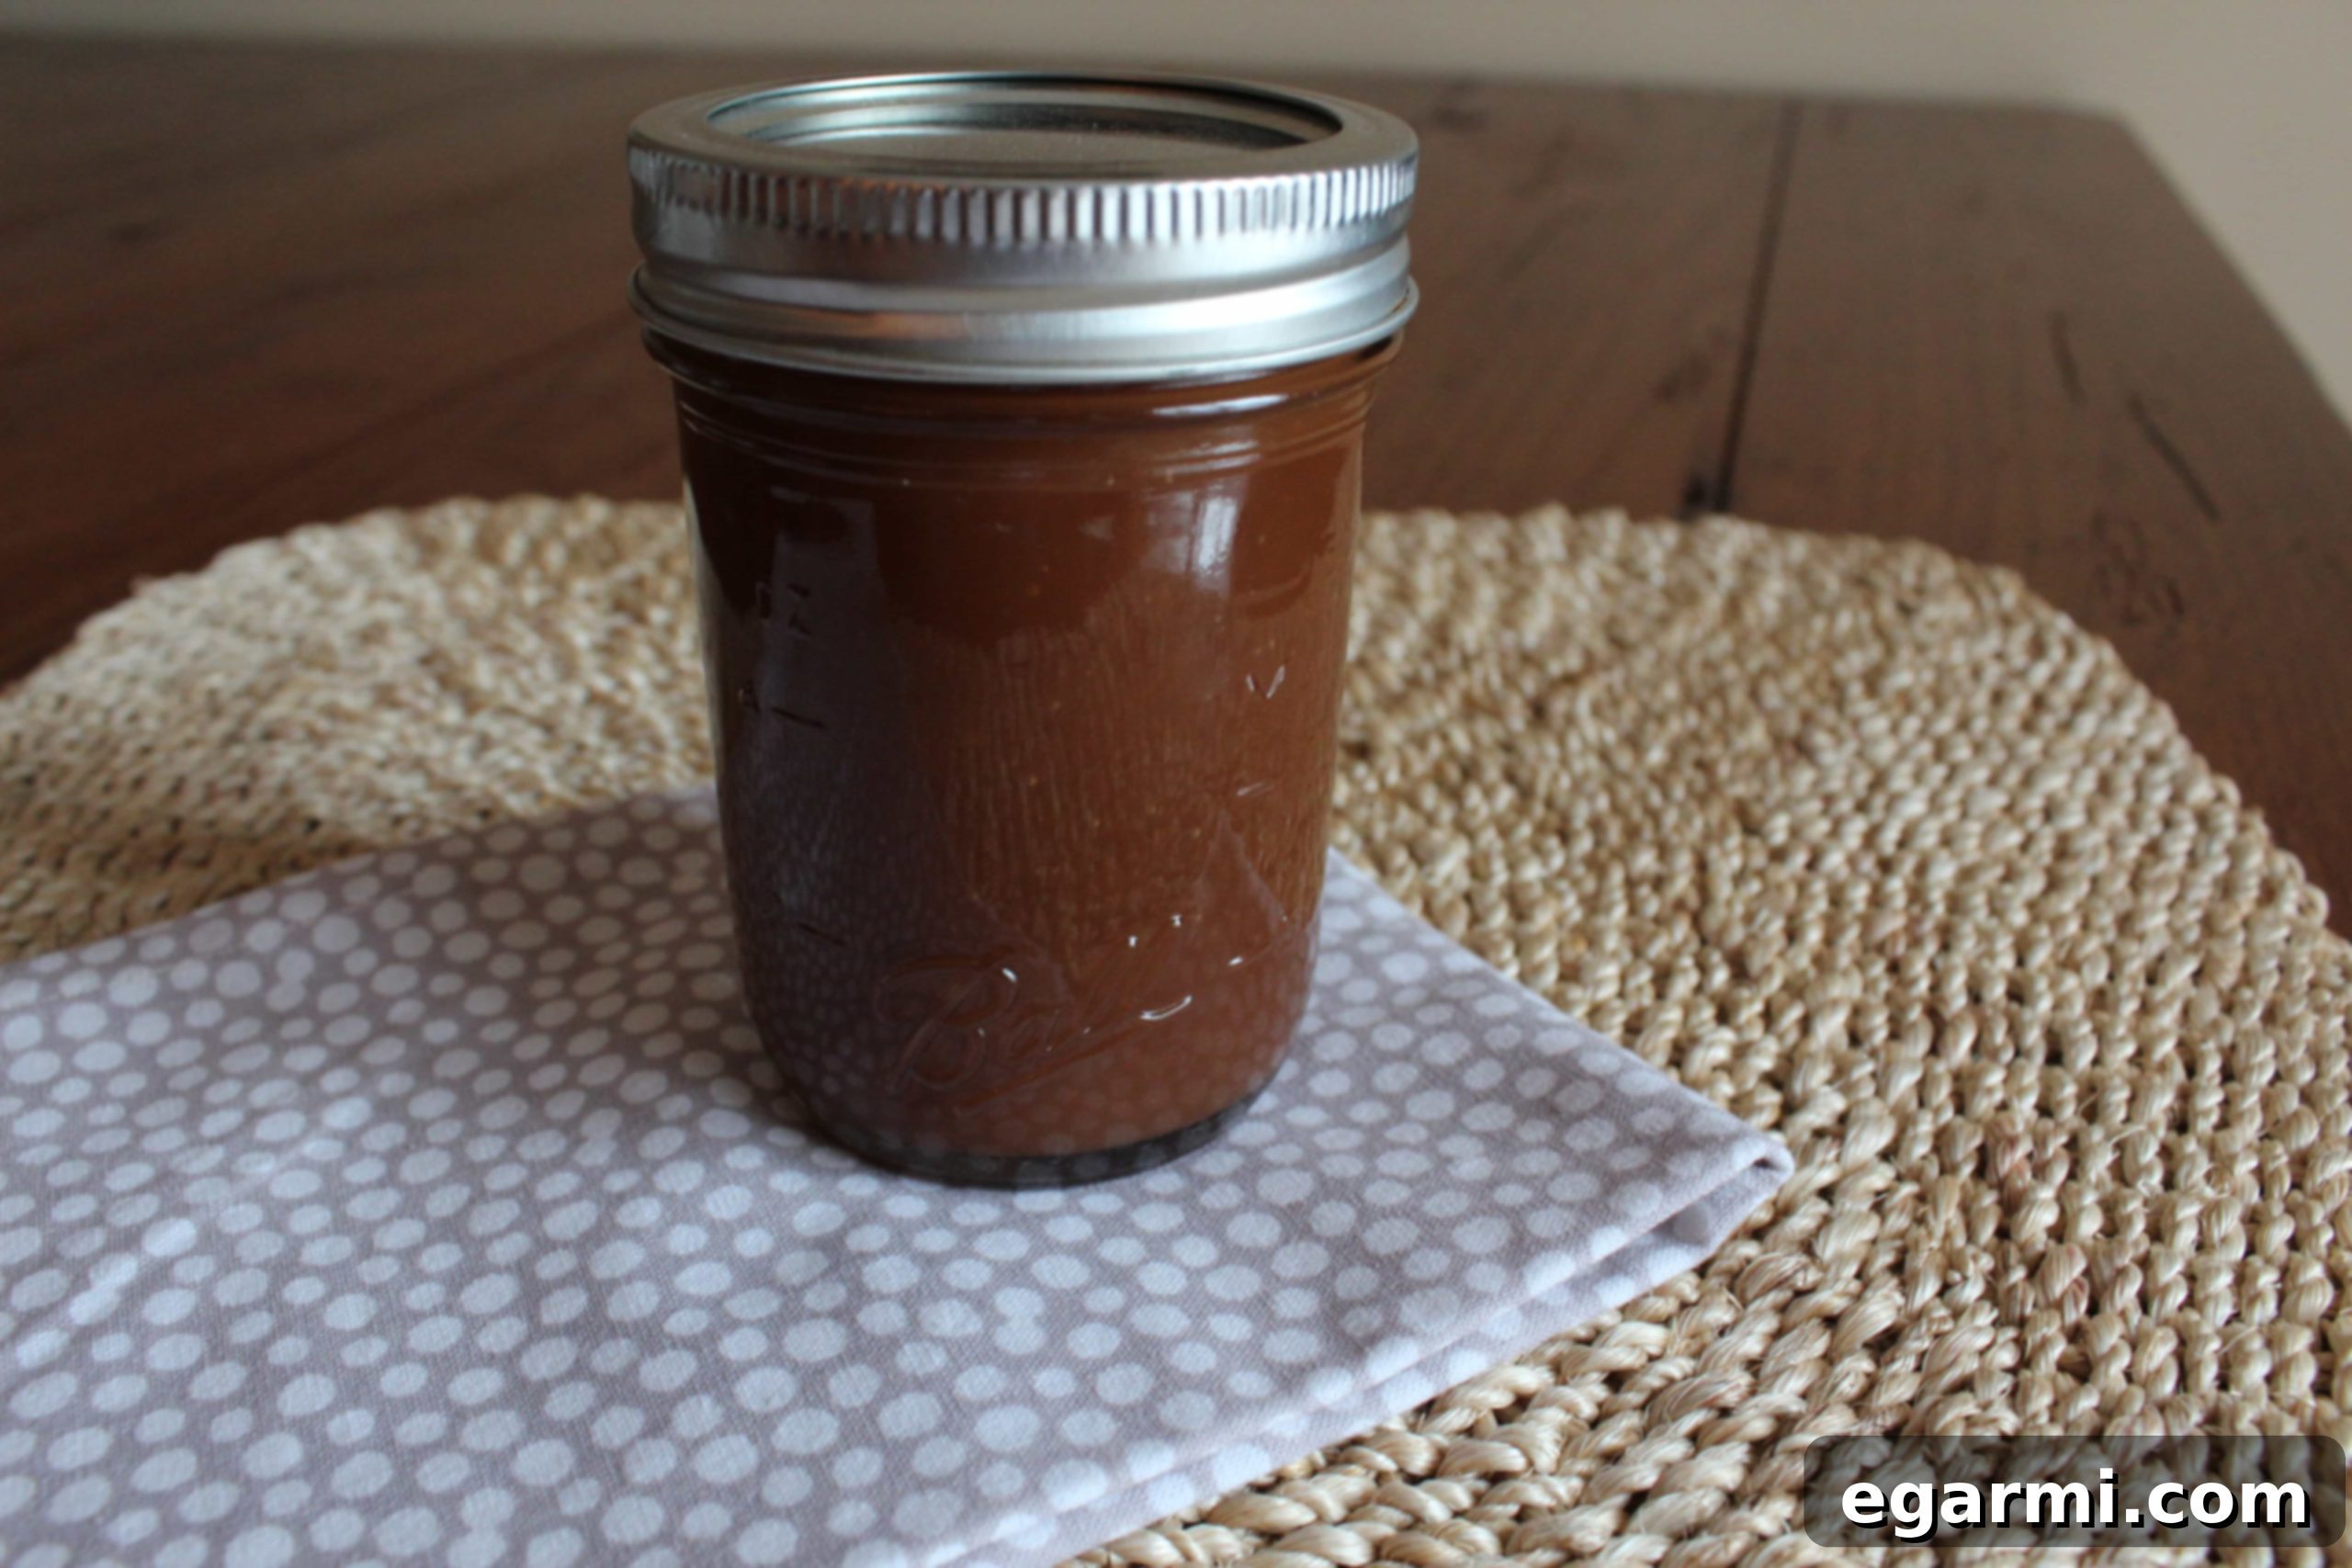
The allure of a perfectly crafted caramel sauce is undeniable. Its golden hue, rich aroma, and luscious texture have captivated taste buds for centuries, transforming ordinary desserts and beverages into extraordinary culinary experiences. While store-bought options offer convenience, nothing quite compares to the depth of flavor and the satisfying velvety smoothness of homemade caramel. This comprehensive guide will not only demystify the process of making your own sublime caramel sauce but also inspire you with countless ways to incorporate this versatile golden elixir into your daily life.
Imagine starting your day with a gourmet coffee, enhanced by a generous swirl of the finest caramel you’ve ever tasted, all from the comfort of your kitchen. Or elevating a simple scoop of vanilla ice cream, a slice of warm apple pie, or even your morning oatmeal with a decadent drizzle that speaks of artisanal quality. Homemade caramel sauce is not merely a condiment; it’s an invitation to creativity, a testament to the fact that the most luxurious treats often begin with the simplest ingredients and a little patience. Beyond the unparalleled taste, making your own caramel is surprisingly easy, significantly more cost-effective, and allows you to control exactly what goes into your food, ensuring a pure, unadulterated flavor experience.
Forget the notion that crafting caramel is a daunting task reserved for professional chefs. We’re here to debunk that myth and empower you with the knowledge and confidence to create a batch of creamy, dreamy caramel sauce that will keep you coming back for more. This recipe is designed to be straightforward, forgiving, and incredibly rewarding, proving that culinary magic is well within your reach. Prepare to unlock a world of sweet possibilities and discover why making your own caramel sauce is a culinary game-changer.
Why Homemade Caramel Sauce Reigns Supreme: Taste, Value, and Versatility
In a world brimming with convenient food options, one might wonder why dedicate time to making something from scratch when a store-bought version is readily available. The answer, especially for caramel sauce, lies in a trifecta of superior taste, incredible value, and unparalleled versatility. Once you experience the rich, complex flavors of homemade caramel, there’s simply no turning back.
Unmatched Flavor and Quality
Commercially produced caramel sauces often rely on corn syrup, artificial flavors, and preservatives to achieve their desired consistency and shelf life. The result is typically a thin, overly sweet syrup that lacks the nuanced, buttery, and slightly toasted notes that define true caramel. Homemade caramel, made with just a few core ingredients – sugar, water, and cream – offers a depth of flavor that is simply unattainable from a bottle. You control the level of caramelization, allowing for a spectrum of tastes from light and sweet to deep and smoky. This purity of ingredients translates into a product that not only tastes better but feels better too, free from unnecessary additives.
Economical and Abundant
One of the most compelling reasons to make your own caramel sauce is the sheer economic advantage. The cost of a small jar of premium caramel sauce from a gourmet store can be surprisingly high. In contrast, the ingredients for a substantial batch of homemade caramel are inexpensive and widely accessible. Sugar, water, and heavy cream are pantry staples for many, and buying them in bulk allows you to produce a far greater quantity of superior quality caramel for a fraction of the price. This means more caramel for your coffee, more for your desserts, and even enough to share with friends and family!
A Universe of Culinary Applications
The versatility of homemade caramel sauce is truly astonishing, making it a staple in any adventurous kitchen. It transcends the role of a simple dessert topping, opening up a world of creative possibilities:
- Coffee and Beverages: Transform your daily coffee, latte, or cappuccino into a barista-quality drink. It’s also fantastic in hot chocolate, milkshakes, and even some dessert cocktails.
- Dessert Topping Extraordinaire: Drizzle generously over classic vanilla ice cream, warm apple pie, cheesecake, brownies, or fresh fruit salads.
- Baking and Pastries: Incorporate it into cake batters, swirl it into brownie mixes, use it as a filling for tarts, crepes, or doughnuts, or as a glaze for pastries.
- Breakfast Bliss: Elevate your morning oatmeal, pancakes, waffles, or French toast with a luxurious caramel finish.
- Savory Pairings: While predominantly sweet, a hint of caramel can add complexity to savory dishes, such as a glaze for roasted pork or chicken, offering a delightful sweet-and-savory contrast.
- Homemade Gifts: Bottle your homemade caramel sauce in attractive jars, and you have a thoughtful, delicious, and deeply appreciated gift for any occasion.
The possibilities are virtually endless, and having a batch of homemade caramel sauce in your refrigerator means you’re always just a drizzle away from elevating almost any sweet treat.
Mastering the Art of Caramel: A Step-by-Step Guide
Creating caramel sauce might seem intimidating to some, but with careful attention to detail and a clear understanding of the process, it’s remarkably straightforward. You don’t need fancy equipment like a candy thermometer; your eyes and nose will be your best guides. The key is vigilance and confidence.
Essential Ingredients & Tools:
- 1 ½ cups granulated sugar
- 1 ¼ cups heavy cream
- ⅓ cup water
- A medium, heavy-bottomed saucepan (crucial for even heat distribution and preventing burning)
- A heat-proof whisk
- A heat-proof bowl or jar for cooling and storage
- Oven mitts or heat-resistant gloves for safety
Phase 1: The Caramelization Process – Sugar and Water Transform
Begin by adding the 1 ½ cups of granulated sugar and ⅓ cup of water to your medium, heavy-bottomed saucepan. Stir these two ingredients together gently until the sugar is fully moistened and resembles wet sand. This initial stir is absolutely critical, as it’s the only time you should stir the mixture during the caramelization process. Stirring once the cooking has begun can introduce air bubbles, which can cause the sugar crystals to clump together and recrystallize, leading to a grainy, seized caramel. Avoid this common pitfall by resisting the urge to stir once heat is applied.
Place the saucepan over medium-high heat. Your goal here is to bring the sugar and water mixture to a boil. As it boils, the water will evaporate, and the sugar will begin to cook. Do not walk away from the stove during this phase; caramel can go from perfectly golden to burnt in a matter of seconds. Continuously observe the mixture. You’ll first see clear bubbles, then the edges will start to turn a light golden color. Gradually, this golden color will spread towards the center. You are looking for a beautiful, rich amber-brown hue, similar to the color of an old penny or dark honey. This typically takes anywhere from 10 to 15 minutes, but visual cues are more reliable than strict timing.
Resist the temptation to stir or swirl the pan excessively. If you notice some sugar crystals forming on the sides of the pan, you can gently brush them down with a wet pastry brush, but avoid introducing anything into the boiling sugar itself. The amber color indicates a perfectly caramelized sugar, which will yield a complex and nutty flavor. A lighter color will result in a milder, sweeter caramel, while a darker color risks a burnt, bitter taste.
Phase 2: The Creamy Infusion – Adding the Heavy Cream
Once your sugar mixture has achieved that ideal amber-brown color, immediately remove the saucepan from the heat. This step is crucial to prevent further cooking and potential burning. Have your heavy cream measured and ready beside you, along with your whisk. Now, with caution and deliberate action, slowly pour the 1 ¼ cups of heavy cream into the hot caramelized sugar. Be prepared for a vigorous reaction – the mixture will bubble up violently, hiss, and release a significant amount of steam. This is completely normal and expected due to the extreme temperature difference between the hot sugar and the cooler cream. Stand back slightly to avoid any splattering of the incredibly hot mixture.
As you pour and whisk, you might notice the caramel momentarily solidifying into a hard, sugary mass. Do not panic! This is also a normal part of the process. Continue whisking constantly and confidently. The residual heat from the pan and the hot cream will work together to re-liquefy the solid caramel. Your whisk is your best friend here, helping to break down any lumps and incorporate the cream thoroughly.
Phase 3: Achieving Silky Smoothness – Simmering to Perfection
After incorporating the cream and whisking out the initial lumps, place the saucepan back on the burner, reducing the heat to low. Continue to whisk constantly for approximately 2 minutes. During this stage, any remaining solidified caramel will fully dissolve, and the sauce will come together into a beautifully smooth, homogeneous mixture. The continuous whisking ensures even melting and helps prevent anything from sticking to the bottom of the pan. You’ll notice the sauce taking on a cohesive, creamy texture and a consistent golden-brown color.
Once you achieve this smooth consistency, remove the saucepan from the heat. Your luscious homemade caramel sauce is nearly complete! Pour the hot sauce into a clean, heat-proof bowl or jar. It will appear quite thin at this stage, but rest assured, it will thicken considerably as it cools.
Phase 4: Cooling and Storage – The Patience for Perfection
Allow the caramel sauce to cool completely at room temperature. This typically takes a minimum of 2-4 hours, or even longer depending on the ambient temperature. Resist the urge to rush this step by placing it directly into the refrigerator, as rapid cooling can sometimes affect the texture. As it cools, the sauce will thicken to that desirable rich, pourable consistency. Once it has reached room temperature, transfer the homemade caramel sauce to an airtight container. A Mason jar works perfectly for this purpose.
Store your freshly made caramel sauce in the refrigerator. When properly stored, it will maintain its exquisite flavor and texture for at least 2 to 3 weeks. If the sauce becomes too firm in the refrigerator, simply scoop out the desired amount and gently warm it in a microwave-safe bowl for a few seconds, or in a small saucepan over low heat, stirring until it reaches your preferred consistency. Avoid overheating, as this can alter its texture.
Troubleshooting Common Caramel-Making Hurdles
Even with the clearest instructions, sometimes things can go awry in the kitchen. Here are some common issues you might encounter when making caramel and how to either prevent or fix them:
Crystallization: The Grainy Monster
This is perhaps the most common frustration for novice caramel makers. Crystallization occurs when sugar crystals, often microscopic, begin to aggregate, turning your smooth caramel into a grainy, unappetizing mess. It’s usually triggered by:
- Stirring too early: Remember, only stir the sugar and water at the very beginning.
- Impurities: Bits of food or dust in the pan can act as nucleation points for crystals. Ensure your pan is impeccably clean.
- Splashing on the sides: Sugar syrup splashed on the sides of the pan can dry and form crystals, which then fall back into the liquid.
Prevention: Stick to the no-stir rule. Use a wet pastry brush to gently wash down any sugar crystals that form on the sides of the pan during boiling. Ensure your equipment is spotless.
Fix: If your caramel crystallizes, it can sometimes be salvaged. Add a small amount of water (about ¼ cup) to the crystallized mixture, bring it to a boil, and stir until the crystals dissolve. You might need to add a touch of acid like lemon juice or cream of tartar (a pinch) to help prevent re-crystallization, but this can affect flavor. If it’s too far gone, it’s often best to start fresh.
Burning: The Bitter Truth
Caramel can go from perfectly golden to deeply bitter and burnt in mere seconds. This is why vigilance is paramount. There’s no fixing burnt caramel; once the sugar burns, it imparts a harsh, acrid taste that will permeate the entire batch.
Prevention: Never walk away from your pot of caramel. Use a heavy-bottomed pan for even heat distribution. As soon as you see the desired amber color, remove it from the heat immediately. Err on the side of a slightly lighter caramel if you’re unsure.
Caramel Not Thickening: Too Runny
If your caramel remains too thin even after cooling, it could be due to:
- Insufficient cooking time: The sugar might not have reached a high enough temperature to caramelize properly.
- Incorrect ingredient ratios: Too much water or too little sugar/cream can result in a thinner sauce.
- Not enough cooling time: Caramel thickens considerably as it cools. Ensure it has ample time at room temperature before chilling.
Fix: If it’s too thin after cooling, you can gently reheat it in a saucepan over low heat, allowing it to simmer and reduce for a few more minutes, stirring constantly. Be careful not to re-caramelize the sugar too much or burn it. If the issue is incorrect ratios, it might be challenging to fix without affecting the flavor profile significantly.
Splattering When Adding Cream: Safety First!
The reaction when cold cream hits hot sugar is intense. Splattering is common and dangerous.
Prevention: Always stand back when adding the cream. Use oven mitts or heat-resistant gloves. Pour the cream slowly and steadily. Ensure the saucepan is large enough to accommodate the bubbling without overflowing.
Creative Variations for Your Homemade Caramel
While classic caramel sauce is perfect on its own, its versatility extends to various delightful flavor enhancements:
- Sea Salt Caramel: Stir in ½ to 1 teaspoon of flaky sea salt (like Maldon) at the very end, after removing the sauce from the heat, for a sophisticated sweet and salty kick.
- Vanilla Bean Caramel: Add a vanilla bean pod (split and scraped) to the heavy cream as it warms, or stir in 1-2 teaspoons of high-quality vanilla extract after the sauce has finished cooking and is off the heat.
- Spiced Caramel: Infuse the cream with cinnamon sticks, star anise, or cardamom pods while it warms, then strain before adding to the sugar.
- Boozy Caramel: A tablespoon or two of bourbon, rum, or Grand Marnier can be added with the cream for an adult twist.
The Sweet Reward of Homemade Perfection
Embarking on the journey of making your own caramel sauce is a deeply rewarding experience. From the mesmerizing transformation of sugar into a golden elixir to the intoxicating aroma that fills your kitchen, every step is a testament to the magic of simple ingredients. This rich, creamy, and undeniably delicious sauce is more than just a topping; it’s a culinary masterpiece that enhances every dish it touches, a testament to your newfound skill, and a delightful indulgence that’s surprisingly easy to achieve.
So, gather your ingredients, take a deep breath, and let the magic unfold. You’re now equipped with all the knowledge and tips to create the best homemade caramel sauce you’ve ever tasted. Enjoy the process, savor the results, and prepare to impress yourself and everyone around you with your exquisite culinary creation.
Love and sweet treats,
The Messy Baker
Classic Homemade Caramel Sauce Recipe
This recipe yields a rich, versatile caramel sauce perfect for coffee, ice cream, pies, and more. It’s surprisingly simple and far superior to store-bought varieties.
Ingredients:
- 1 ½ cups granulated sugar
- 1 ¼ cups heavy cream (at room temperature or slightly warmed for best results)
- ⅓ cup water
- Optional: ½ teaspoon vanilla extract (added at the end)
- Optional: ¼ teaspoon flaky sea salt for salted caramel
Instructions:
- Prepare the Sugar Syrup: In a medium-sized, heavy-bottomed saucepan, combine the granulated sugar and water. Stir gently with a wooden spoon or spatula until the sugar is fully moistened. This is the only time you should stir the mixture to prevent crystallization.
- Caramelize the Sugar: Place the saucepan over medium-high heat. Bring the mixture to a boil. Do not stir from this point onward. Allow the sugar to cook, undisturbed, for about 10-15 minutes, or until it transforms into a beautiful, deep amber-brown color. Watch it carefully, as it can burn quickly.
- Safety First: Once the sugar reaches the desired color, immediately remove the saucepan from the heat. Stand back to avoid splattering, as the next step will cause a vigorous reaction.
- Add the Cream: Slowly and carefully pour the heavy cream into the hot caramelized sugar. The mixture will bubble violently, hiss, and release a lot of steam. It may also solidify initially. Whisk vigorously and continuously to incorporate the cream and melt any solidified caramel chunks. Do not panic; this is normal.
- Achieve Smoothness: Return the saucepan to the burner and reduce the heat to low. Continue whisking constantly for about 2 minutes, ensuring all sugar lumps dissolve and the sauce becomes perfectly smooth and creamy.
- Cool and Thicken: Remove the sauce from the heat and pour it into a clean, heat-proof bowl or jar. Let it cool completely at room temperature for at least 2-4 hours. The sauce will thicken significantly as it cools.
- Store: Once cooled, transfer the caramel sauce to an airtight container and store it in the refrigerator for up to 2-3 weeks. To use, simply warm a desired amount gently in the microwave or a small saucepan until it reaches your preferred pourable consistency.