
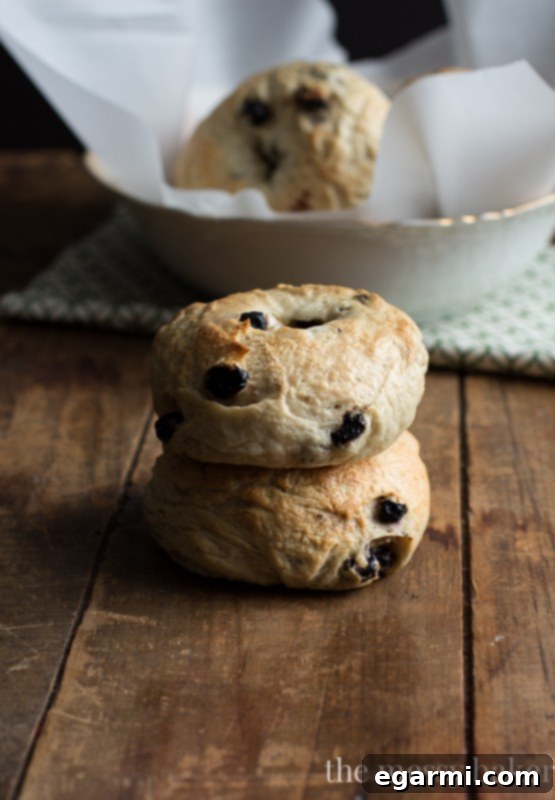
Discover the ultimate guide to crafting irresistible, chewy honey wheat blueberry bagels from scratch!
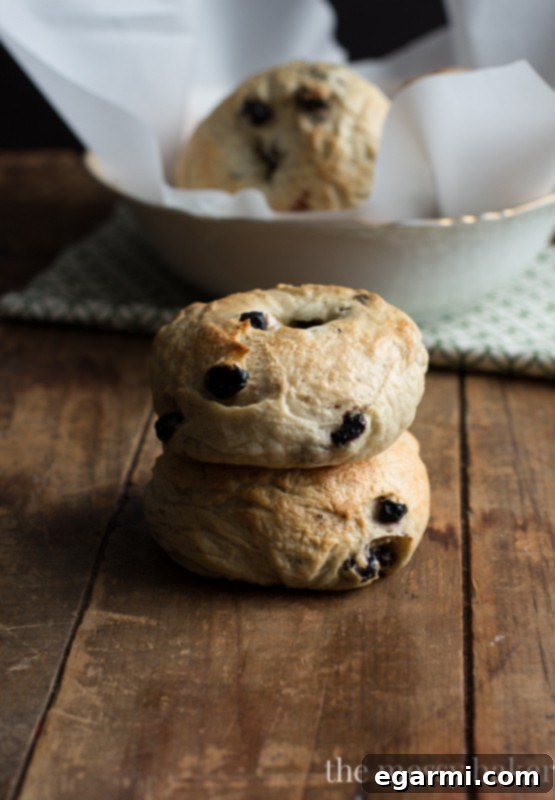
Unlock the Secret to Perfect Homemade Blueberry Bagels
For too long, the idea of baking homemade bagels resided on my elusive culinary bucket list. It’s one of those projects that many home bakers dream of tackling, promising a rewarding experience that elevates your breakfast game. But for years, the perceived complexity kept me from diving in. My “list” is less a carefully curated document and more a swirling vortex of delicious inspirations found across the internet – a testament to the incredible creativity shared by food enthusiasts everywhere. With so many tantalizing recipes constantly vying for attention, maintaining a singular focus can be a real challenge for someone like me, who possesses an admittedly short attention span when it comes to culinary quests. One day it’s a sourdough starter, the next it’s a delicate pastry. The sheer volume of recipes I yearn to try could easily fill a lifetime of baking, making it seem impossible to ever make a significant dent.
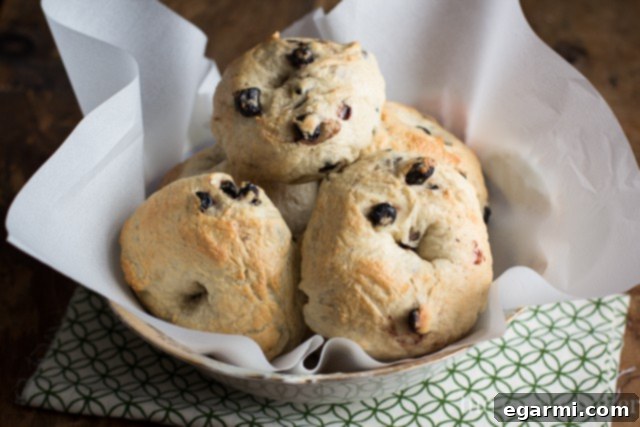
Yet, the journey of a thousand recipes begins with a single bake, right? And what a triumphant bake it was!
I finally mustered the courage and crossed one of the most satisfying items off my mental registry: homemade bagels. If only I had known how surprisingly straightforward and methodical the process truly is, I would have embarked on this delicious adventure much sooner. Far from being an intimidating task, making bagels at home is a wonderfully hands-on experience that yields incredibly rewarding results, transforming your kitchen into a delightful bakery.
The Effortless Process of Crafting Chewy Bagels
The entire bagel-making process, from mixing to baking, clocks in at approximately two hours. While this might sound substantial, it’s important to note that a significant portion of this time is dedicated to the dough’s essential rising and proofing periods. These passive stages allow the yeast to work its magic, developing flavor and texture. The active preparation steps are surprisingly manageable, making this a perfect weekend baking project. Despite being a bit step-heavy, each stage is logical and far from complicated, building up to a truly exceptional final product.
Mastering the Blueberry Infusion: Dried vs. Fresh
My initial attempt at these delightful bagels involved fresh blueberries. In retrospect, I have no idea what I was thinking! My culinary intuition, which often tells me “fresh is always best,” led me astray in this particular instance. The result was a sticky, messy dough that was incredibly difficult to work with. The high water content of fresh blueberries interfered with the dough’s structure, turning what should have been a smooth, elastic mass into an unmanageable goo. It was a valuable lesson in understanding how different ingredients interact within a recipe.
For my second batch, I opted for dried blueberries. To be honest, my expectations weren’t particularly high after the first attempt. However, I was absolutely thrilled with the outcome! During the rising and baking process, the dried blueberries beautifully rehydrated, plumping up to become wonderfully juicy and tender. Furthermore, dried blueberries offer a concentrated burst of flavor, intensifying that authentic blueberry taste in every bite. They proved to be the perfect choice, transforming what was initially my second option into the undisputed champion for these bagels.
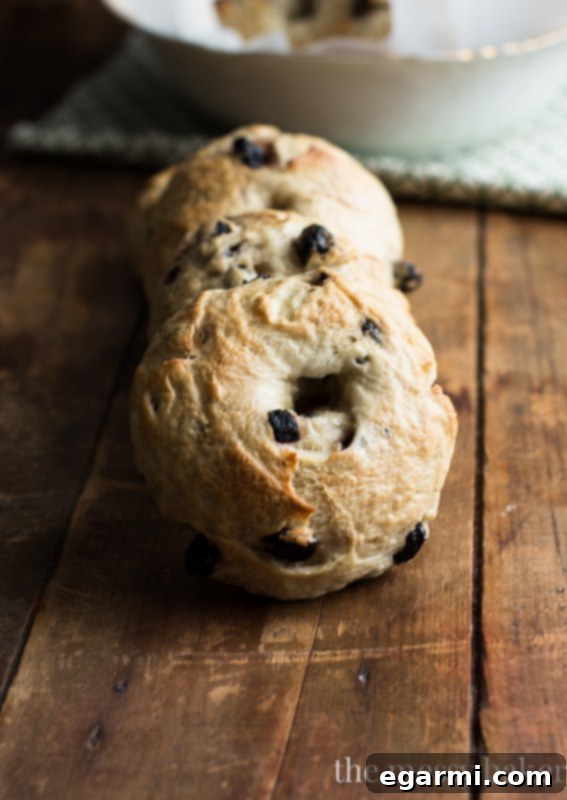
The Critical Choice: Bread Flour vs. All-Purpose Flour
Let’s delve into a fundamental aspect of bagel baking: the flour. Specifically, the crucial distinction between bread flour and all-purpose flour. For years, I was a steadfast user of all-purpose flour, adhering to the belief that it was versatile enough for virtually any baking project. My internal monologue often questioned, “What could bread flour possibly do that all-purpose flour can’t handle?” Oh, how delightfully naive I was!
As a passionate home baker and blogger, my kitchen is already brimming with an array of essential ingredients, tools, and gadgets. It’s all necessary, of course, but it certainly adds up. The last thing I wanted to do was introduce yet another bag of flour into my already packed pantry. Finding space for a fourth bag of flour in a fully utilized kitchen felt like a logistical nightmare. So, against my better judgment, I proceeded with my first batch of bagels using only all-purpose flour.
It was a regrettable decision!
My bagels turned out tough, dense, and disappointingly lacked that signature chewy, supple interior characteristic of a truly great bagel. They were so hard, in fact, that a well-aimed throw might have rendered someone unconscious. They were a culinary misstep, quickly relegated to the trash bin. This experience taught me an invaluable lesson: sometimes, investing in the right specialty ingredient, even if it adds to the pantry clutter, is absolutely worth it for superior results.
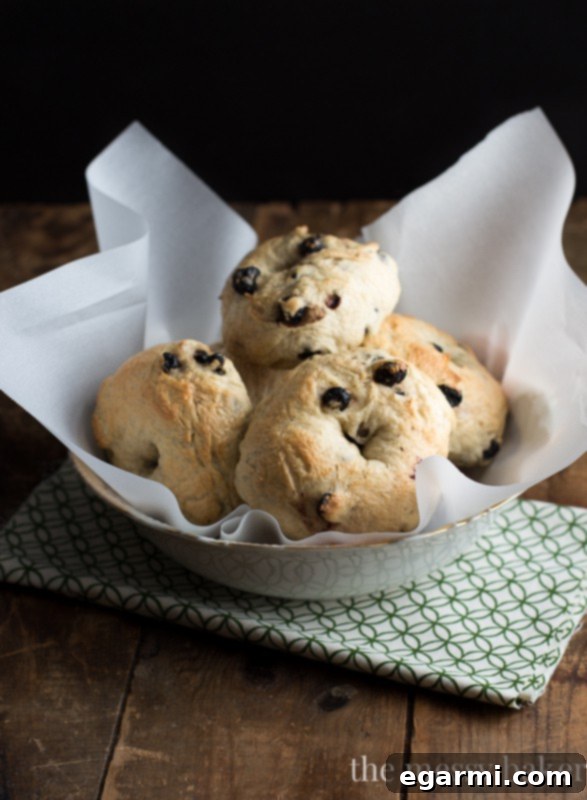
The second batch, made with the stubbornly purchased bag of bread flour, unequivocally earned its permanent spot in my baking cabinet. I lovingly rearranged a few other items, making just enough room for its rightful place on the shelf. Problem solved, and deliciousness achieved!
Why Bread Flour Reigns Supreme for Bagels
You might be wondering, “Why is bread flour so critical for bagels? What’s the real difference, and is it genuinely worth the extra expense?” These are excellent questions, and I’m delighted to explain.
The magic of bread flour lies in its higher protein content, typically ranging from 12-14 percent, depending on the brand. This elevated protein level is directly responsible for a greater formation of gluten when mixed with water. Gluten is the elastic network that provides structure, strength, and that coveted chewiness to baked goods, especially yeast-leavened breads. The higher gluten content in bread flour significantly aids in the rising process, allowing the dough to capture more carbon dioxide produced by the yeast, resulting in a lighter, airier texture.
Breads and bagels made with bread flour yield a smoother, more elastic dough that is easier to handle and shape. This enhanced elasticity contributes immensely to the overall structure and shape retention of the finished product. Visually, bread flour is often slightly off-white and has a coarser texture compared to the fine, pure white all-purpose flour.
My first batch of all-purpose flour bagels were lumpy, difficult to shape, and lacked a uniform appearance. In stark contrast, the batch made with bread flour was a dream to work with. The dough was supple, easy to manipulate, and resulted in beautifully smooth, symmetrical bagels. Their exterior boasted an irresistible chewiness, while their interior was perfectly soft and light, a stark departure from the dense, heavy texture of the initial attempt. This experience was a powerful testament to the transformative power of choosing the right flour for the job.
The Journey to Bagel Perfection: A Step-by-Step Guide
Let’s walk through the satisfying process of making these incredible honey wheat blueberry bagels. While it involves several steps, each one is straightforward and contributes to the final, mouth-watering result.
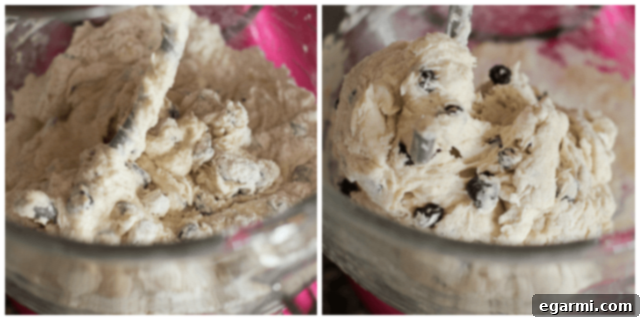
The process begins by combining a portion of the bread flour, kosher salt, and the star of the show – dried blueberries – in the bowl of your stand mixer, fitted with the paddle attachment. This initial mix ensures an even distribution of the dry ingredients before liquids are introduced.
For this recipe, I highly recommend using Red Star Platinum Yeast. As an impatient bread maker myself, I’ve found that Red Star Platinum yeast significantly expedites the rising process, allowing you to enjoy your fresh bagels even sooner. Its reliability and strength are invaluable for consistent baking results.
In a separate measuring cup, warm water (ensuring it doesn’t exceed 120 degrees F to protect the yeast) and honey are whisked together. The yeast is then gently stirred in and left to bloom for a few minutes. This crucial step activates the yeast, confirming its viability and preparing it to leaven your dough effectively. Once bloomed, this honey-yeast mixture is slowly added to the dry ingredients in the mixer. The dough is beaten with the paddle attachment until it just begins to come together, forming a shaggy mass.
Next, the paddle attachment is swapped for the dough hook, the quintessential tool for kneading bread dough. The remaining bread flour is added, and the mixer is set to its lowest speed. The dough is then mixed for a full 8 minutes. This extended kneading time is vital for developing the gluten network within the bread flour, which is essential for the bagels’ characteristic chewiness. You’ll know the dough is perfectly kneaded when it appears smooth, elastic, and pulls away cleanly from the sides of the bowl.
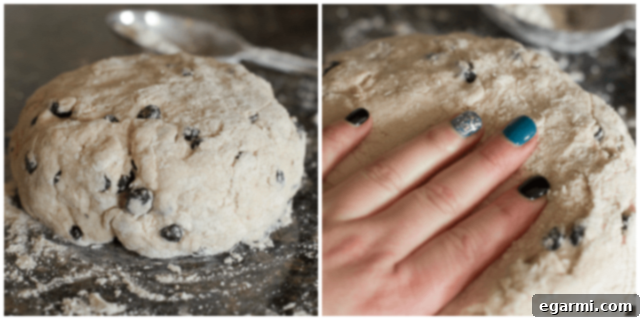
Once kneaded, transfer the dough to a lightly floured surface. Gently shape it into a smooth, round ball. Place this dough ball into a lightly oiled bowl, turning it once to coat. Cover the bowl with a clean, dry dish towel and place it in a warm, undisturbed area of your kitchen. This provides the ideal environment for the dough’s first rise. Allow the dough to rise until it has visibly doubled in size, which typically takes about 1 hour, though ambient temperature can influence this timeframe.
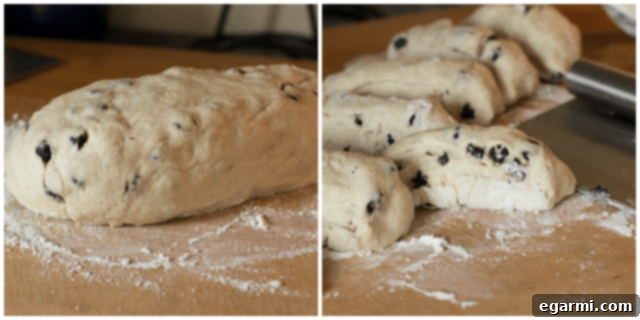
After the first rise, gently punch down the dough to release the air. Transfer it back to a lightly floured surface and shape it into a uniform log. Using a pastry scraper or a floured knife, carefully cut the log into 8 equal pieces. Consistency in size is important here to ensure even baking for all your bagels.
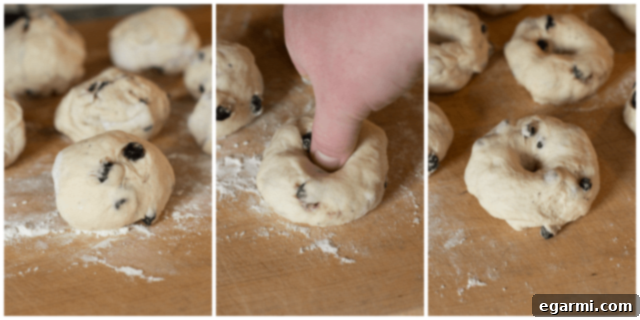
Take each piece of dough and gently roll it into a smooth ball. Now comes the iconic bagel shaping! Using your thumb (a little tip from my friend Squirrel for perfect placement!), gently push it into the center of each dough ball to create a hole. Then, carefully tug and stretch the dough around the hole to enlarge it, creating that classic bagel ring shape. Be gentle to avoid tearing the dough. Once shaped, cover the bagels with a dry towel and allow them to proof (rest) for another 15 minutes. This short rest allows the gluten to relax, making the bagels less prone to shrinking during the boiling process.
While your shaped bagels are resting, prepare for the next critical step: the boil. Heat 8 cups of water in a large pot to a gentle boil. Simultaneously, preheat your oven to 400 degrees F (200 degrees C) and line a baking sheet with parchment paper. These preparations ensure a seamless transition from boiling to baking.
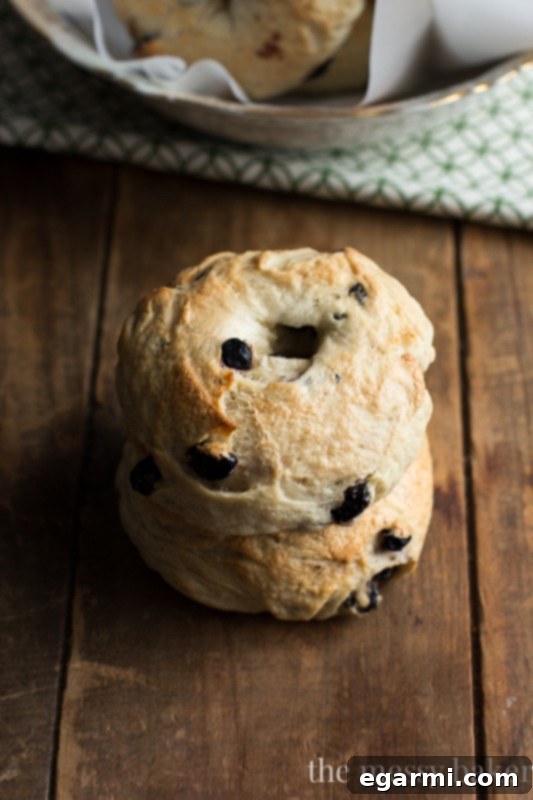
The boiling step is what gives bagels their unique chewy exterior and glossy finish. Carefully place a few bagels at a time into the gently boiling water, making sure not to overcrowd the pot. Boil them for exactly 40 seconds on each side. This brief immersion in hot water gelatinizes the starch on the surface of the dough, locking in moisture and contributing to the distinct texture. Using a slotted spoon, carefully remove the boiled bagels from the water, allowing excess water to drain, and transfer them onto your prepared baking sheet. Before baking, sprinkle each bagel with a generous pinch of sugar. This not only adds a touch of sweetness but also helps create that beautiful golden-brown crust. Bake for 25-30 minutes, or until the tops of the bagels are a rich, golden brown, signifying they are perfectly cooked through.
Storage and Serving Suggestions for Your Homemade Bagels
Once your irresistible honey wheat blueberry bagels have cooled completely, they can be stored in an airtight container or a sealed bag at room temperature for up to 7 days, maintaining their freshness and chewiness. For longer preservation, these bagels freeze beautifully! Simply arrange them in a single layer on a baking sheet to freeze solid, then transfer them to a freezer-safe bag or container for up to 3 months. When you’re ready to enjoy them, thaw at room temperature or pop a frozen bagel directly into the toaster.
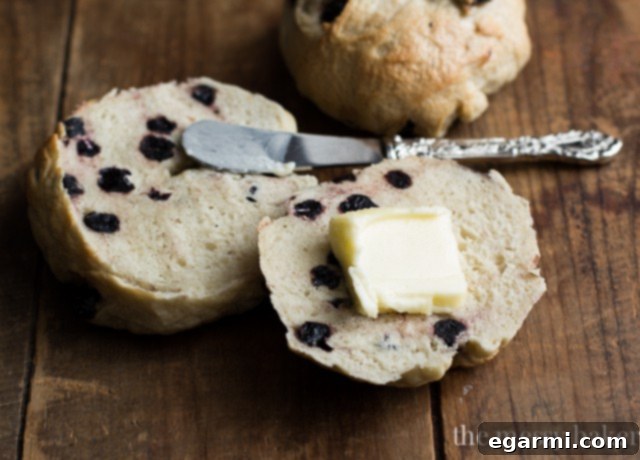
To truly savor the experience, toast your homemade bagels until lightly golden and then generously slather them with creamy butter, a decadent cream cheese, or even a dollop of blueberry jam. The warm, chewy texture combined with the burst of juicy blueberries creates a breakfast or snack experience that is simply unparalleled. There’s nothing quite like the satisfaction of biting into a fresh, warm bagel that you’ve crafted with your own hands. Enjoy every delicious moment!
Honey Wheat Blueberry Bagels
Soft, chewy bagels bursting with juicy blueberries – a delightful homemade treat for any time of day!
Yield: 8 bagels
Total Time: 2 hours 25 minutes
Prep Time: 2 hours
Cook Time: 25 minutes
Ingredients:
- 3 and 1/2 cups bread flour, divided
- 1 and 1/2 teaspoons kosher salt
- 1 and 1/4 cups dried blueberries
- 1 and 1/2 cups hot water (not to exceed 120 degrees F.)
- 3 tablespoons honey
- 1 packet (0.25 oz) Red Star Platinum yeast (or instant yeast)
Directions:
- In the bowl of a stand mixer fitted with the paddle attachment, combine 2 1/2 cups of the bread flour, kosher salt, and dried blueberries. Mix on low speed until well combined.
- In a separate measuring cup, whisk together the hot water and honey. Add the yeast and gently whisk to combine. Let this mixture stand for 5-10 minutes until the yeast blooms and becomes foamy on the surface.
- Slowly add the bloomed yeast mixture to the flour mixture in the stand mixer. Beat until the dough just starts to come together in a shaggy mass. Scrape down the sides of the bowl with a spatula and mix once more.
- Switch from the paddle attachment to the dough hook. Add the remaining 1 cup of bread flour. Mix on the lowest speed for a full 8 minutes to develop the gluten. The dough should become smooth and elastic, pulling away from the sides of the bowl.
- Transfer the dough to a lightly floured surface and gently shape it into a smooth ball. Place the dough into a lightly oiled bowl, turning it once to coat the surface. Cover the bowl with a clean, dry kitchen towel and place it in a warm, undisturbed area of your kitchen. Allow the dough to rise until it has doubled in size, typically about 1-2 hours, depending on your kitchen’s temperature.
- Once risen, transfer the dough to a lightly floured surface. Gently shape the dough into a uniform log. Using a pastry scraper or a floured knife, cut the log into 8 equal pieces.
- Gently roll each piece of dough into a smooth ball. Press your thumb into the center of each ball to create a hole, then gently stretch the dough around the hole to enlarge it, forming a classic bagel shape. Cover the shaped bagels with a dry towel and let them proof (rest) for 15 minutes.
- While the bagels are proofing, prepare for boiling and baking. Heat 8 cups of water to a gentle boil in a large pot. Preheat your oven to 400 degrees F (200 degrees C) and line a large baking sheet with parchment paper.
- Carefully place a few bagels at a time into the gently boiling water, ensuring not to overcrowd the pot. Boil each bagel for 40 seconds on one side, then flip and boil for another 40 seconds on the other side.
- Using a slotted spoon, carefully remove the boiled bagels from the water, allowing any excess water to drain, and place them onto your prepared baking sheet. Sprinkle each bagel with a generous pinch of sugar.
- Bake the bagels for 25-30 minutes, or until their tops are beautifully golden brown and they sound hollow when tapped.
- Allow the bagels to cool completely on a wire rack before storing. Store cooled bagels in an airtight container or bag for up to 5 days at room temperature. For longer storage, freeze them in a single layer for up to 3 months.
You may use active dry yeast in place of Red Star Platinum yeast for this recipe. If you choose active dry yeast, please note that your dough may take up to 2 1/2 hours to complete its first rise, as it often works at a slightly slower pace than instant yeast varieties like Platinum.
All images and text ©One Sweet Mess.