
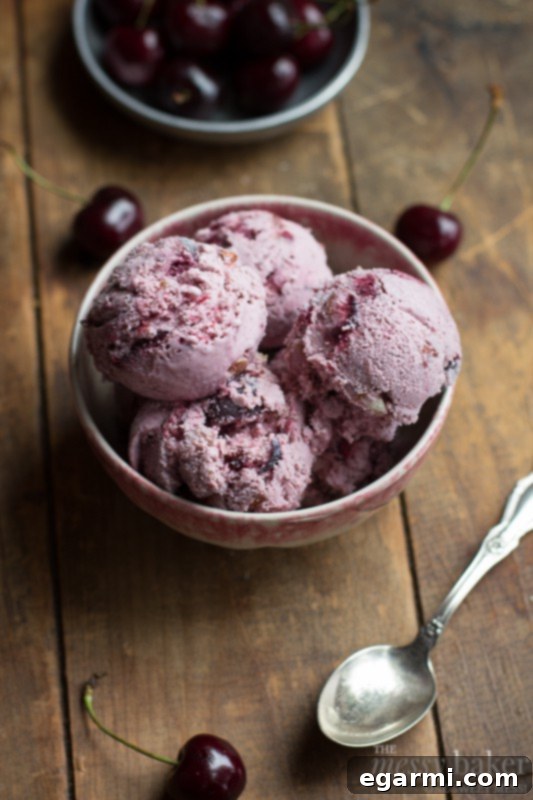
Discover the ultimate summer delight: a sweet, creamy cherry ice cream bursting with plump, luscious black cherries and savory toasted almonds. This homemade treat is pure bliss!
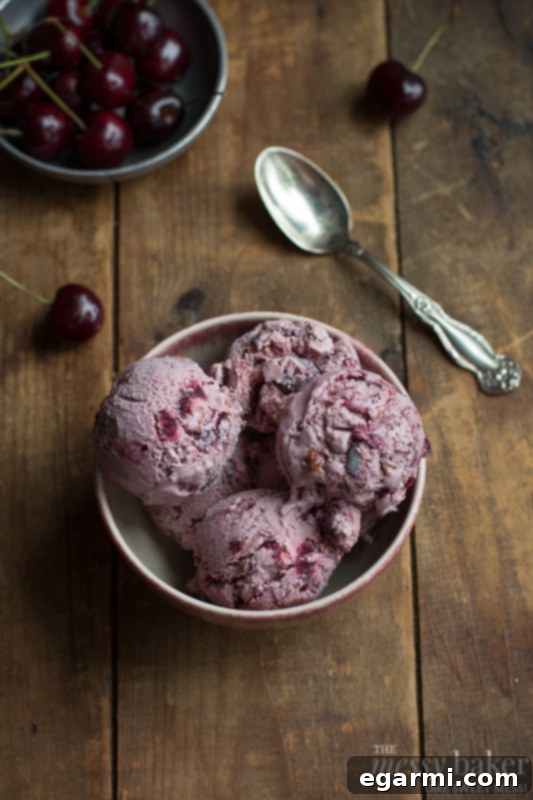
Indulge in the Summer’s Sweetest Obsession: Homemade Cherry Almond Ice Cream
There’s an undeniable magic about summer, especially when it comes to the bounty of fresh produce it brings. For me, this season has been synonymous with one thing: cherries. Bag after bag, these ruby-red gems have captured my culinary imagination, and while many have been enjoyed fresh, a precious few were spared to create something truly extraordinary: this Toasted Almond and Cherry Ice Cream. Prepare your taste buds; you’re in for an absolute treat.
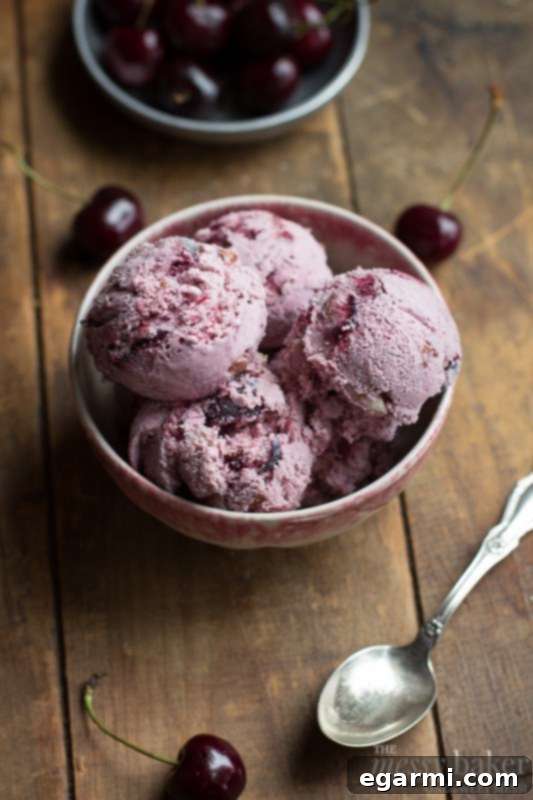
The Unparalleled Joy of Homemade Ice Cream
Is there anything more satisfying than a generous bowl of homemade ice cream? I think not. Beyond the sheer deliciousness that far surpasses any store-bought alternative, there’s a profound sense of accomplishment that comes with crafting your own frozen dessert. It’s a culinary journey, from selecting the finest ingredients to watching your ice cream maker transform a simple base into a creamy dream.
What I cherish most about making ice cream at home is the complete and utter control it offers. I dictate every ingredient that goes into each batch, ensuring only the freshest, highest-quality components are used. This not only elevates the flavor profile but also allows for endless customization. No artificial flavors, no preservatives – just pure, unadulterated goodness tailored exactly to my liking. This freedom to experiment and perfect is what truly sets homemade ice cream apart, making every spoonful a testament to your personal touch.
When you embark on the journey of making your own ice cream, you’re not just creating a dessert; you’re crafting an experience. The anticipation builds as the base chills, and the delightful hum of the ice cream maker signals the transformation from liquid to a luscious, scoopable treat. It’s an act of culinary love that pays off in the most delicious way imaginable.

The Star Ingredients: Black Cherries and Toasted Almonds
For this particular batch, I meticulously hand-picked and pitted more than my fair share of plump black cherries. Yes, it was a labor of love that resulted in slightly stained fingertips, but let me assure you, every single minute and every colorful smudge was absolutely worth it. The rich, sweet-tart flavor of black cherries is simply unmatched, providing a vibrant base for our creamy creation.
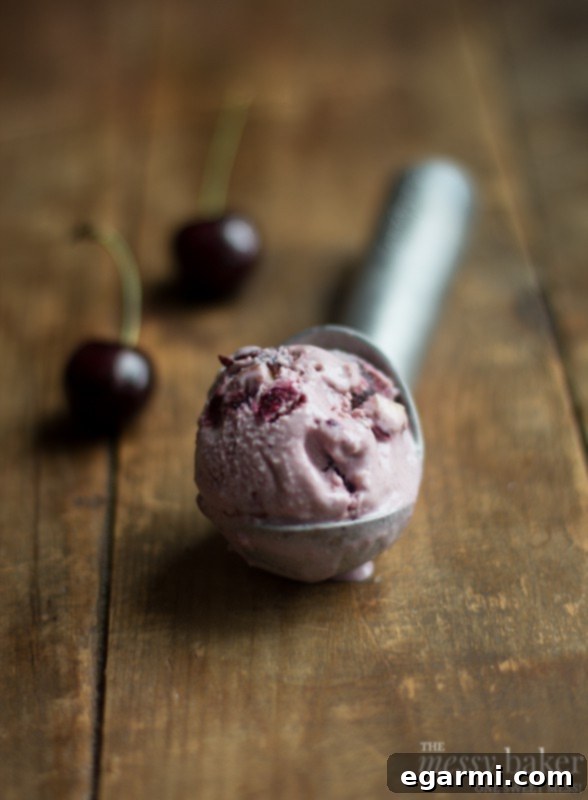
This Toasted Almond & Cherry Ice Cream has swiftly ascended to the top of my all-time favorite dessert list. The foundation of this incredible ice cream is built upon two cups of sweet pitted cherries. These cherries are gently cooked down into a rich, thick syrup, intensifying their natural sweetness and creating a deeply flavorful base. This concentrated cherry syrup is then artfully blended with a classic, velvety vanilla ice cream base, ensuring that every spoonful is infused with pure cherry essence.
To further enhance the natural cherry flavor and introduce another layer of complexity, I added a delicate touch of almond extract. This subtle addition beautifully complements the cherries, bringing out their fruity notes even more. And, of course, no “Toasted Almond” ice cream would be complete without a generous stir-in of beautifully toasted almonds. Toasting the almonds isn’t just a step; it’s a game-changer. It brings out their inherent nutty depth, adding an irresistible crunch and a savory contrast that perfectly balances the sweetness of the cherries and cream. The combination is simply divine – a symphony of textures and flavors that dance on your palate.
Tips for Crafting Your Perfect Homemade Ice Cream
Creating extraordinary homemade ice cream is an art, but it’s also remarkably straightforward with a few key tips. First and foremost, ensure your ice cream base is thoroughly chilled. This is critical for achieving that smooth, creamy texture. An insufficiently chilled base can lead to icy, less desirable results. Plan ahead and allow at least 8 hours, or even better, overnight, for the base to chill completely in the refrigerator.
When it comes to churning, always follow your ice cream maker’s specific instructions. Over-churning can sometimes lead to a slightly grainy texture, while under-churning won’t achieve the desired firmness. The moment the ice cream reaches a soft-serve consistency in the churner is typically the perfect time to incorporate your mix-ins, like the chopped cherries and toasted almonds in this recipe.
Finally, once churned and mixed, transfer your ice cream to an airtight container and allow it to “cure” or harden in the freezer for a few more hours. This final freezing period helps solidify its structure and brings it to the ideal scoopable consistency. Don’t rush this step – patience is a virtue when it comes to perfect homemade ice cream!
Exciting Variations to Explore
While this Toasted Almond & Cherry Ice Cream is a masterpiece on its own, don’t hesitate to experiment with variations to make it uniquely yours. If you’re a chocolate lover, stirring in some finely chopped dark chocolate after churning will elevate this dessert to an even more luxurious level. The slight bitterness of dark chocolate beautifully complements the sweet cherries and nutty almonds. You could also try white chocolate chips for a sweeter, creamier contrast.
For an extra layer of flavor, consider adding a hint of orange zest to the cherry syrup as it cooks down – citrus and cherry are a match made in heaven! Or, for those who enjoy a bit of spice, a tiny pinch of cardamom could add an intriguing warmth. The beauty of homemade ice cream lies in its adaptability, so feel free to unleash your creativity and make it your own.
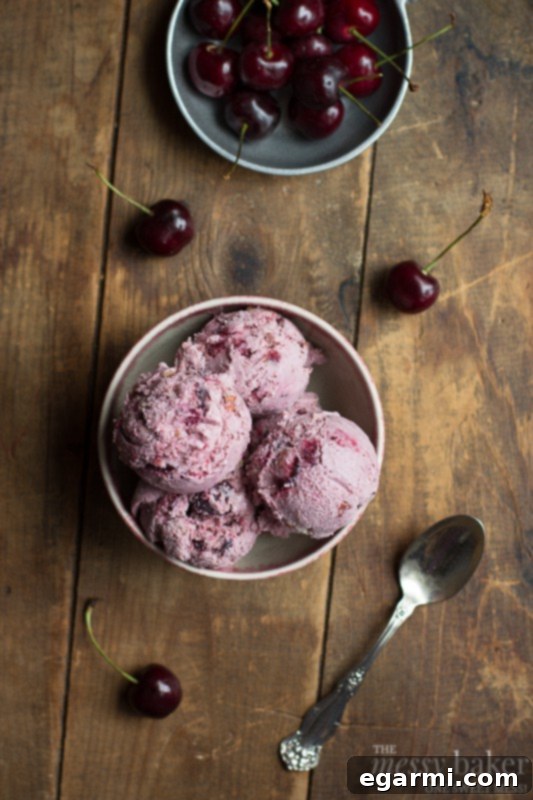
I’m not ashamed to confess that this quart of creamy, dreamy ice cream vanished entirely thanks to my solitary indulgence. It was simply too good to share. Every spoonful was a moment of pure bliss, a perfect balance of sweet, tart, creamy, and crunchy. This ice cream isn’t just a dessert; it’s an experience, a memory of summer’s finest flavors captured in a chilled, decadent form.
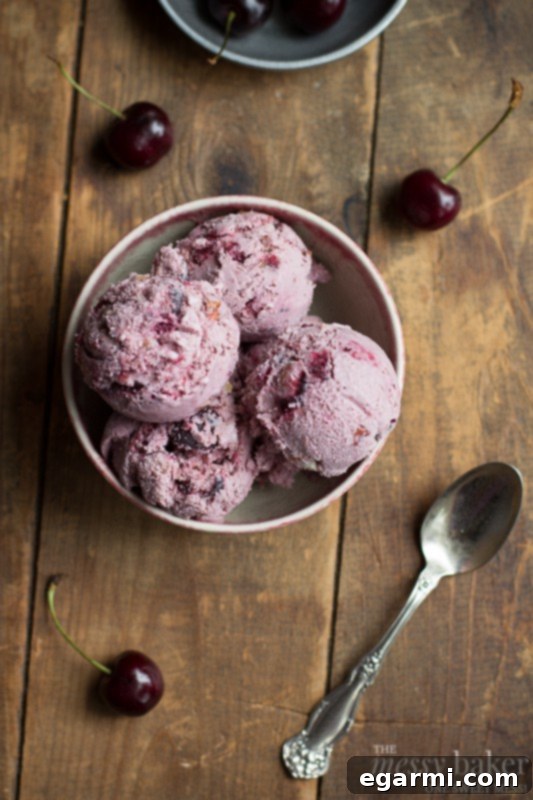
Now that you’re armed with the secrets to this sensational summer treat, it’s time to gather your ingredients and get ready. Your scoop awaits its delicious destiny!

Toasted Almond & Cherry Ice Cream Recipe
Yield: 1 quart
Total Time: 8 hours 15 minutes
Prep Time: 8 hours
Cook Time: 15 minutes
Ingredients:
For the Cherry Syrup:
- 2 cups pitted black cherries
- 1/4 cup granulated sugar
For the Ice Cream Base:
- 1 cup whole milk
- 1/2 cup granulated sugar
- 2 cups heavy cream (divided)
- 5 large egg yolks
- 1 and 1/2 teaspoons vanilla paste (or pure vanilla extract)
- 1/8 teaspoon almond extract
- 1 cup fresh cherries, pitted and roughly chopped (for mix-in)
- 3/4 cup toasted almonds, coarsely chopped (for mix-in)
Directions:
Step 1: Prepare the Cherry Syrup
In a medium saucepan, combine the 2 cups of pitted cherries and 1/4 cup granulated sugar. Place the saucepan over medium-low heat and bring the mixture to a gentle simmer. Continue to simmer for approximately 10-12 minutes, stirring occasionally, until the cherries soften and the liquid thickens slightly into a rich syrup. Remove from heat and set aside to cool completely.
Step 2: Prepare the Ice Cream Base
In a large bowl, pour 1 cup of heavy cream and place a fine-mesh strainer directly over the top. Set aside.
In a separate medium bowl, add the 5 egg yolks. Whisk them vigorously until they are light yellow and well combined.
In a medium saucepan, combine the whole milk, 1/2 cup granulated sugar, and the remaining 1 cup of heavy cream. Heat this mixture over medium-low heat, stirring frequently, just until it is hot to the touch and small bubbles begin to form around the edges (do not bring to a boil). This usually takes about 5-7 minutes.
Carefully temper the egg yolks: slowly pour about a third of the hot milk mixture into the whisked egg yolks, whisking constantly to prevent the eggs from scrambling. Once combined, pour the egg yolk mixture back into the saucepan with the remaining hot milk mixture. Cook over medium heat, whisking constantly, for about 4 minutes, or until the mixture thickens enough to coat the back of a spoon (it should reach about 175°F / 80°C). Do not boil.
Immediately pour the hot custard mixture through the prepared mesh strainer into the large bowl with the 1 cup of heavy cream. This step ensures a silky-smooth base by catching any small bits of cooked egg. Stir well to combine.
Stir in the vanilla paste (or extract) and almond extract into the strained custard base.
Step 3: Blend and Chill
Add the cooled cherry syrup to the blender along with the prepared custard base. Pulse a few times until the mixture is smooth and the cherry syrup is fully incorporated, creating a beautiful pink hue.
Transfer the smooth ice cream base to an airtight container. Cover tightly and chill in the refrigerator until it is completely cold, ideally for at least 8 hours, or even better, overnight. This crucial chilling period is essential for achieving the perfect texture.
Step 4: Churn and Mix-Ins
Once the ice cream base is thoroughly chilled, pour it into your ice cream maker and churn according to the manufacturer’s instructions. This usually takes about 20-30 minutes, until the ice cream reaches a soft-serve consistency.
When the ice cream is finished churning, gently stir in the 1 cup of roughly chopped fresh cherries and the 3/4 cup of chopped toasted almonds using a rubber spatula. Distribute them evenly throughout the ice cream.
Step 5: Freeze for Firmness
Transfer the churned ice cream to an airtight freezer-safe container. Place in the freezer for at least 3-4 hours, or until it reaches your desired firm, scoopable consistency. Enjoy!
All images and text ©One Sweet Mess.