
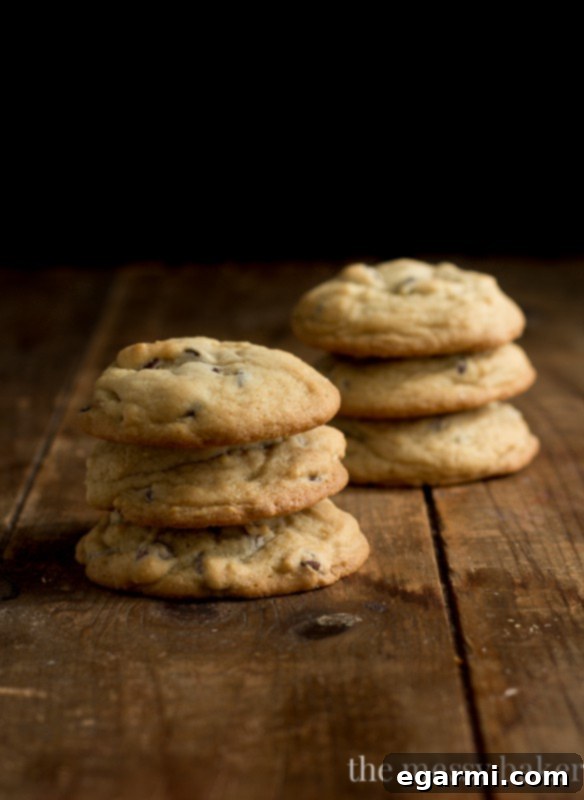
The Ultimate Guide to Baking Soft & Chewy One-Bowl Chocolate Chip Cookies
Your quest for the perfect chocolate chip cookie ends here – indulgent, effortless, and always satisfying.
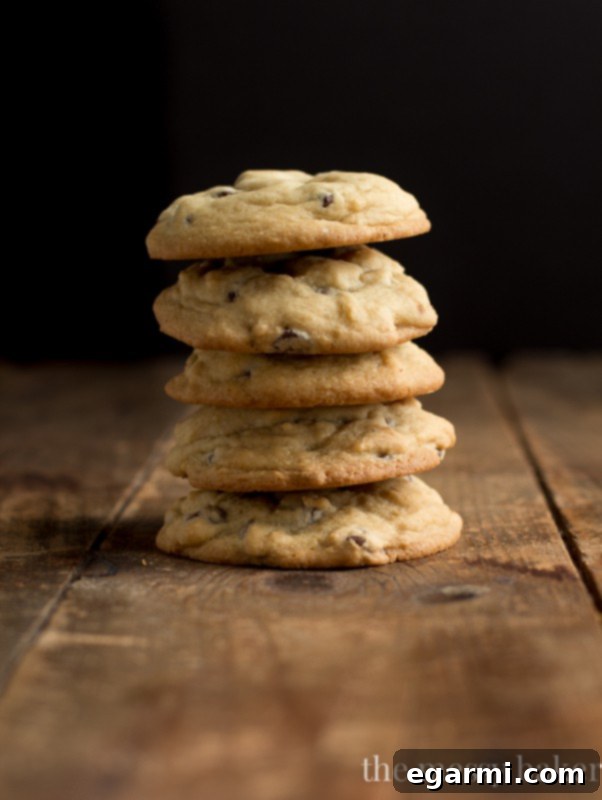
What comes to mind when you envision the quintessential chocolate chip cookie? For many, it’s a nostalgic taste of home, a comforting treat that evokes warmth and happiness. But beyond sentiment, there’s a specific texture that reigns supreme. We recently polled our community, and the answer was unanimous: soft and chewy. Not just soft, not just chewy, but a harmonious blend of both, creating an irresistible experience with every bite. The passion was palpable, a testament to the universal love for this timeless dessert.
In our humble opinion, the soft and chewy cookie is the gold standard. If your heart yearns for a crisp, snappy cookie, fear not, there are other recipes out there for you! But if you’re seeking that blissful, tender crumb that melts in your mouth, then you’ve arrived at your baking destination.
Defining Cookie Perfection: Soft, Chewy, and Utterly Irresistible
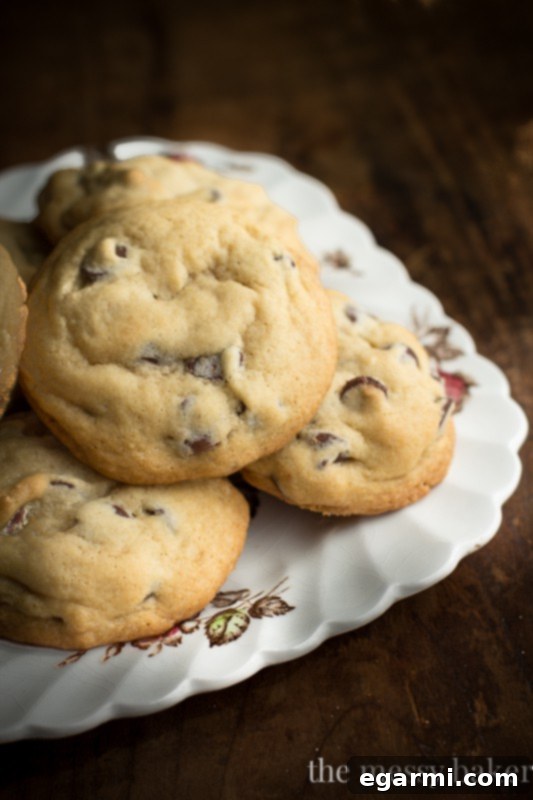
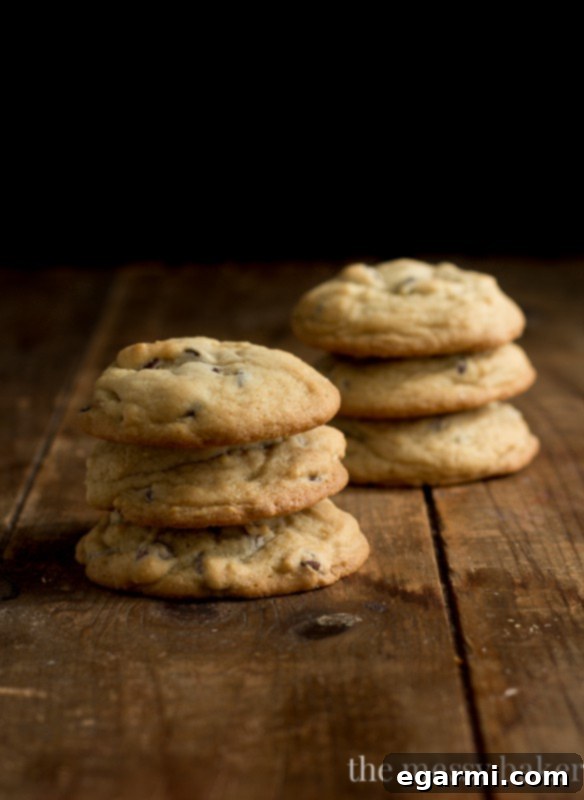
For us, the perfect cookie boasts a magnificent contrast: a slightly crispy, golden-brown exterior that hints at the delights within. This delicate shell should gently crack open to reveal a heavenly, gooey center, brimming with pockets of molten chocolate. It’s a symphony of textures and flavors – rich, sweet, and profoundly buttery. Let’s be honest, some of life’s greatest pleasures emerge from the oven: fudgy brownies, decadent cakes, comforting pies, and, of course, the humble yet mighty cookie. Give us a warm, freshly baked cookie over a new pair of shoes any day!
The Genius of the One-Bowl, No-Chill Recipe
We understand that when a cookie craving strikes, patience is often in short supply. That’s why we set out to create a chocolate chip cookie recipe that delivers instant gratification without compromising on quality or flavor. This isn’t just a recipe; it’s a testament to fuss-free baking. Imagine: no endless parade of dirty dishes, no tedious waiting for dough to chill, just pure, unadulterated cookie joy from one bowl to your mouth. All you’ll need is a single bowl and a trusty wooden spoon or rubber spatula to whip up this masterpiece. Less cleanup, more cookie enjoyment – now that’s a philosophy we can get behind!
The Great Chill Experiment: Proving Patience Isn’t Always a Virtue
In the name of scientific discovery and the pursuit of big, puffy, irresistibly good cookies, we embarked on a rigorous baking project. We prepared one batch of dough and tested it three different ways to determine the impact of chilling:
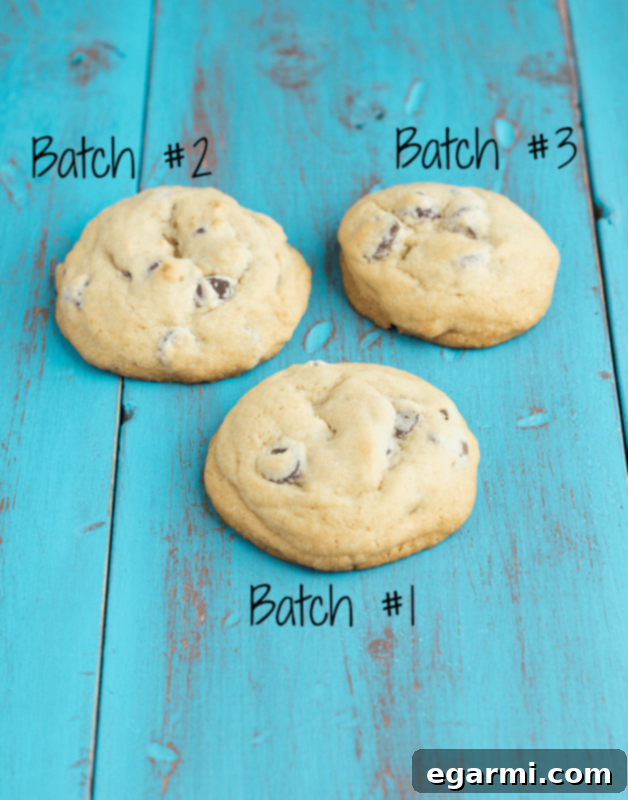
- Batch #1: Immediate Bake. Cookies were baked directly after the dough was mixed.
- Batch #2: One-Hour Chill. The dough was refrigerated for one hour before baking.
- Batch #3: Two-Hour Chill. The dough was refrigerated for two hours before baking.
The results were enlightening. As you can see from the image above, all three batches emerged from the oven looking remarkably similar. More importantly, our taste tests confirmed that they also tasted identical in terms of texture and flavor. The lesson? Mix your batter and bake immediately! There’s absolutely no need to wait when the outcome is equally perfect. This revelation means you can go from craving to devouring these delightful cookies in record time.
The Secret Ingredients for Soft-Batch Success
Achieving that coveted soft and chewy texture isn’t accidental; it’s the result of carefully selected ingredients and precise techniques. Let’s break down the essential components that make these cookies truly exceptional:
-
Softened Unsalted Butter: The Foundation of Flavor and Texture
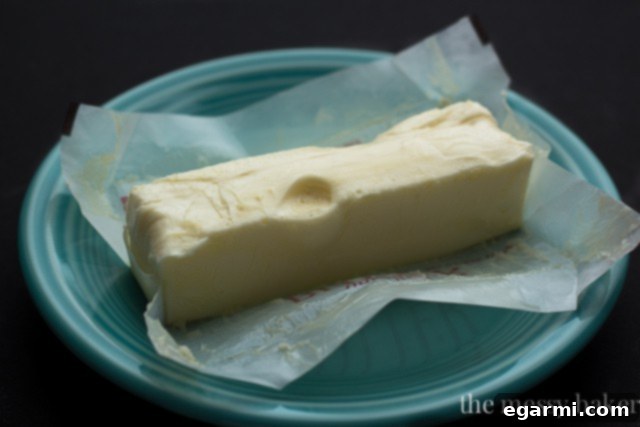
You’re likely familiar with the term “room-temperature” butter, but for this recipe, we’re aiming for something slightly different: softened butter. What’s the distinction, you ask? Softened butter is just a tad softer than typical room-temperature butter, yielding easily to the touch. You’ll know it’s perfectly prepared when your finger leaves a distinct, yet gentle, indentation, as shown in the photo. This particular consistency is crucial because it allows the butter to cream effortlessly with the sugars, creating a light, airy base that contributes to the cookie’s tender crumb and delightful chew. It emulsifies better, capturing air that will later expand in the oven, giving your cookies that desirable puffiness rather than spreading too thin. -
Cornstarch: The Unexpected Hero for Ultimate Tenderness
This silky, fine starch is a game-changer in the world of soft-batch cookies. Cornstarch works its magic by inhibiting gluten development in the flour, which can lead to tough cookies. Instead, it promotes a wonderfully light, tender crumb that practically melts in your mouth. It’s the secret ingredient that gives these cookies their signature delicate texture, making them irresistibly soft from the very first bite. Think of it as your insurance policy against dry, crumbly cookies. -
Brown Sugar: Moisture, Chewiness, and Caramel Notes
While granulated sugar provides crispness, brown sugar is the undisputed champion for achieving moisture and chewiness. Its inherent molasses content not only contributes a rich, complex sweetness with delightful hints of caramel but also plays a vital role in keeping the cookies soft long after they’ve cooled. The hygroscopic nature of molasses (meaning it attracts and retains moisture) ensures your cookies stay wonderfully moist and tender, preventing them from drying out and becoming brittle. It’s truly a powerhouse ingredient for texture and flavor.
-
The Mighty Egg Yolk: Enhancing Richness and Chew Factor
Our recipe calls for one whole egg plus an additional egg yolk. This isn’t a random choice; it’s a deliberate step to elevate your cookie experience. The extra egg yolk is packed with fat, which contributes immensely to the cookies’ richness and luxurious mouthfeel. More importantly, the yolk’s proteins and fats act as superb binding agents, helping to create that dense, chewy texture we all adore. It adds a depth of flavor and a level of moisture that a whole egg alone simply cannot achieve, ensuring your cookies are exceptionally tender and decadent.
Mastering the Mixing & Shaping Techniques
Even with the perfect ingredients, technique matters. Here’s how to ensure your cookies come out flawless:
-
Mindful Mixing: Avoiding the Pitfalls of Over-Aeration
Remember, this is a one-bowl wonder, and that simplicity extends to the mixing process. We use just one bowl and a rubber spatula for a reason. Over-creaming the butter and sugar, or over-mixing the dough once the flour is added, can be detrimental. Excessive mixing incorporates too much air and develops the gluten in the flour, leading to cookies that spread excessively thin rather than puffing up, and can also result in a tougher texture. The key is to mix until just combined – no more, no less. As soon as you see no streaks of dry flour, stop mixing. Say a firm “no” to over-mixing for perfectly puffy, soft cookies.
-
Scooping for Structure: Building Height for Thicker Cookies
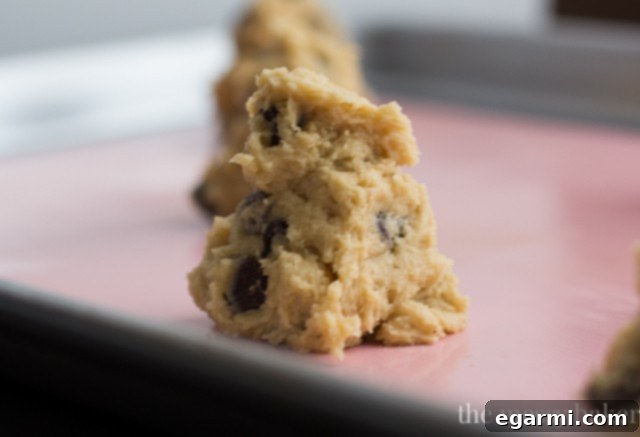
When it comes to scooping your dough, a little intentional shaping goes a long way in achieving those desirable thick cookies. We recommend using about one and a half tablespoons of dough per cookie. After you drop the rounded dough onto your prepared baking sheet, gently pinch the sides of the dough upwards. This simple trick helps to build a bit of height, encouraging the cookies to bake up thicker rather than spreading out flat. They might look a little tall and “wonky” on the sheet, but trust the process – it truly gets the job done, resulting in gorgeously plump and chewy cookies.
The Art of Baking: Precision for Perfection
-
Optimal Oven Placement and Single-Sheet Baking
For even heat distribution and consistent baking, always place your oven rack in the center. Furthermore, it’s crucial to bake only one sheet of cookies at a time. Crowding your oven with multiple trays can hinder air circulation, leading to unevenly baked cookies – some might be overdone, while others are still raw in the middle. Patience with this step will reward you with perfectly uniform cookies. Also, a golden rule: never place fresh dough onto a hot baking pan. A warm pan will cause the butter to melt too quickly and the cookies to spread excessively, resulting in thin, crispy discs rather than the desired soft-batch texture. Always use a cool pan or allow it to cool completely between batches. -
The Perfect Bake Time: Watch Like a Hawk!
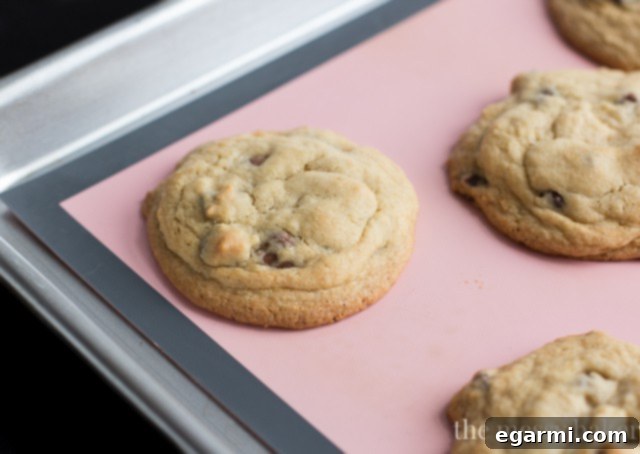
The key to soft-batch cookies is knowing when to pull them from the oven. You’ll want to bake them just until you observe a subtle, golden sheen forming on the edges and tops. In our oven, at 350 degrees F, this took approximately 13 minutes. Ovens can vary, so keep a vigilant eye! Over-baking is the arch-nemesis of a soft cookie, quickly transforming that tender, chewy texture into a crunchy, brittle one. As soon as you see those golden edges and a slightly set but still soft center, it’s time to remove them. The cookies will continue to cook slightly on the hot pan as they cool, a process known as “carryover cooking,” ensuring they reach peak perfection.
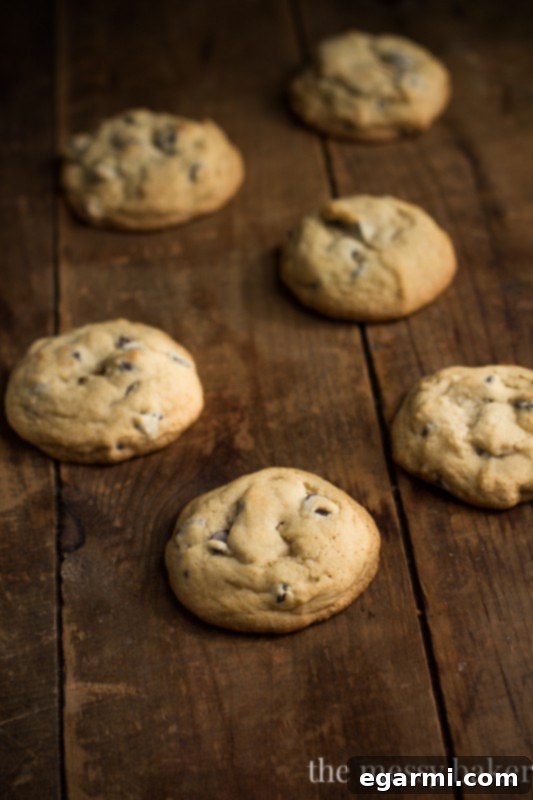
Once baked to perfection, allow your magnificent soft-batch cookies to cool on the baking sheet for about 5 minutes. This allows them to set slightly before transferring them to a wire rack to cool completely. Or, if you’re like us, you’ll grab one while it’s still warm and gooey – a delightful indulgence!
With these tips and our incredible one-bowl, no-chill recipe, you’re now equipped to bake the ultimate soft and chewy chocolate chip cookies. So, preheat your oven, gather your ingredients, and let the soft-batch cookie binging begin!

One-Bowl Soft Batch Triple Chocolate Chip Cookies
Experience the ultimate indulgence with these thick, soft, and unbelievably chewy cookies, packed with a decadent trio of dark, semi-sweet, and milk chocolate chips. This easy, one-bowl recipe requires no chilling, so you can enjoy freshly baked cookies in minutes!
Yield: Approximately 24 cookies
Total Time: 23 minutes
Prep Time: 10 minutes
Cook Time: 13 minutes
Ingredients:
1 stick (1/2 cup) unsalted butter, softened (see notes above for perfect consistency)
1/2 cup packed light brown sugar
1/4 cup granulated sugar
1 large egg, at room temperature
1 large egg yolk, at room temperature
2 teaspoons pure vanilla extract
1 1/2 cups all-purpose flour
2 teaspoons cornstarch
1/2 teaspoon baking soda
1/2 teaspoon kosher salt
1/2 cup dark chocolate chips (for rich, intense flavor)
1/2 cup semi-sweet chocolate chips (for classic sweetness)
1/2 cup milk chocolate chips (for creamy indulgence)
Directions:
1. Preheat your oven to 350°F (175°C). Line a baking sheet with parchment paper or a silicone baking mat. This prevents sticking and ensures easy cleanup.
2. In a large mixing bowl, combine the softened butter, brown sugar, and granulated sugar. Using a rubber spatula, mix until they are just combined and creamy. Avoid over-creaming to prevent excessive spreading.
3. Stir in the whole egg, egg yolk, and vanilla extract. Continue mixing until the wet ingredients are smooth and fully incorporated.
4. Add the all-purpose flour, cornstarch, baking soda, and kosher salt to the bowl. Gently fold the dry ingredients into the wet mixture with your spatula until just combined. Be careful not to overmix; stop as soon as no streaks of dry flour remain.
5. Fold in all three types of chocolate chips until they are evenly distributed throughout the dough.
6. Scoop rounded balls of dough onto the prepared baking pan. Aim for about 1 1/2 tablespoons of dough per cookie. For thicker cookies, gently pinch the sides of each dough ball upwards to create a taller shape before baking.
7. Bake the cookies for approximately 13 minutes, or until the edges are lightly golden and the centers appear just set but still soft. Remember, ovens vary, so watch closely to prevent over-baking!
8. Allow the cookies to cool on the baking sheet for 5 minutes. This crucial step helps them set and firms up their delicate centers before moving. After 5 minutes, carefully transfer them to a wire rack to cool completely.
9. Store any leftover cookies in an airtight container at room temperature for up to 5 days to maintain their exquisite softness and chewiness.
Whipping up one of our recipes? We’d love to see your creations! Snap a photo and share your post with #onesweetmess on Twitter or Instagram. Seeing your delicious results truly makes our day!