
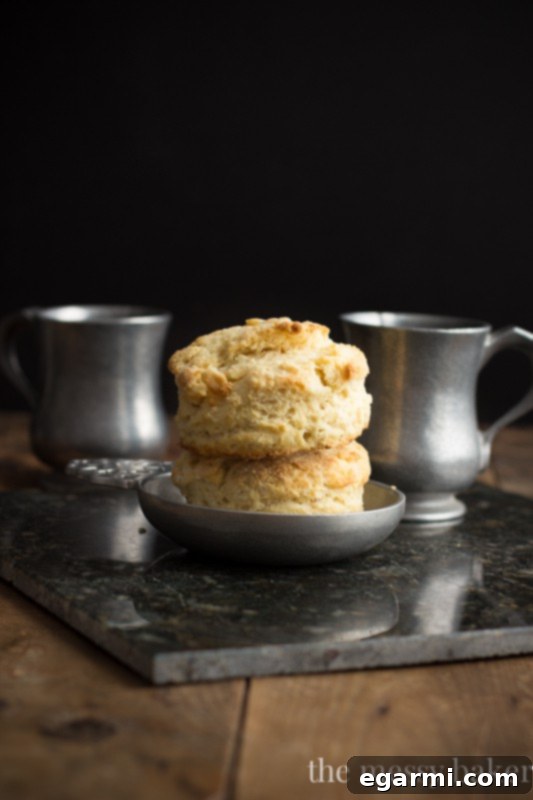
Achieve Perfectly Fluffy Mile-High Buttermilk Biscuits: A Comprehensive Guide
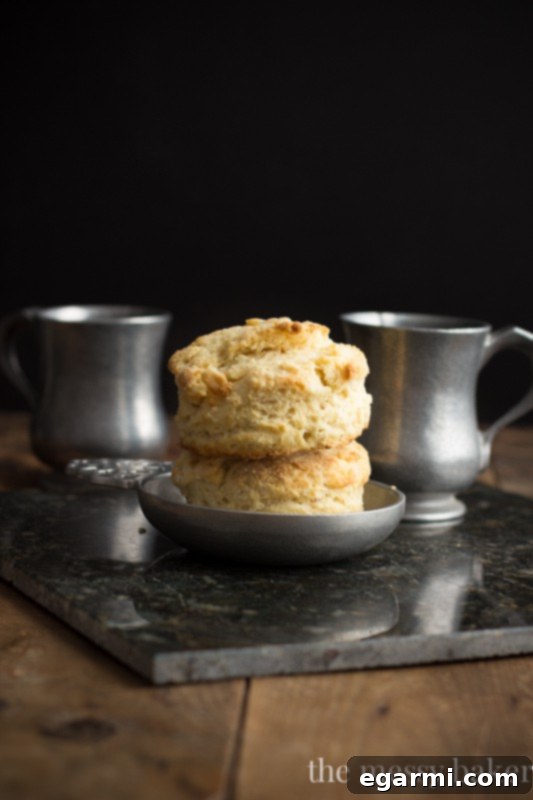
Welcome to the ultimate guide for baking magnificent, mile-high buttermilk biscuits that are sure to impress. Forget flat, dry disappointments; today, we’re embarking on a culinary journey to master the art of creating biscuits that are not just good, but truly extraordinary. While the process shares some similarities with scone making, the subtle nuances and specific techniques required for achieving that perfect, airy rise warrant a dedicated tutorial. As a passionate advocate for kitchen science and precise baking methods, I find immense joy in unraveling the secrets behind perfect pastry, and there’s no better subject than these beloved carb-laden delights.
When it comes to biscuits, there’s a spectrum ranging from the humble to the truly sublime. Ask any five bakers, and you’ll likely receive five distinct philosophies on the optimal method. Each approach carries its own merits, and none are inherently incorrect. However, I hold a steadfast belief that if a biscuit is to grace my plate, it must earn its place. My ideal biscuit stands proudly, a towering structure at least two inches tall – a veritable mammoth among its peers. Beyond its impressive stature, it must be an exquisite symphony of textures and flavors: deeply buttery, impeccably tender, and wonderfully airy. It’s not a matter of choosing one trait over the others; a truly exceptional biscuit embodies all three in harmonious balance. There’s nothing more disheartening than encountering a dense, hockey-puck-like biscuit that falls short of its potential. This guide is dedicated to ensuring your biscuits soar to new, delicious heights.
The Essential Science Behind Perfect Biscuits
To consistently bake light, flaky, and tall buttermilk biscuits, understanding a few fundamental baking principles is crucial. Let’s delve into the science that transforms simple ingredients into culinary masterpieces:
- Embrace the Chill: The Power of Cold Ingredients
Every single ingredient – from butter and buttermilk to the egg – must be as cold as possible. This isn’t merely a suggestion; it’s a golden rule. I even take it a step further: I measure my flour into the mixing bowl and place the entire bowl in the freezer for a good five minutes. This pre-chills the bowl itself, acting as an insulator to keep your dough optimally cold throughout the mixing process. Metal bowls are particularly effective here, as they chill rapidly and retain their cold temperature efficiently. The secret lies in cold butter, which melts slowly in the oven, releasing steam that creates those coveted flaky layers. - Verify Your Leavening Agents: Freshness is Key
Before you begin, make it a habit to check the expiration dates on your baking soda and baking powder. I’ve personally experienced the disappointment of dedicating time and effort to biscuit dough only to discover my leavening agents were past their prime, resulting in a tragically flat batch. Active leavening is non-negotiable for achieving that signature lofty rise. - Master the Mix: Dry Ingredients First
While it might seem obvious, thoroughly mixing your dry ingredients before incorporating any liquids is a critical, non-negotiable step. Skipping or rushing this can lead to an uneven distribution of leavening, salt, or sugar, resulting in inconsistent texture and flavor in your final biscuits – some parts too salty, others lacking the necessary lift. Ensure everything is uniformly combined. - Precision in Preparation: Cubed and Chilled Butter
Cut your butter into uniform ½-inch cubes, then return them to the freezer for approximately three minutes to ensure they are thoroughly chilled. Uniform cubes ensure even distribution throughout the dough, and their continued coldness is paramount for steam creation and flakiness. - Pre-Blend Your Liquids: Buttermilk and Egg
Whisk your cold buttermilk and egg together in a measuring cup. Once combined, store this mixture in the refrigerator until the precise moment you’re ready to add it to your dry ingredients. This maintains their cold temperature and ensures a consistent liquid addition. - Your Hands Are Your Best Tools: Embrace the Touch
When it comes to making biscuits, your hands are truly your most valuable instruments. Unlike spoons or rubber spatulas, your fingers allow you to feel the dough’s texture, ensuring the butter is properly incorporated without overworking. Don’t be afraid to get a little messy – it’s part of the process! - Guard Against Toughness: Do Not Overmix
This is perhaps one of the most vital rules for tender biscuits. Overmixing develops gluten, which is desirable in bread but disastrous for biscuits, leading to a tough, chewy texture. Mix the dough gently with your hands, just until it barely comes together and a shaggy consistency is achieved. Stop as soon as the dry flour is incorporated. - Preheat Thoroughly: The Importance of Oven Spring
Never skip the preheating step. A fully preheated oven is essential for “oven spring” – the initial burst of heat that causes your biscuits to rapidly expand and rise to their maximum height. If the oven isn’t hot enough, your biscuits will rise sluggishly, resulting in a denser product.
The Science of the Rise: How Biscuits Achieve Their Lofty Stature
Have you ever wondered about the magic that transforms a simple dough into those beautiful, puffy biscuits? It’s a fascinating interplay of chemistry and physics. The impressive rise of a biscuit is primarily attributed to three key elements working in concert: baking powder, steam, and a high oven temperature.
Baking powder acts as a chemical leavening agent. When introduced to heat and moisture, it undergoes a reaction that produces carbon dioxide gas. These tiny gas bubbles get trapped within the biscuit dough, creating internal pockets and giving the biscuit its initial lift. Simultaneously, as the biscuit dough bakes in the hot oven, the tiny pieces of cold butter embedded within it begin to melt. As butter is primarily fat and water, this melting process generates steam. This steam becomes trapped between the layers of the dough (formed by the distribution of the butter), actively pushing them apart and upward. The high oven temperature provides the intense, immediate heat necessary to activate the baking powder quickly and create a rapid burst of steam, maximizing the “oven spring” and resulting in a tall, exceptionally fluffy rise. It’s this beautiful combination of leavening gas and steam that gives mile-high biscuits their characteristic volume and tender, flaky interior.
The Method: Crafting Your Mile-High Buttermilk Biscuits
Now that we understand the science, let’s put it into practice. Follow these steps carefully to create your own batch of tender, fluffy, and towering buttermilk biscuits.
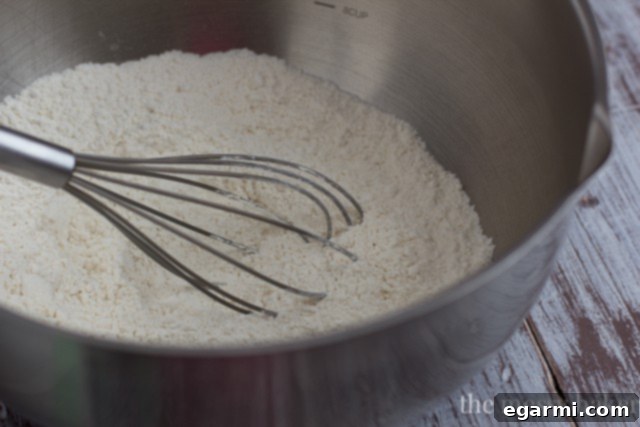
Step 1: Combine Dry Ingredients
In your large, chilled mixing bowl, thoroughly whisk together all the dry ingredients. This typically includes all-purpose flour, baking powder, baking soda, and salt. Whisking ensures an even distribution of the leavening agents and salt, crucial for a consistent rise and flavor throughout your biscuits.
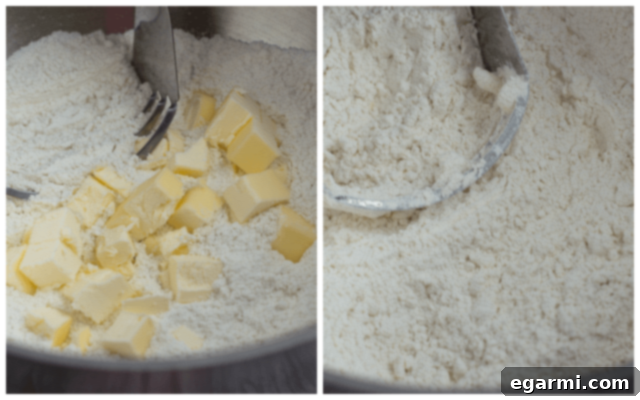
Step 2: Incorporate the Cold Butter
Add your pre-chilled ½-inch butter cubes to the dry mixture. Using a pastry cutter, two knives, or even your fingertips, work the butter into the flour until the mixture resembles coarse crumbs. Some pieces of butter should still be visible, roughly the size of small peas or oatmeal flakes. This is vital for creating those distinct, flaky layers. Avoid overworking the butter at this stage, as you want it to remain as cold as possible.
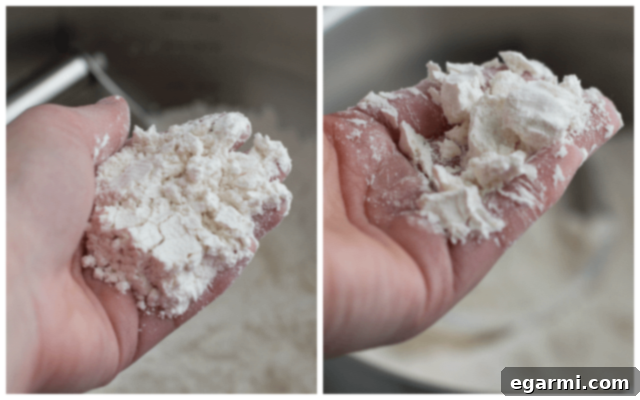
Step 3: Check Butter Consistency
To ensure the butter is perfectly incorporated, take a small pinch of the crumbly mixture between your fingers. If it holds together, forming a small lump, your mixture is ready. If it crumbles apart too easily, continue working the butter in just a bit more, being mindful not to melt it with the warmth of your hands.
Step 4: Add Wet Ingredients
Pour the whisked buttermilk and egg mixture into the butter and flour mixture. Using your hands or a rubber spatula, gently stir until the ingredients are just combined. The dough will appear shaggy and somewhat sticky, with some dry bits still visible. This is exactly what you want – resist the urge to overmix and achieve a smooth dough, as this will lead to tough biscuits.
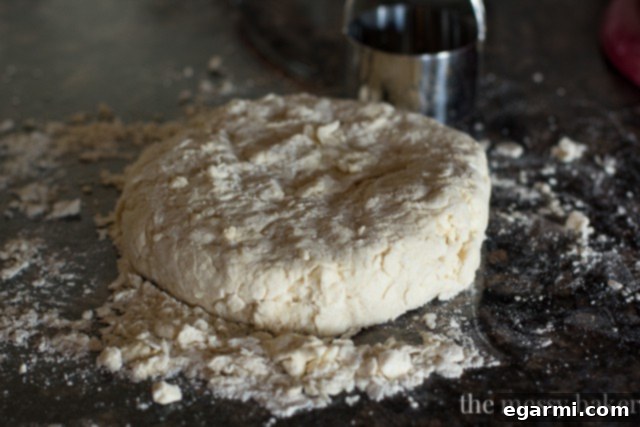
Step 5: Form and Fold the Dough
Lightly flour a clean work surface. Transfer the shaggy dough onto the surface. Using your hands, gently pat the dough into a 1-inch thick disk. To enhance flakiness, you can perform a simple “fold-over” technique: fold the dough in half, then gently pat it back down to a 1-inch disk. Repeat this folding and patting process 2-3 times. This helps create additional layers without developing too much gluten. After the final fold, ensure the dough is approximately 1-inch thick.
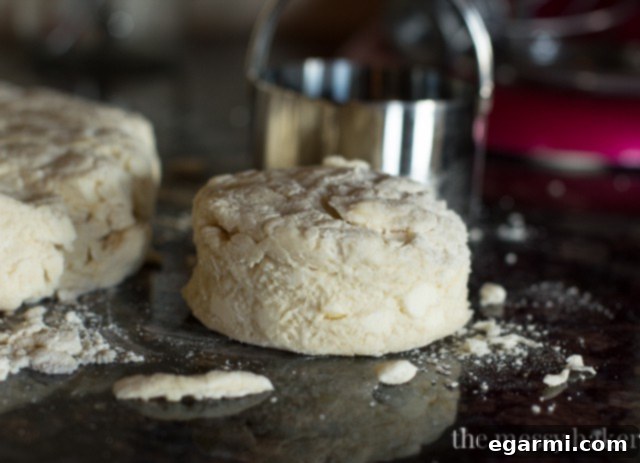
Step 6: Cut and Bake
Using a sharp biscuit cutter (or an inverted drinking glass), press straight down into the dough to cut out rounds. Avoid twisting the cutter, as this can seal the edges and inhibit the biscuits from rising properly. Place the cut biscuits onto a gently greased baking sheet, spacing them about 4 inches apart to allow for maximum air circulation and even baking. For an even taller rise, you can place them closer together so they support each other as they expand. Bake in your preheated oven until the tops are beautifully golden brown and the biscuits have risen significantly, typically about 20-22 minutes. The exact baking time may vary based on your oven.
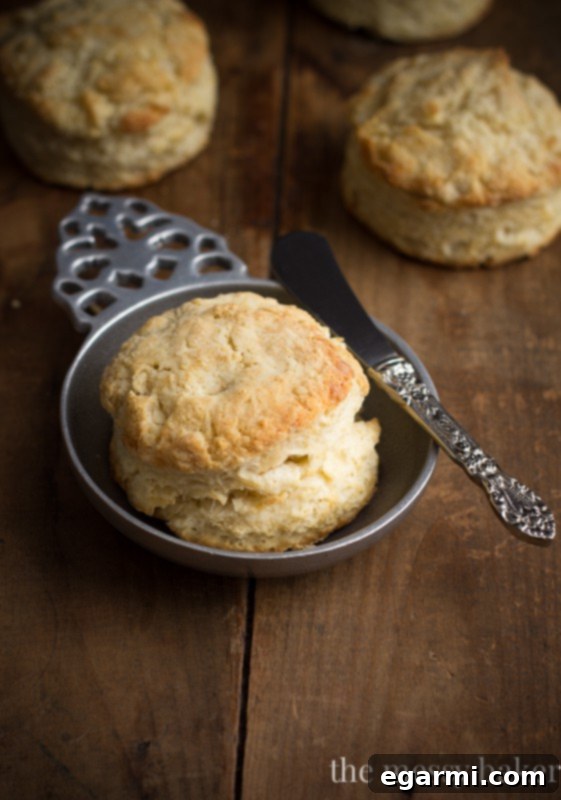
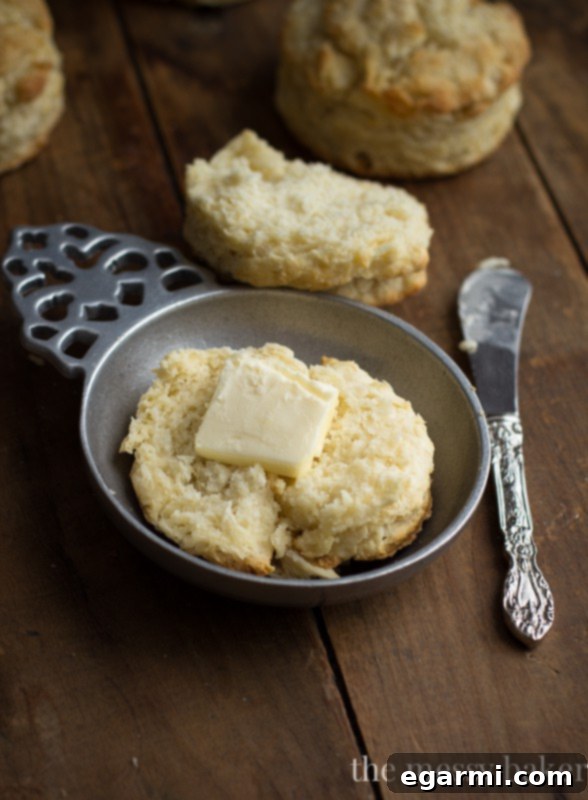
The Irresistible Result: Your Perfect Biscuits Await
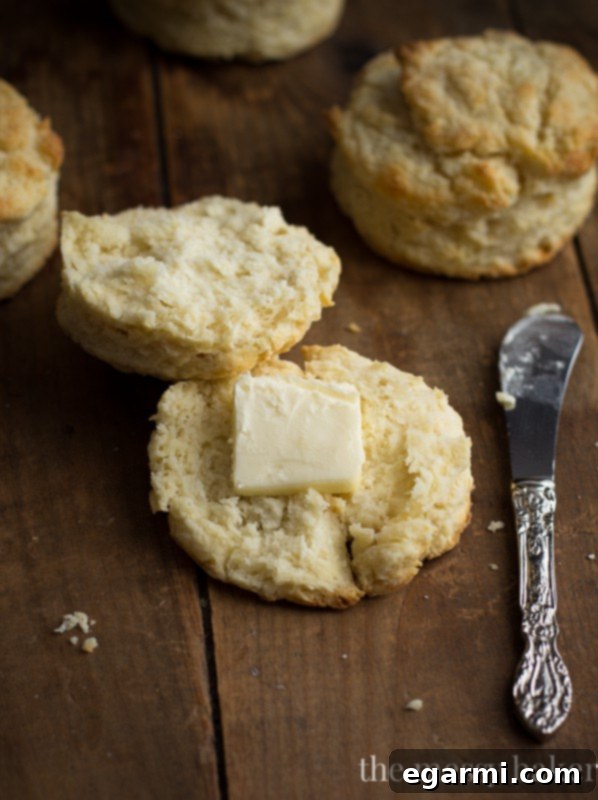
The moment these massive, perfectly baked biscuits emerge from the oven, you’ll be greeted by their inviting aroma and magnificent appearance. Each one boasts a delightful crunchy, golden-brown exterior that yields effortlessly to an incredibly tender, buttery center. These aren’t just biscuits; they’re a melt-in-your-mouth experience, a testament to the care and technique you’ve invested.
For the ultimate indulgence, serve these fluffy buttermilk biscuits warm, generously slathered with extra butter. To elevate the experience even further, consider adding a healthy smear of homemade peach butter, offering a sweet and tangy counterpoint, or a dollop of vibrant strawberry-balsamic jam for a sophisticated twist. Whether enjoyed with breakfast, alongside a savory meal, or as a delightful snack, these homemade, mile-high buttermilk biscuits are destined to become a cherished favorite.
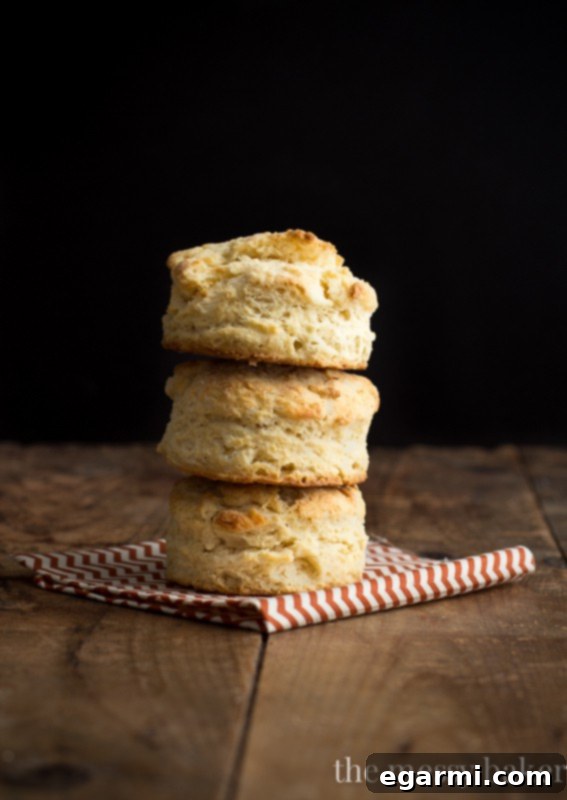
I like big biscuits and I cannot lie!
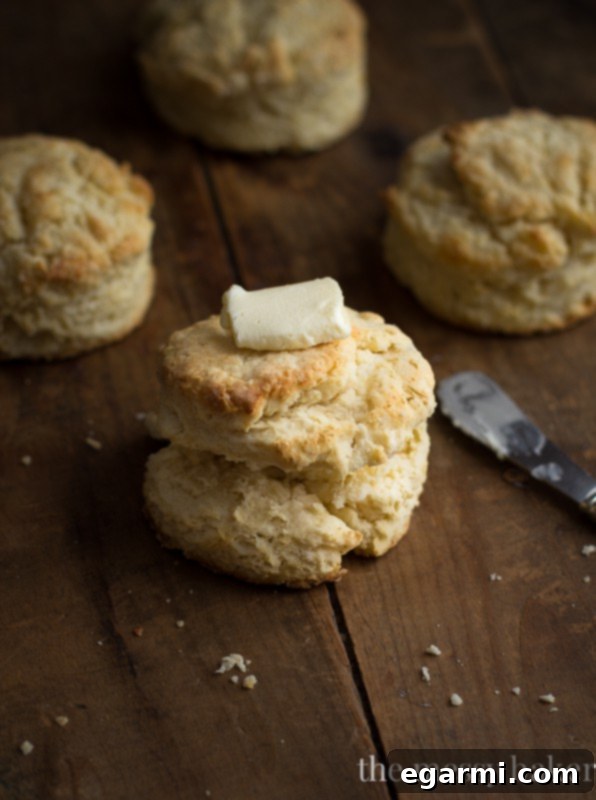
These magnificent biscuits have been proudly featured on Food Fanatic, a testament to their exceptional quality and irresistible charm.