
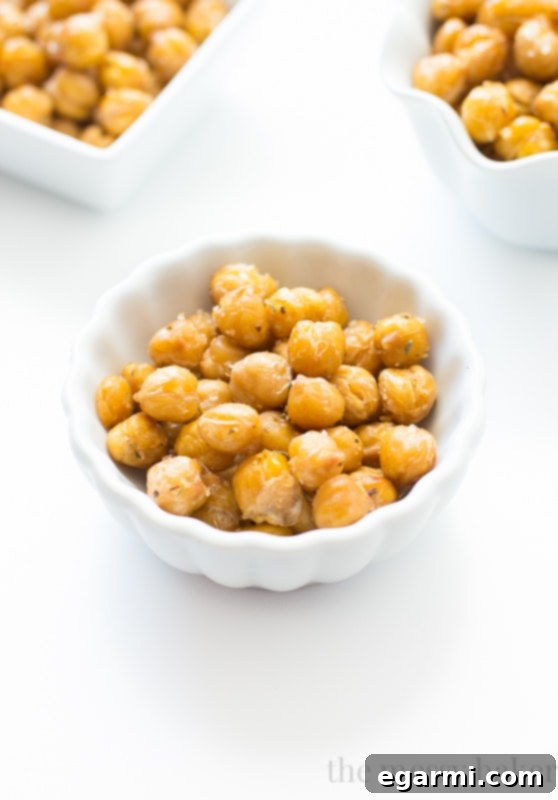
Mastering the Art of Crunchy Roasted Chickpeas: Your Ultimate Guide to a Healthy Snack
A step-by-step photo tutorial on how to achieve perfectly crispy roasted chickpeas every time.
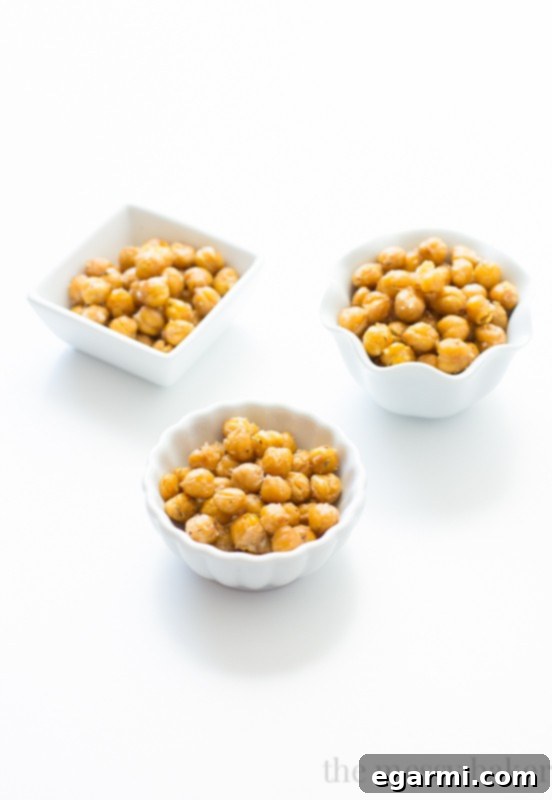
Do you often find yourself reaching for a bag of chips when hunger strikes, only to regret it moments later? If you’re constantly seeking a satisfying, guilt-free snack that delivers on crunch and flavor, then you’ve arrived at the perfect place. This comprehensive guide will transform simple garbanzo beans into your new favorite healthy obsession: perfectly roasted chickpeas.
Forget the days of bland, soggy chickpeas. We’re talking about golden-brown, irresistibly crunchy bites that are not only delicious but also packed with nutrition. Whether you’re a seasoned chef or a kitchen novice, this tutorial will walk you through every essential step to ensure your roasted chickpeas turn out spectacular, ready to elevate your snacking game.
Roasted chickpeas are a culinary marvel – incredibly easy to prepare, versatile, and astonishingly addictive. You might find yourself devouring the first batch in a single sitting, and that’s perfectly fine because they’re remarkably healthy! Rich in plant-based protein, dietary fiber, and essential minerals, they offer a nourishing alternative to processed snacks. In fact, we highly recommend doubling (or even tripling!) the recipe, as these flavorful morsels tend to disappear quickly.
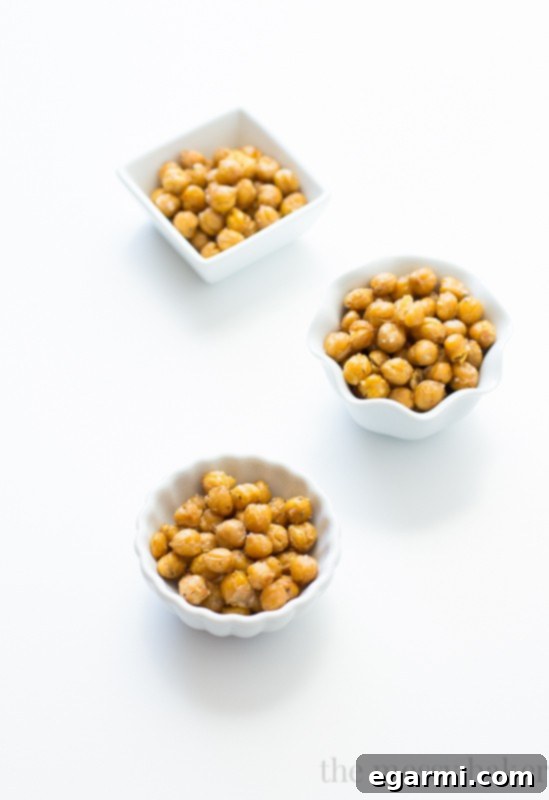
Why Choose Roasted Chickpeas Over Other Snacks?
In a world brimming with convenient but often unhealthy snack options, roasted chickpeas stand out as a beacon of mindful eating. Here’s why they deserve a permanent spot in your pantry:
- Nutrient Powerhouse: Chickpeas are a fantastic source of plant-based protein, making them ideal for vegetarians, vegans, and anyone looking to boost their protein intake. They’re also loaded with dietary fiber, which aids digestion, promotes satiety, and helps regulate blood sugar levels.
- Satisfyingly Crunchy: The texture is key! When roasted correctly, chickpeas achieve an incredible crunch that rivals any fried snack, without the excessive fat. This makes them incredibly satisfying for those moments when you crave something crispy.
- Versatile Flavor Canvas: From savory and spicy to subtly sweet, roasted chickpeas can be seasoned in countless ways to suit any palate or craving. They’re not just a snack; they’re a versatile ingredient.
- Economical and Easy: Made from inexpensive canned garbanzo beans, this recipe is budget-friendly. Plus, the preparation is minimal, requiring only a few basic steps and common kitchen ingredients.
- Naturally Gluten-Free & Vegan: A perfect option for those with dietary restrictions or preferences, offering a delicious and wholesome alternative.
The Secret to Perfectly Crunchy Roasted Chickpeas: It’s All About the Prep!
Achieving that coveted crisp exterior is simpler than you might think, but it hinges on one critical step: drying the chickpeas thoroughly. Moisture is the enemy of crunch. When chickpeas go into the oven wet, the water simply steams, leaving them soft and chewy, rather than crispy and golden. Follow these steps meticulously, and you’ll be rewarded with snack perfection.
For this foundational recipe, you’ll need just three simple ingredients:
- One 15.5-ounce can of garbanzo beans (chickpeas)
- Extra-virgin olive oil
- Kosher salt (or sea salt)
How to Roast Perfect Chickpeas: A Step-by-Step Photo Tutorial
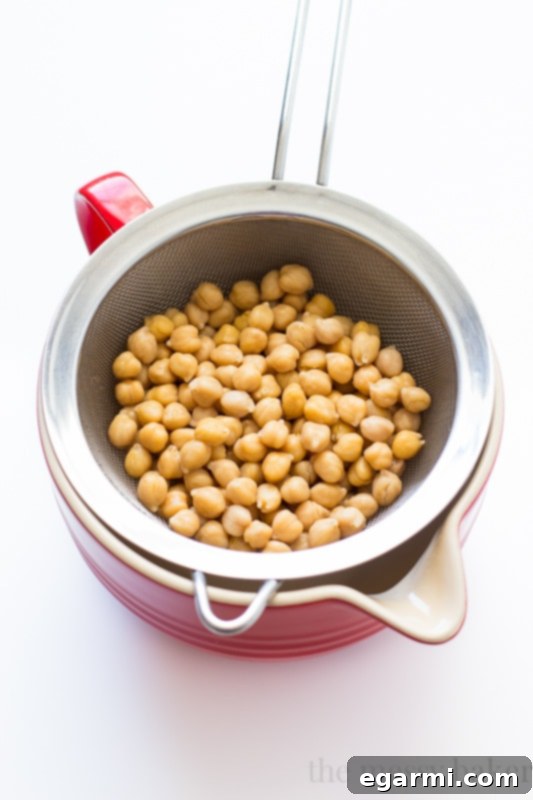
Step 1: Drain and Rinse Your Garbanzo Beans. Begin by emptying your can of garbanzo beans into a mesh strainer. Rinse them thoroughly under cold running water. This crucial step removes the aquafaba (the canning liquid), which can contribute to a metallic taste and prevent crispiness. Rinsing also reduces the sodium content, giving you a fresh slate for seasoning.
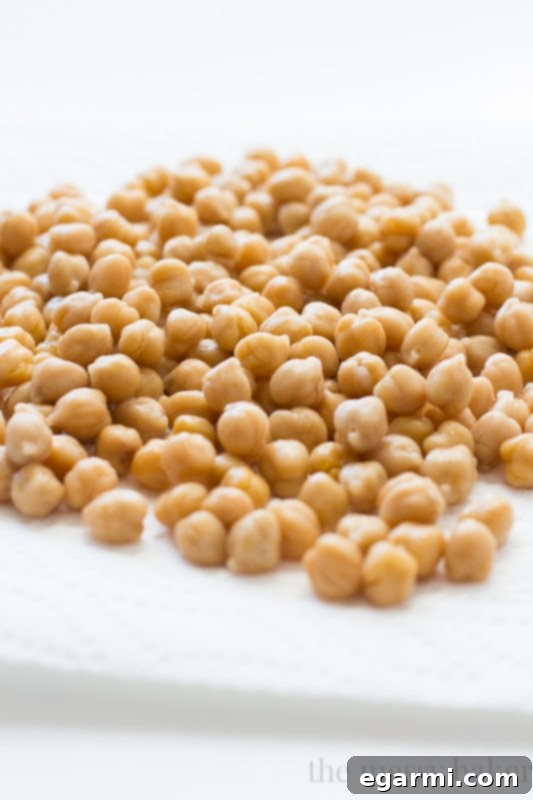
Step 2: Prepare for Drying. Transfer the rinsed garbanzo beans onto a baking sheet generously lined with several layers of paper towels. Alternatively, you can use a clean kitchen towel. The goal here is to absorb as much surface moisture as possible. Ensure the beans are spread out in a single layer to facilitate even drying.
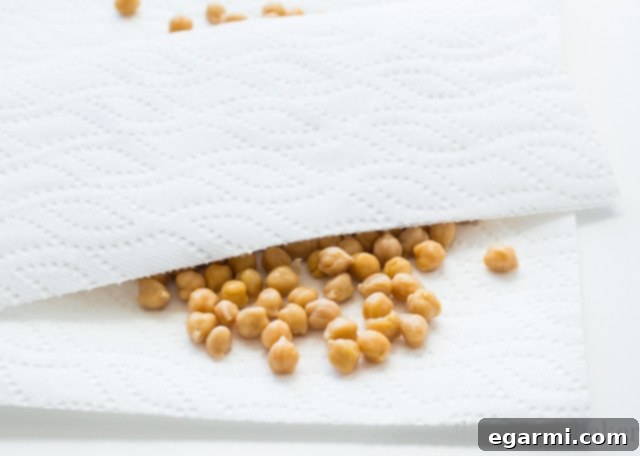
Step 3: Pat the Garbanzo Beans Dry. Using another layer of paper towels, gently but firmly pat the beans dry. You’ll be surprised how much moisture comes off! As you pat them, you may notice some of the thin outer skins detaching from the beans. Take a moment to remove these skins. While not strictly necessary, removing them can contribute to a crispier texture and a more pleasant eating experience. Continue patting until the beans feel noticeably dry to the touch.
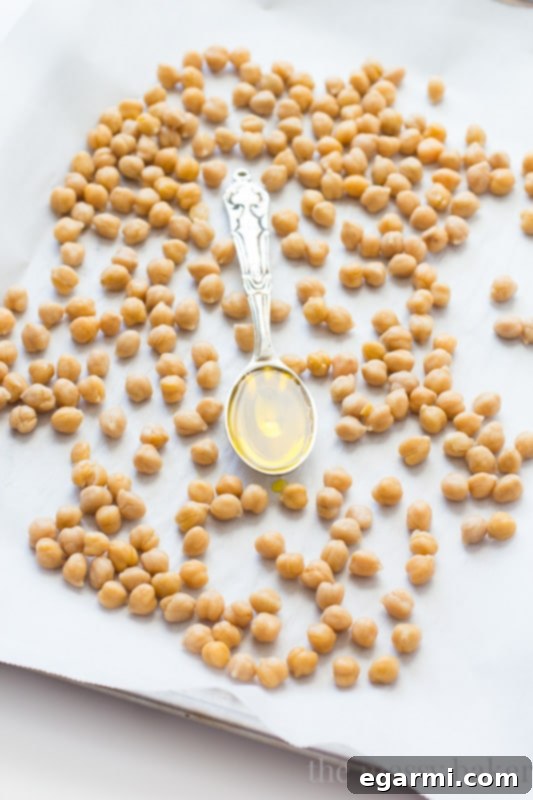
Step 4: Oil and Season. Once thoroughly dried, transfer the beans to a clean baking sheet lined with parchment paper. Parchment paper is essential here as it prevents sticking and helps with even roasting. Drizzle the beans with about 1 tablespoon of extra-virgin olive oil. Gently toss them to ensure each bean is lightly and evenly coated. This oil layer is crucial for achieving that golden-brown color and satisfying crunch.
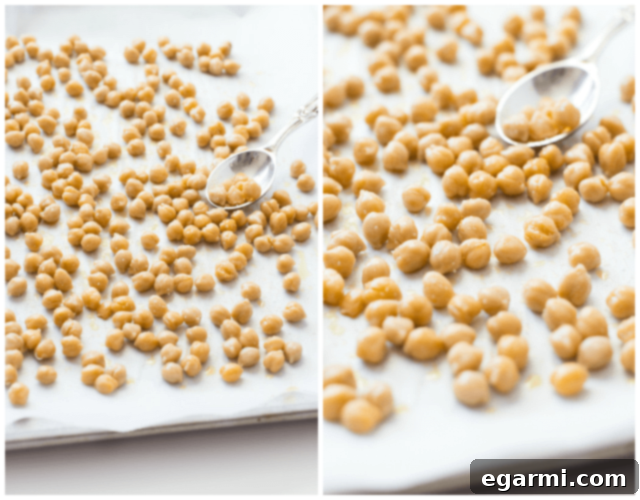
Step 5: Salt and Roast. Preheat your oven to 400°F (200°C). Sprinkle the oiled beans with a generous pinch of kosher salt, approximately 1/2 teaspoon, or to your taste preference. Place the baking sheet in the preheated oven and roast for 30-35 minutes. Halfway through the roasting time (around the 15-20 minute mark), give the baking sheet a good shake or stir the beans with a spatula to promote even browning and crispiness. Continue roasting until the chickpeas are gloriously golden brown and undeniably crunchy. The exact time may vary slightly depending on your oven, so keep a close eye on them towards the end.
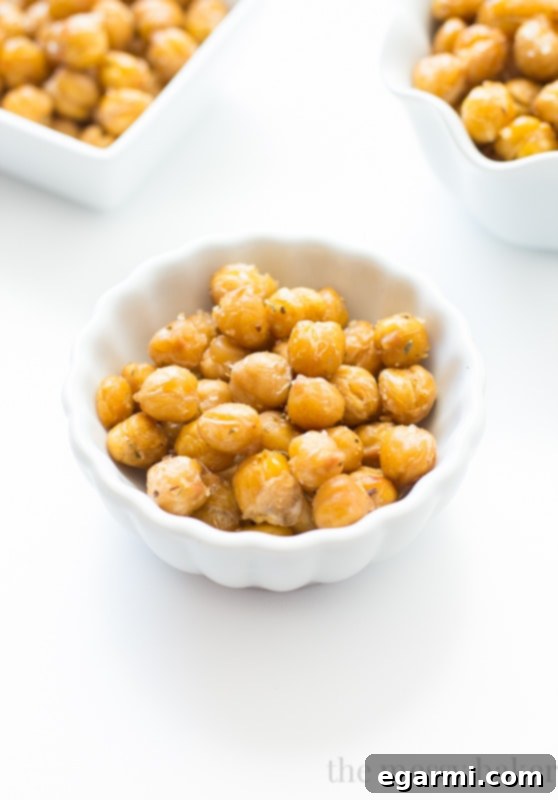
Step 6: Cool and Final Seasoning. Remove the roasted chickpeas from the oven and allow them to cool completely on the baking sheet. This cooling process is vital for them to achieve maximum crispness. If you wish to add additional flavors—such as Cajun seasoning, Italian seasoning, smoked paprika, garlic powder, or even a touch of cinnamon and sugar for a sweet twist—do so while the chickpeas are still warm (but not hot). The residual heat will help the spices adhere better. Experiment with different spices to discover your favorite combinations! Taste and adjust seasoning as needed.
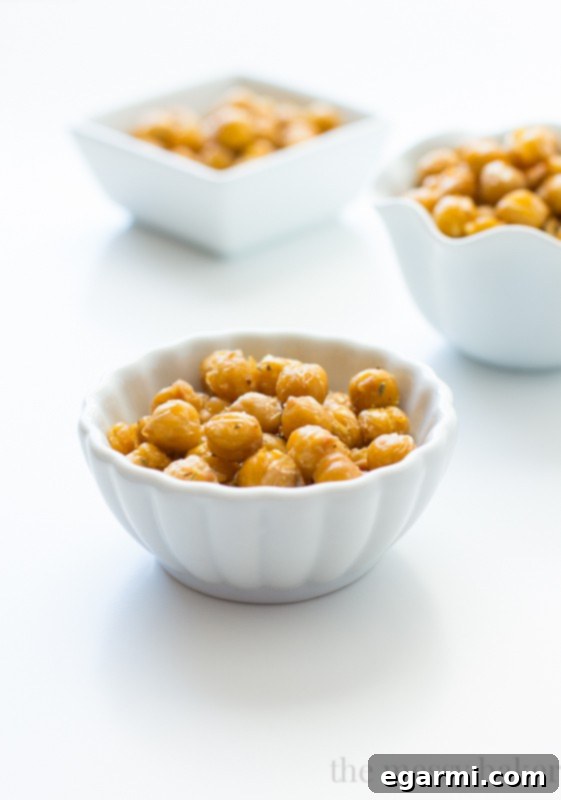
Step 7: Enjoy and Repeat! Once cooled, your perfectly crunchy roasted chickpeas are ready to be devoured. Enjoy them by the handful as a satisfying snack, sprinkle them over salads for an extra layer of texture, or add them to your favorite tomato soup for a delightful crunch. The possibilities are truly endless, and once you master this basic recipe, you’ll find yourself making them again and again.
Endless Flavor Combinations for Your Roasted Chickpeas
The beauty of roasted chickpeas lies in their adaptability. Once you have the basic crunchy texture down, the world of flavor is your oyster. Here are some popular ideas to inspire your culinary creativity:
- Savory & Spicy: Toss with a blend of chili powder, cumin, smoked paprika, and a pinch of cayenne pepper immediately after roasting.
- Italian Herb: Combine dried oregano, basil, thyme, garlic powder, and a touch of grated Parmesan cheese (if not vegan) for a Mediterranean flair.
- Garlic Parmesan: A classic pairing of garlic powder and freshly grated Parmesan cheese.
- Lemon Herb: A zest of fresh lemon and chopped fresh rosemary or dill.
- Smoky BBQ: Mix with BBQ seasoning, a hint of brown sugar, and a dash of liquid smoke for that grilled flavor.
- Sweet Cinnamon Sugar: For a dessert-like snack, toss with cinnamon and a sprinkle of sugar. Delicious on yogurt or oatmeal!
- Nutritional Yeast “Cheesy”: For a dairy-free cheesy flavor, nutritional yeast works wonders.
Serving Suggestions Beyond Just Snacking
While roasted chickpeas are undeniably fantastic straight from the bowl, don’t limit their potential! Here are creative ways to incorporate them into your meals:
- Salad Topper: Replace croutons with roasted chickpeas for a protein-packed, gluten-free crunch on any salad.
- Soup Garnish: Add a handful to your favorite creamy soups (like tomato or butternut squash) just before serving for contrasting texture.
- Grain Bowls: Elevate your quinoa or rice bowls with a vibrant pop of flavor and crunch.
- Wraps & Sandwiches: Crush them slightly and add them to wraps or sandwiches for a textured filling.
- Yogurt & Oatmeal: For sweet-seasoned chickpeas, sprinkle them over yogurt or oatmeal for a surprising and satisfying crunch.
Troubleshooting Common Roasted Chickpea Issues
Even with a clear guide, sometimes things don’t go exactly as planned. Here are solutions to common problems:
- “My chickpeas aren’t crunchy!” This is almost always due to insufficient drying. Ensure you pat them extremely dry before oiling. Also, your oven might be running a bit cool, or they might need a few extra minutes to roast. Don’t crowd the pan, as this can steam instead of roast.
- “My chickpeas are burnt!” Your oven might be too hot, or they were roasted for too long. Keep a close eye on them, especially after the 25-minute mark. If adding spices, remember to add them *after* roasting, as many spices can burn at high temperatures.
- “They are crunchy when warm, but get soft when they cool.” This can happen if they weren’t dried enough, or if they were stored improperly. Make sure they cool completely on the baking sheet before transferring them to an airtight container.
With these tips and tricks, you’re well on your way to mastering the art of perfectly crunchy, incredibly flavorful roasted chickpeas. Say goodbye to unhealthy snack cravings and hello to your new favorite go-to treat!
Perfectly Crunchy Roasted Chickpeas
These perfectly roasted chickpeas are salty, crunchy, and utterly irresistible. They make an excellent healthy snack, a fantastic salad topper, or a delightful crunchy addition to your favorite soups and grain bowls.
Yield: 2 cups
Total Time: 35 minutes
Prep Time: 5 minutes
Cook Time: 30 minutes
Ingredients:
- 1 (15.5-ounce) can garbanzo beans (chickpeas)
- 1 tablespoon extra-virgin olive oil
- 1/2 teaspoon kosher salt (or to taste)
- Optional: Your favorite spices for seasoning (e.g., paprika, garlic powder, Italian seasoning, cayenne)
Directions:
- Preheat your oven to 400°F (200°C).
- Drain and thoroughly rinse the garbanzo beans in a mesh strainer under cold running water.
- Transfer the rinsed garbanzo beans to a baking sheet lined with several layers of paper towels. Pat them extremely dry with additional paper towels, removing any loose skins. This step is crucial for crispiness.
- Transfer the dried beans to a parchment-lined baking sheet. Drizzle with olive oil and toss to ensure an even, light coating. Sprinkle with kosher salt and spread in a single layer.
- Bake for 30-35 minutes, stirring or shaking the pan halfway through, or until the chickpeas are golden brown, firm, and crunchy.
- Remove from the oven and allow to cool completely on the baking sheet. If adding additional spices, sprinkle them over the warm (not hot) chickpeas and toss to coat. This helps the spices adhere better.
- Serve immediately for the best crunch, or store in an airtight container at room temperature for up to 3-5 days. While they remain tasty, they are best enjoyed within the first 2 days for optimal crispiness.
Elevate your roasted chickpeas with various seasonings! Try smoked paprika, garlic powder, chili powder, or Italian seasoning. For a sweet treat, toss with cinnamon and a pinch of sugar after roasting. Snap a photo of your creations and share them using the hashtag #MessyBakerBlog and tag @themessybaker on Instagram. We love seeing your delicious results!