
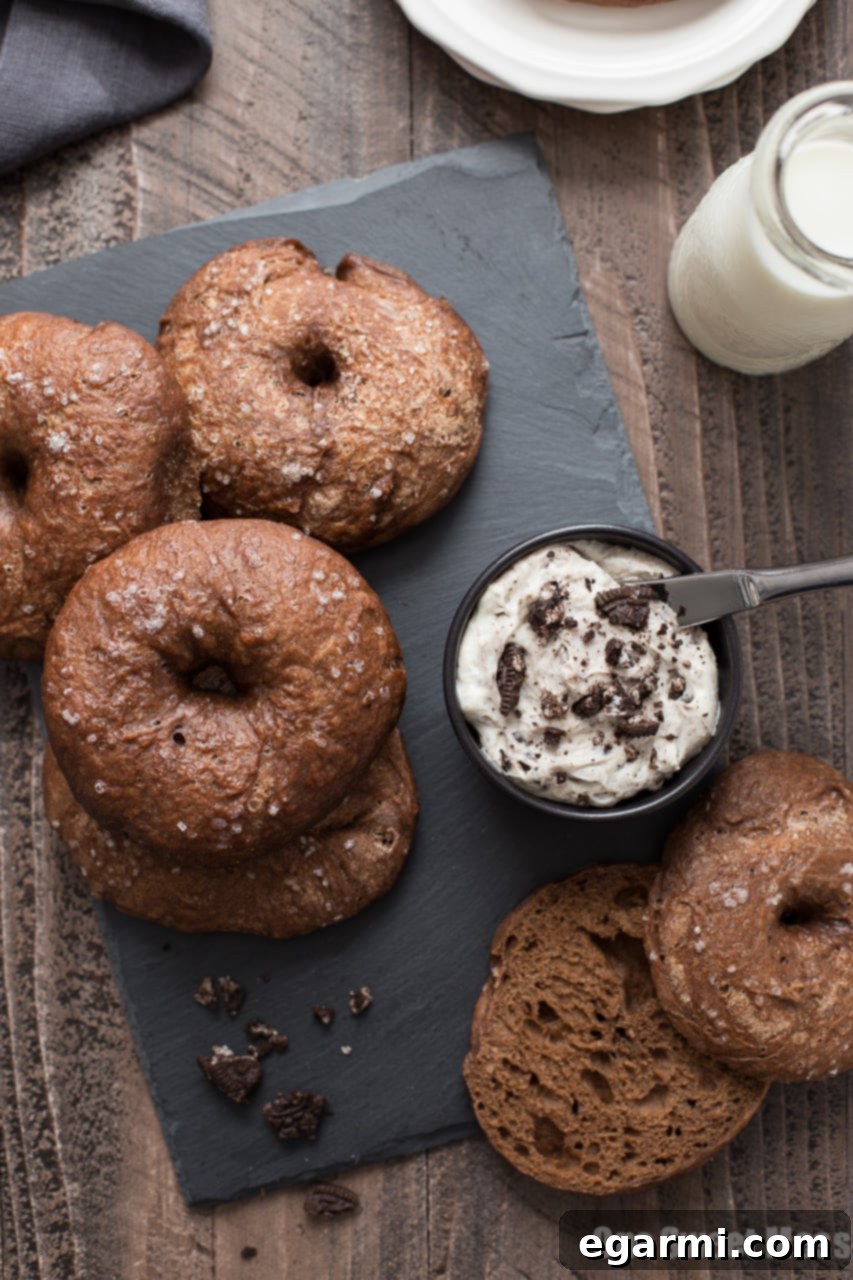
Decadent Chocolate Bagels with Heavenly Cookies & Cream Whipped Cream Cheese
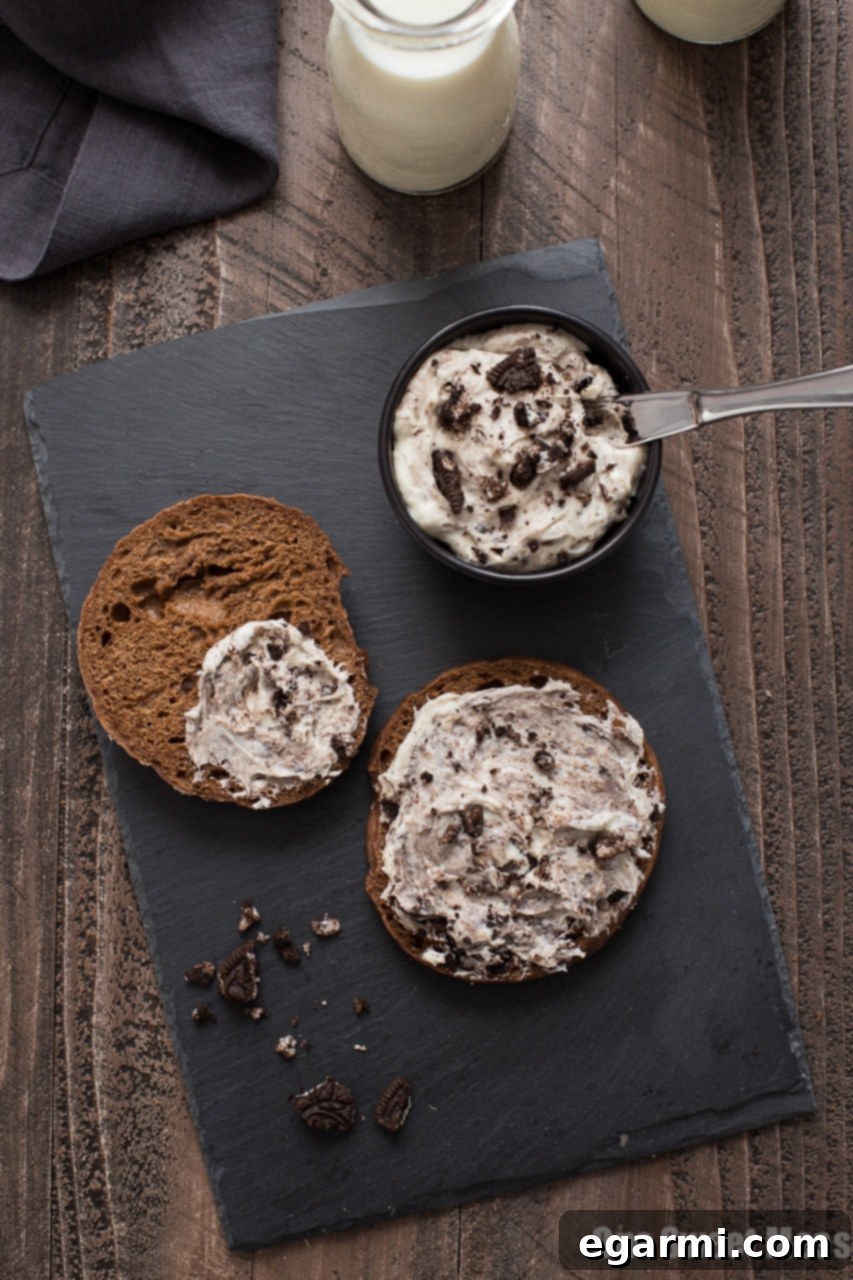
Prepare your taste buds for an extraordinary experience: rich, deep chocolate bagels paired with a light, airy, and utterly irresistible cookies & cream whipped cream cheese. This isn’t just a breakfast item; it’s a gourmet delight that elevates the humble bagel to a luxurious treat. Imagine the perfect balance of a chewy, crisp bagel with an intensely chocolatey flavor, generously slathered with a sweet and tangy cream cheese studded with crunchy chocolate sandwich cookie pieces. It’s a combination that dreams are made of, promising to transform your mornings and impress even the most discerning palate.
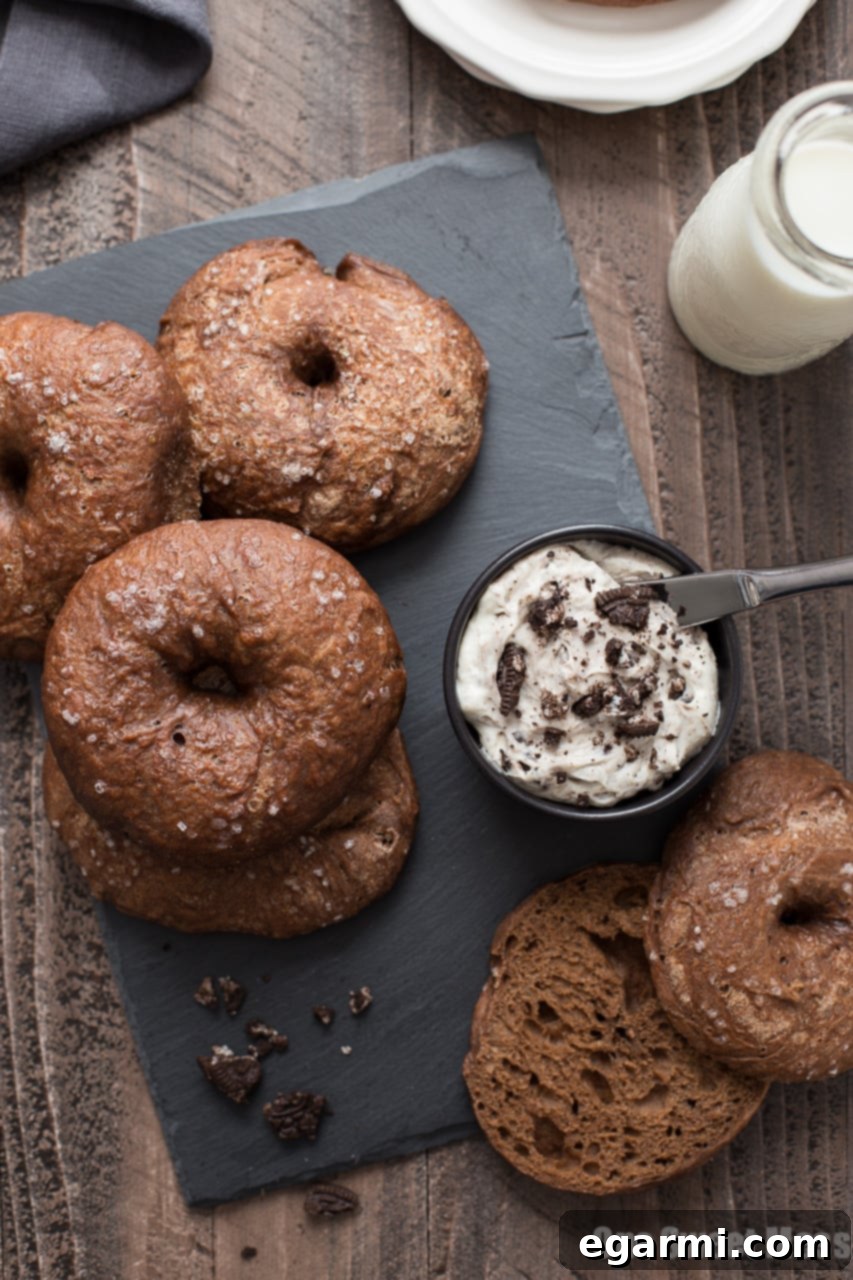
Discovering the Ultimate Chocolate Bagel
For years, my quest for an authentic, all-out chocolate bagel seemed fruitless. While chocolate chip bagels offered a hint of cocoa, I yearned for a bagel where chocolate wasn’t just an accent, but the star of the show. So, I embarked on a culinary adventure, determined to create a bagel that delivered a profound chocolate flavor through and through. The result? A batch of homemade chocolate bagels that are crisp on the outside, wonderfully chewy on the inside, and infused with an unparalleled cocoa richness. This isn’t a mere chocolate-flavored bread; it’s a deeply satisfying, intensely chocolatey bagel that stands on its own.
There’s a unique satisfaction in crafting something truly exceptional from scratch. If you desire perfection, sometimes you simply have to roll up your sleeves and make it happen yourself. This recipe is a testament to that philosophy, offering you the chance to create bakery-quality bagels right in your own kitchen.
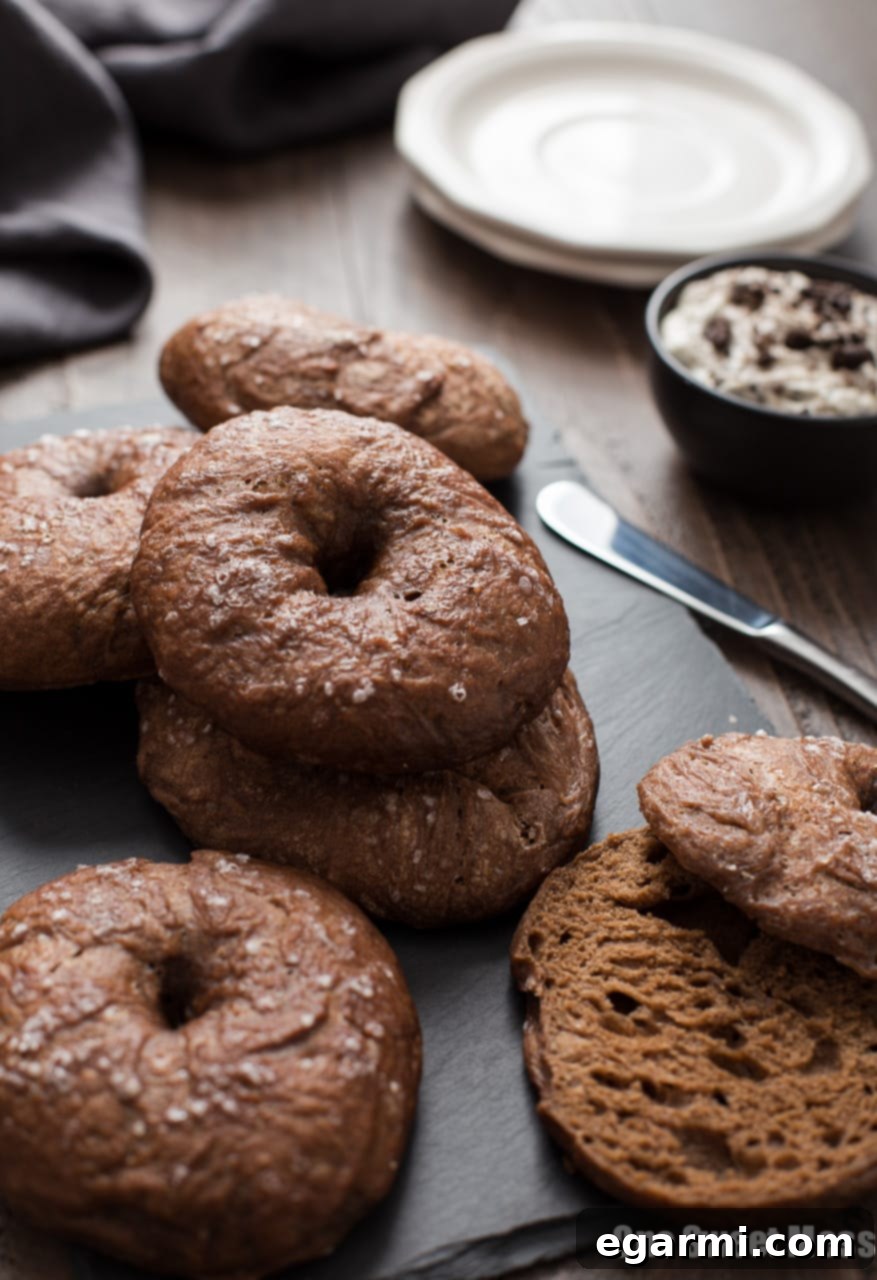
Crafting the Irresistible Cookies & Cream Dream Filling
But wait, the indulgence doesn’t stop there. To perfectly complement these decadent chocolate bagels, I envisioned a cream cheese spread that was equally remarkable. Enter the cookies & cream whipped cream cheese – a game-changer that takes this creation from delicious to absolutely divine. This isn’t just any cream cheese; it’s a luscious concoction of tangy, softened cream cheese, expertly whipped with a touch of vanilla bean paste and powdered sugar until it reaches a cloud-like consistency. The real magic happens when generous chunks of crushed chocolate sandwich cookies (you know the ones we’re talking about!) are gently folded in, adding an delightful textural contrast and an extra layer of chocolatey goodness. The interplay of the smooth, sweet cream cheese with the satisfying crunch of the cookies creates a symphony of flavors and textures that is truly unforgettable.
Every detail in this recipe has been thoughtfully considered to achieve a harmonious blend of flavors and textures. From the robust chocolate notes of the bagel to the creamy, crunchy sweetness of the filling, each component plays a crucial role in creating this ultimate treat.
The Secret to Deep Chocolate Flavor and Perfect Texture
The secret to the profound chocolate flavor in these bagels lies in a combination of high-quality ingredients. A generous scoop of premium cocoa powder forms the base, providing that deep, earthy chocolate essence. To intensify this, I’ve added a splash of chocolate extract – yes, it’s a real thing, and it truly boosts the cocoa notes! If chocolate extract is hard to find, don’t worry; the bagels will still be incredibly flavorful without it. A crucial addition for maximizing the chocolate impact is a teaspoon of instant espresso powder. Espresso doesn’t make the bagels taste like coffee; instead, it acts as a flavor enhancer, amplifying and deepening the chocolate profile, making it richer and more complex. These elements combined ensure every bite is an explosion of luxurious chocolate.
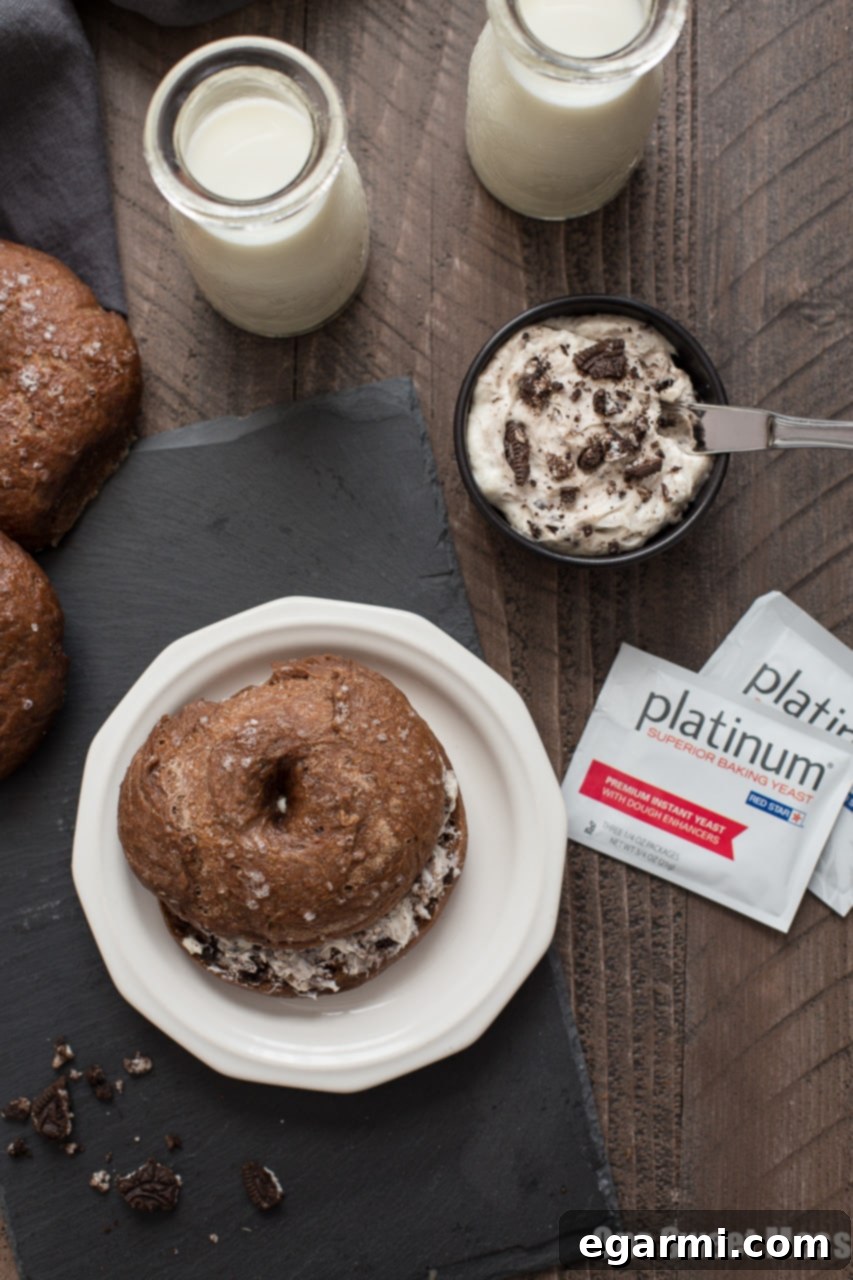
Beyond flavor, texture is paramount for a perfect bagel. This is where the quality of your yeast makes all the difference. I cannot overstate the importance of using high-quality yeast, which is why I consistently recommend Red Star Yeast. It’s the cornerstone of a successful rise, essential for achieving that characteristic tender, chewy interior and crisp crust. For this recipe, I specifically reached for Red Star’s Platinum line of yeast. Fortified with dough enhancers, it significantly strengthens and improves your dough, leading to impressive volume and height. One packet can truly transform your baking experience, making you feel like a bread-baking rockstar. The sense of accomplishment when your dough rises beautifully and your bagels emerge perfectly is incredibly rewarding.
If you’re new to the wonderful world of bagel making, or simply want a detailed refresher, I highly recommend consulting my comprehensive bagel tutorial. It provides a step-by-step guide to the bagel-making process, ensuring even beginner bakers can achieve fantastic results. From shaping to boiling, the tutorial covers all the essential techniques to help you master the art of homemade bagels.
Serving Suggestions and Storage
While these chocolate bagels are a delightful treat any time of the year, their rich flavor and impressive appearance make them an exceptional addition to special occasions. Imagine them as a star feature on your Easter brunch menu, a decadent surprise for weekend guests, or simply as an indulgent treat to elevate an ordinary morning. They are delicious served warm, lightly toasted, or at room temperature, making them incredibly versatile. The combination of sweet and savory notes means they pair wonderfully with a hot cup of coffee or a glass of cold milk.
Chocolate Bagels with Cookies & Cream Whipped Cream Cheese
Yield: 8 bagels
Total Time: 2 hours 40 minutes
Prep Time: 2 hours 10 minutes
Cook Time: 30 minutes
Ingredients:
For the Decadent Chocolate Bagels
- 3 and 1/4 cups bread flour (preferred for optimal chewiness and structure)
- 1/4 cup unsweetened cocoa powder (for rich chocolate flavor)
- 1 and 1/2 teaspoons kosher salt (enhances flavor and controls yeast activity)
- 1 teaspoon instant espresso powder (deepens and intensifies chocolate flavor)
- 1 and 1/2 cups warm water (not to exceed 120 degrees F.; crucial for activating yeast)
- 1 packet (0.25 oz) yeast (such as Red Star Platinum for superior rise)
- 1/2 teaspoon vanilla extract (adds a touch of sweetness and aroma)
- 1/2 teaspoon chocolate extract, optional (for an extra boost of chocolate intensity)
- Coarse sugar for topping, optional (adds sparkle and a slight crunch)
For the Heavenly Cookies & Cream Whipped Cream Cheese
- 1 (8-ounce) package cream cheese, softened (ensure it’s at room temperature for smooth whipping)
- 1/3 cup powdered sugar (sweetens and creates a smooth texture)
- 1/2 teaspoon vanilla bean paste (for intense vanilla flavor and speckles)
- 5 chocolate sandwich cookies, crushed (adds texture and chocolatey crunch)
Directions:
- Prepare the Bagel Dough: In the bowl of a stand mixer fitted with the dough hook attachment, combine the bread flour, cocoa powder, espresso powder, and kosher salt. Mix on low speed for about 30 seconds until all dry ingredients are evenly incorporated.
- Activate the Yeast: In a separate measuring cup or small bowl, gently whisk the warm water and yeast together. Let this mixture stand for 5-10 minutes. You should see a foamy layer form on top, indicating that the yeast is active and ready.
- Combine Wet and Dry Ingredients: With the mixer on low speed, slowly pour the activated yeast mixture into the flour mixture. Add the vanilla extract and chocolate extract (if you’re using it). Continue to mix on low speed for a full 8 minutes. This ensures proper gluten development, which is key for a chewy bagel. The dough should gather into a ball and pull away from the sides of the bowl.
- First Rise (Proofing): Transfer the dough to a lightly floured surface. Knead the dough by hand for an additional 1 minute, adding a minimal amount of flour only if necessary to prevent sticking. Shape the dough into a smooth, tight ball. Lightly oil a large bowl, place the dough in it, and turn it once to coat. Cover the bowl with a clean, dry kitchen towel and place it in a warm, undisturbed area of your kitchen. Allow the dough to rise until it has doubled in size, which typically takes between 1-2 hours, depending on your kitchen’s temperature.
- Divide the Dough: Once risen, gently punch down the dough to release the air. Transfer it back to a lightly floured surface. Shape the dough into a log. Using a pastry scraper or a sharp, floured knife, divide the log into 8 equal pieces. Aim for uniform sizes for consistent baking.
- Shape the Bagels: Gently roll each dough piece into a smooth ball. Then, place your thumb in the center of each ball and push down to create a hole. Gently tug on the dough around the hole to create a slightly larger, even opening (about 1-1.5 inches in diameter). Cover the shaped bagels with a clean, dry kitchen towel and allow them to proof (rest) for an additional 15 minutes. This brief rest helps them relax before boiling.
- Prepare for Boiling and Baking: While the bagels are resting, preheat your oven to 400 degrees F (200 degrees C). Line a large baking sheet with parchment paper to prevent sticking. In a large pot, bring 8 cups of water to a gentle boil.
- Boil and Bake the Bagels: Carefully add the bagels to the gently boiling water, working in two batches to avoid overcrowding the pot. Boil for 40 seconds on each side. This crucial step gives bagels their characteristic chewiness and shiny crust. Using a slotted spoon, remove the bagels from the water and place them onto your prepared baking sheet. If desired, sprinkle each bagel with a generous pinch of coarse sugar before baking. Transfer the baking sheet to the preheated oven and bake for 25-30 minutes, or until the tops of the bagels are golden brown and sound hollow when tapped. Let them cool completely on a wire rack.
- Prepare the Whipped Cream Cheese: While the bagels cool, make the whipped cream cheese. In a stand mixer fitted with the paddle attachment (or using an electric hand mixer), add the softened cream cheese and powdered sugar. Beat on medium speed until the mixture is smooth, light, and creamy, scraping down the sides of the bowl as needed. Add the vanilla bean paste and mix until just combined. Finally, gently fold in the crushed chocolate sandwich cookies by hand to maintain their texture.
- Serve and Enjoy: To serve, slice the cooled bagels in half. For an extra touch, you can lightly toast them in a toaster. Spread a thick, generous layer of the heavenly cookies & cream whipped cream cheese on each half. Serve immediately and savor every bite!
- Storage Instructions: Store any cooled, plain bagels in an airtight container or bag at room temperature for up to 5 days, or freeze them in a single layer for up to 3 months. The whipped cream cheese should be stored separately in an airtight container in the refrigerator for up to 5 days.
- After extensive testing, I’ve found that bread flour consistently yields the best results for a truly authentic chewy bagel texture. However, if bread flour isn’t available, all-purpose flour can be used as a substitute; just be aware the texture might be slightly less chewy.
- If you’re unable to locate Red Star Platinum Yeast, both their Active Dry and Quick Rise Yeast varieties are excellent alternatives and will still produce delicious, well-risen bagels.
- For the best texture and crunch, I highly recommend preparing the cookies & cream whipped cream cheese right before you plan to serve it. This keeps the crushed chocolate sandwich cookies delightfully crunchy rather than softening over time.
All images and text ©One Sweet Mess.
Disclosure: This recipe was developed for the lovely folks at Red Star Yeast. All opinions expressed are entirely my own, reflecting my genuine experience and passion for their products. Thank you for supporting my recipes and site as I collaborate with brands I genuinely adore and believe in.