
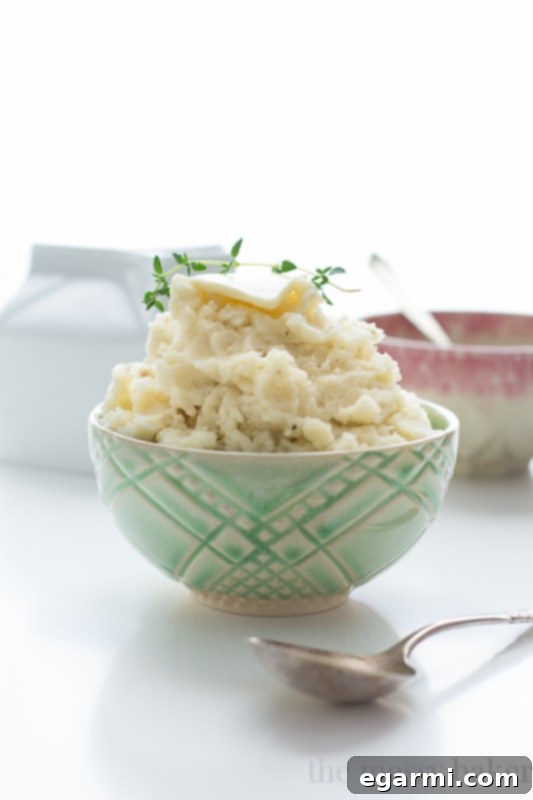
Mastering Mashed Potatoes: Your Guide to Three Essential Mashing Techniques
Unlock the secrets to perfect mashed potatoes with this comprehensive guide exploring the three most popular mashing methods, ensuring a texture to delight every palate.
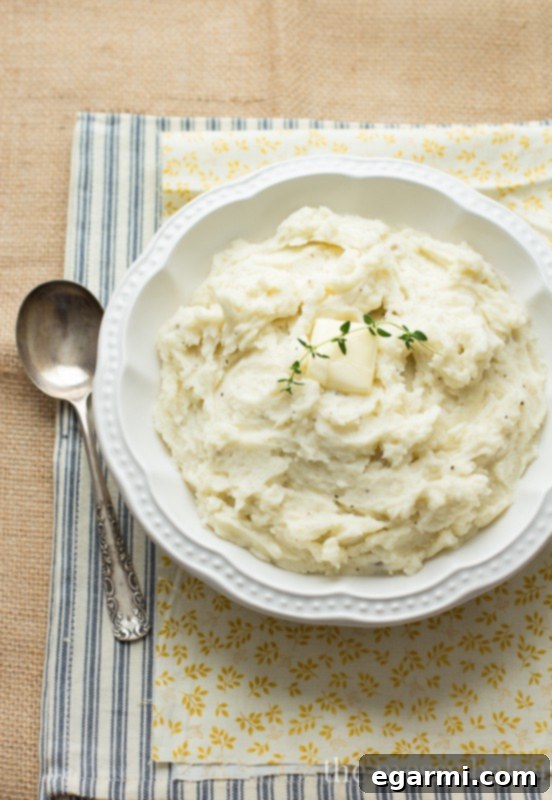
Mashed potatoes: a quintessential comfort food, a holiday staple, and a side dish beloved across cultures. While seemingly straightforward – boil potatoes, add dairy and fat, then mash – the journey from humble spud to sublime spoonful offers more nuance than meets the eye. Many believe there’s only one way to achieve this culinary delight, but savvy cooks know that the tool you choose for mashing can dramatically alter the final texture, from rustic and chunky to velvety smooth or light and fluffy.
This tutorial will delve into the art and science of preparing perfect mashed potatoes by exploring the three most common mashing techniques. Whether you’re a busy weeknight cook, an enthusiastic home chef, or aiming to impress your dinner guests, understanding these methods will empower you to create your ideal mashed potato masterpiece. Get ready to elevate your potato game and discover which technique best suits your culinary style and desired outcome.

The Foundation: Choosing and Preparing Your Potatoes
Before you even think about mashing, the secret to exceptional mashed potatoes begins with selecting the right potatoes and cooking them properly. Different potato varieties yield distinct textures, and incorrect cooking can sabotage even the best mashing technique.
Selecting the Perfect Potato
- Starchy Potatoes (e.g., Russet, Idaho, King Edward): These are high in starch and low in moisture. When cooked, their cells break down easily, resulting in a light, fluffy, and somewhat drier mash that readily absorbs butter and cream. Ideal for classic, cloud-like mashed potatoes.
- Waxy Potatoes (e.g., Red Bliss, New Potatoes, Fingerlings): Lower in starch and higher in moisture, waxy potatoes hold their shape well after cooking. They produce a creamier, denser, and sometimes stickier mash. While less common for traditional mashed potatoes, they work well for a more substantial, rustic side.
- All-Purpose Potatoes (e.g., Yukon Gold, Maris Piper): Offering a balance of starch and moisture, these are often considered the best of both worlds. Yukon Golds, in particular, are renowned for their naturally buttery flavor and creamy texture, making them a superb choice for a rich and flavorful mash without being overly starchy or waxy.
Cooking Your Potatoes for Optimal Results
Regardless of your mashing method, proper cooking is paramount:
- Peel and Cut Uniformly: Peel your potatoes (unless you prefer skins on for a rustic look) and cut them into roughly 1-inch pieces. Uniform pieces ensure even cooking, preventing some from becoming mushy while others remain firm.
- Start in Cold, Salted Water: Place the cut potatoes in a pot and cover them with cold water by about an inch. Add a generous pinch of salt. Starting in cold water allows the potatoes to cook evenly from the outside in, rather than cooking the exterior too quickly while the interior remains hard.
- Boil Until Fork-Tender: Bring the water to a boil, then reduce heat and simmer gently until the potatoes are easily pierced with a fork but not falling apart. Overcooked potatoes absorb too much water, leading to a watery mash.
- Drain Thoroughly: This is a critical step! Drain the potatoes completely in a colander. For an even drier, fluffier result, return the drained potatoes to the empty hot pot over low heat for a minute or two, allowing any remaining moisture to evaporate. This “steam-drying” prevents watery mashed potatoes.
Technique 1: The Rustic Charm of the Potato Masher
For the busy home cook or anyone who appreciates a bit of texture in their mash, the good old-fashioned potato masher is an indispensable tool. It’s the simplest and most accessible method, offering a comforting, homemade feel.
Who It’s For:
- The everyday cook looking for a quick and easy solution.
- Those who enjoy a slightly chunky, rustic texture.
- Beginners in the kitchen.
How to Use a Potato Masher:
After your potatoes are perfectly cooked and drained:
- Add Dairy and Fat: Return the hot, dry potatoes to the pot. Immediately add your warm butter, milk, or cream. It’s crucial that these additions are warm, as cold ingredients can cool the potatoes rapidly and lead to a stiffer, less cohesive mash.
- Mash Gently: Using your potato masher, press down firmly, moving it around the pot. Work in sections rather than trying to mash everything at once.
- Stop When Desired Texture is Achieved: Mash until most of the lumps are broken down and you reach your desired consistency. Be careful not to overwork the potatoes; excessive mashing can activate the starches, turning your lovely mash into a gluey, unappetizing paste. A few small lumps are perfectly acceptable and contribute to the rustic charm.
- Season and Serve: Stir in salt, pepper, and any other desired seasonings. Serve immediately.
Pros of Using a Potato Masher:
- Simplicity: No complex setup or cleanup.
- Cost-Effective: Mashers are inexpensive and durable.
- Rustic Texture: Delivers a classic, hearty mashed potato with some texture.
- Low Risk of Overmixing: Less likely to activate starches compared to electric methods.
Cons of Using a Potato Masher:
- Manual Effort: Requires physical exertion, especially for large batches.
- Lumps: Difficult to achieve a completely lump-free consistency.
- Less Fluffy: Doesn’t aerate the potatoes as much as a mixer.
Technique 2: The Efficiency of the Electric Mixer
When you crave a creamier, fluffier mash, or when preparing larger quantities, an electric mixer (either a handheld or stand mixer) steps in to lighten your load and elevate your potatoes. This method offers a balance between effort and exquisite texture.
Who It’s For:
- Home cooks wanting a smoother, lighter, and fluffier mashed potato.
- Those preparing large batches for gatherings or holidays.
- Anyone looking for efficiency and reduced manual effort.
How to Use an Electric Mixer:
Once your potatoes are hot and dry, proceed as follows:
- Add Warm Ingredients: Transfer the drained potatoes to a large mixing bowl (or the bowl of your stand mixer). Add warm butter, milk, or cream, and any initial seasonings.
- Start on Low Speed: Begin mixing on the lowest speed with the paddle attachment (for a stand mixer) or beaters (for a handheld mixer). The goal is to gently break down the potatoes and incorporate the liquids without over-agitating.
- Gradually Increase Speed (Briefly): Mix for just 30-60 seconds, increasing the speed to medium briefly if needed to achieve a creamy consistency. The key is short bursts of mixing.
- Avoid Overmixing: As soon as the potatoes appear smooth and light, stop mixing. Overmixing with an electric mixer is the most common cause of “gluey” or “gummy” mashed potatoes, as it excessively breaks down the potato cells and releases too much starch.
- Final Adjustments: Taste and adjust seasonings. You can fold in fresh herbs or other additions by hand for a final touch.
Pros of Using an Electric Mixer:
- Effortless: Significant reduction in manual effort.
- Creamy and Fluffy: Achieves a light, aerated, and creamy texture that’s smoother than a masher.
- Fast: Quickly processes large quantities of potatoes.
Cons of Using an Electric Mixer:
- Risk of Gluey Texture: High risk of overmixing, leading to an undesirable gummy consistency.
- Cleanup: More parts to clean than a simple masher.
- Equipment Needed: Requires an electric appliance.
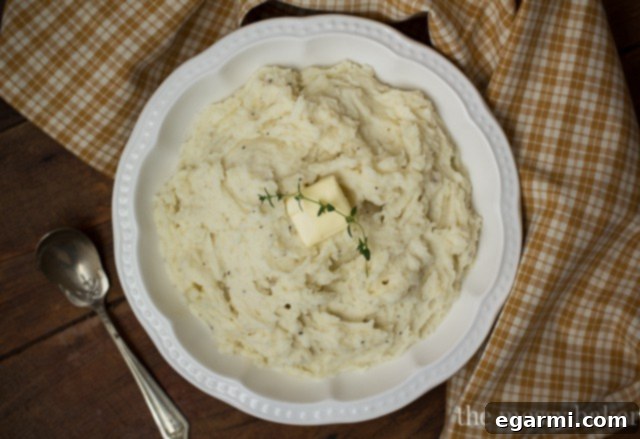
Technique 3: The Velvety Perfection of the Food Mill
For the ultimate in smooth, lump-free, restaurant-quality mashed potatoes, the food mill is the tool of choice. Beloved by professional chefs and serious home cooks, this method delivers a truly luxurious texture that is unparalleled.
Who It’s For:
- Those seeking the silkiest, most velvety, and completely lump-free mashed potatoes.
- Gourmet cooks and entertainers looking to impress.
- Anyone desiring a refined texture without the risk of gumminess.
How to Use a Food Mill:
The food mill works by forcing cooked potatoes through small holes, effectively separating the starchy flesh from any skins or impurities, and preventing the over-activation of starch cells.
- Set Up the Mill: Assemble your food mill over a large bowl or directly over your cooking pot. Choose a medium or fine disc, depending on your desired level of smoothness.
- Process Hot Potatoes: Place the hot, drained potatoes into the hopper of the food mill.
- Crank and Collect: Turn the crank, pushing the potatoes through the disc. The pureed potatoes will fall into the bowl below, while any skins or fibrous bits remain in the mill.
- Add Warm Ingredients: Once all potatoes are milled, gently fold in your warm butter, milk, or cream with a spatula. Because the food mill processes potatoes so delicately, you can mix quite vigorously by hand without fear of them becoming gluey.
- Season and Serve: Season to taste and serve. The result will be exceptionally light, airy, and uniformly smooth.
Pros of Using a Food Mill:
- Unrivaled Smoothness: Produces the silkiest, most lump-free mashed potatoes.
- No Gumminess: Virtually eliminates the risk of gummy potatoes because it doesn’t “beat” the starch cells.
- Versatile: Excellent for processing other soft foods like purees, sauces, and baby food.
- Enhanced Flavor: The delicate processing preserves the potato’s natural flavor and texture.
Cons of Using a Food Mill:
- Cost and Storage: Can be more expensive and takes up more cabinet space than a masher.
- More Effort (than mixer): Requires manual cranking, though less tiring than a masher for large quantities.
- Cleanup: Multiple parts to wash.
- Setup: Requires assembly.
I personally find the food mill to be my favorite way to make mashed potatoes. One run through the mill, and you’ll have velvety-smooth, incredibly creamy potatoes completely free of lumps. If you have some extra space in your cabinet and a few extra dollars to spend, I highly recommend investing. I use this OXO Good Grips Food Mill.
Elevating Your Mash: Flavor Enhancements and Seasoning Tips
Once you’ve mastered your preferred mashing technique, it’s time to infuse your potatoes with incredible flavor. Beyond the essential butter and dairy, a world of possibilities awaits:
- Classic Richness: Incorporate high-quality unsalted butter, full-fat milk, heavy cream, or even crème fraîche for an indulgent texture. Consider infusing your dairy with aromatics like garlic cloves or bay leaves before adding it to the potatoes.
- Aromatic Herbs: Finely chopped fresh chives, parsley, rosemary, or thyme stirred in at the end add brightness and herbaceous notes.
- Roasted Garlic: For a deeper, sweeter garlic flavor without the sharpness, roast whole heads of garlic until soft, then squeeze the pulp into your mashed potatoes.
- Cheesy Goodness: Mix in grated Parmesan, sharp cheddar, cream cheese, or Boursin cheese for extra creaminess and savory depth.
- Umami Boost: Crispy bacon bits, caramelized onions, or a dollop of sour cream can add layers of flavor and richness.
- Seasoning: Don’t forget salt and freshly ground black pepper. Taste as you go and adjust. A pinch of nutmeg can also enhance the potato’s natural flavor in a subtle, sophisticated way.
Common Mashed Potato Mistakes to Avoid
Even with the right tools, a few missteps can derail your mashed potato ambitions. Keep these common pitfalls in mind:
- Using Cold Dairy/Fat: Always warm your milk, cream, and butter before adding them to the hot potatoes. Cold ingredients will cool down your potatoes, making them harder to incorporate and potentially leading to a stiffer, less appealing texture.
- Overmixing (Especially with Electric Mixer): As discussed, this is the quickest way to turn fluffy potatoes into a gluey, pasty mess. Mix only until just combined and smooth.
- Not Draining Potatoes Properly: Excess water is the enemy of creamy mashed potatoes. Steam-dry your potatoes in the pot after draining to ensure maximum fluffiness and absorption of your rich additions.
- Not Salting Enough: Potatoes love salt! Add salt to the cooking water and adjust seasoning generously at the end. Bland mashed potatoes are a missed opportunity.
- Using the Wrong Potato Type: While all potatoes can be mashed, understanding the characteristics of starchy vs. waxy potatoes will help you achieve your desired texture more consistently.
Which Mashing Technique is Right for You?
The “best” technique ultimately depends on your preferences and the occasion:
- For a Quick, Rustic Side: Grab your potato masher. It’s perfect for weeknights and those who appreciate a bit of texture.
- For Creamy, Fluffy Efficiency: The electric mixer is your friend for large gatherings or when you desire a smoother mash without the extra effort of a food mill. Just remember to mix sparingly!
- For Velvety, Gourmet Perfection: Invest in a food mill. It’s the secret to truly lump-free, restaurant-quality mashed potatoes that will impress even the most discerning palate.
Conclusion: The Art of the Perfect Mash
Mashed potatoes are more than just a simple side dish; they are a canvas for culinary creativity and a symbol of comfort. By understanding the characteristics of different potato varieties, employing proper cooking techniques, and choosing the right mashing tool, you can elevate your mashed potato game to new heights.
Whether you prefer the rustic charm of a potato masher, the creamy efficiency of an electric mixer, or the velvety luxury of a food mill, each method offers a unique path to mashed potato bliss. Experiment with different seasonings and additions, and discover the joy of crafting your perfect batch. So go ahead, embrace the journey, and make every spoonful of mashed potatoes a truly delightful experience!
For more in-depth knowledge and specific recipes, head on over to Allrecipes to get schooled in Mashed Potato 101.
This content is a sponsored collaboration and reflects my genuine opinions and experiences.