
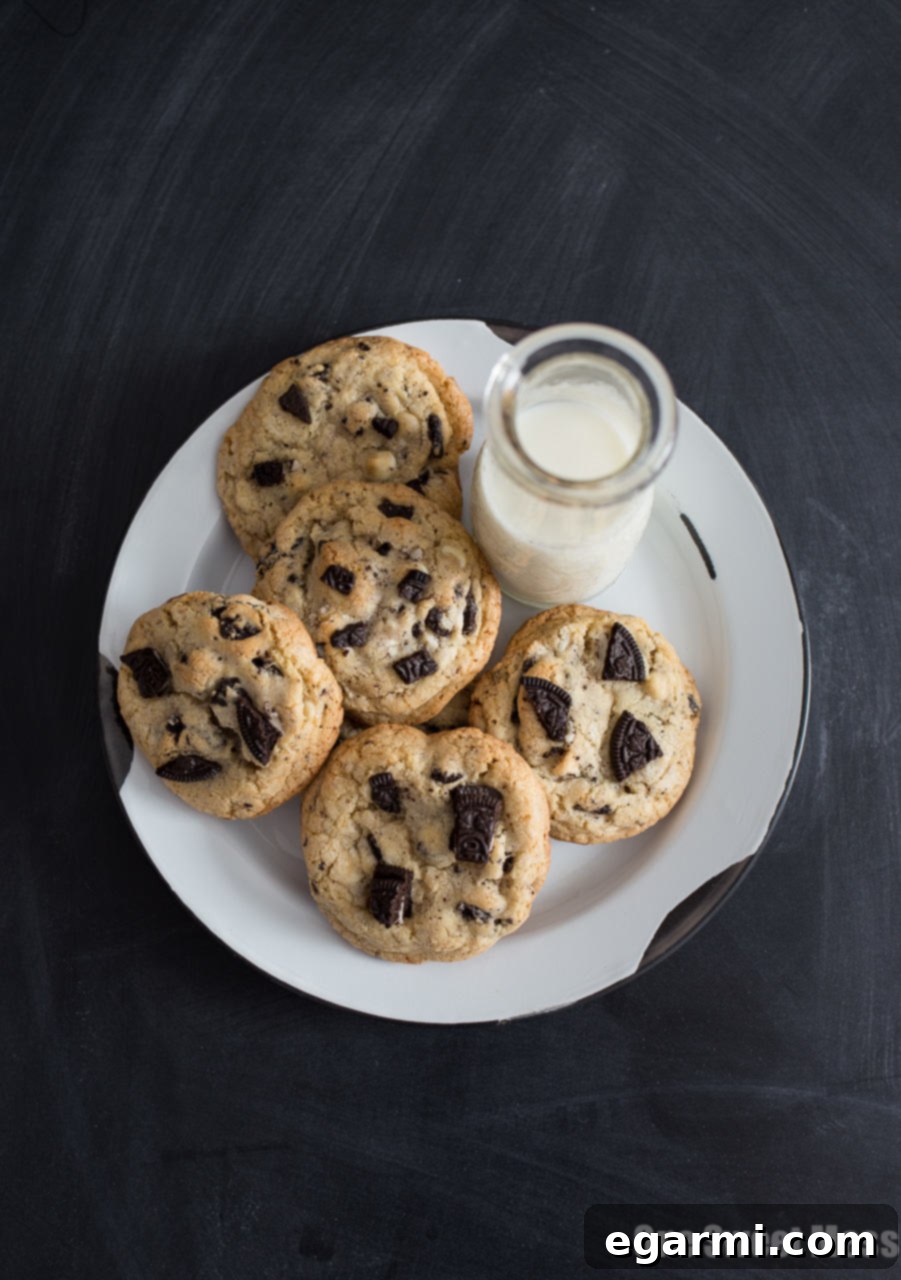
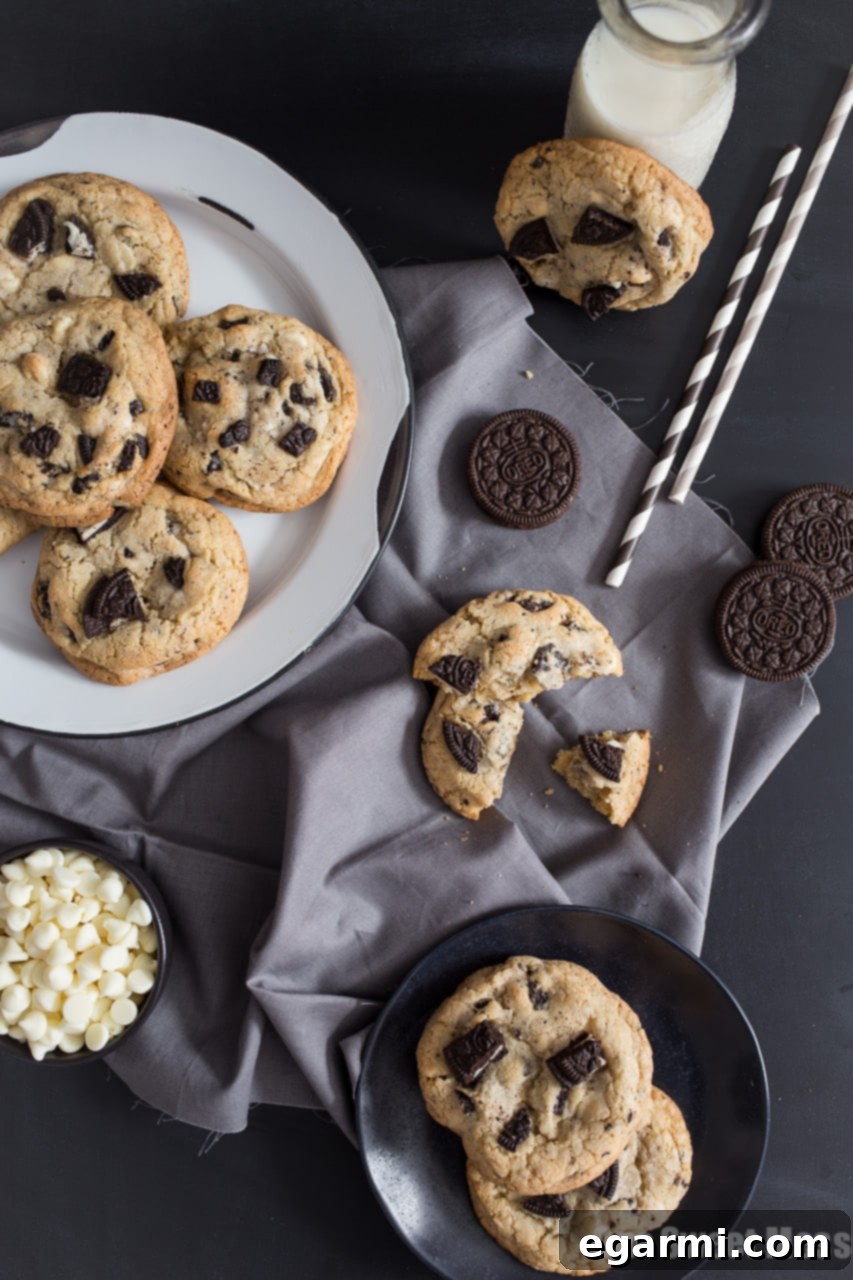
Prepare yourself for an extraordinary treat: these soft-baked Cookies & Cream Cookies are utterly irresistible, boasting a delightful crisp exterior that gives way to a luxuriously soft and gooey interior. Each bite is generously studded with crunchy crushed Oreo cookies and sweet, melting white chocolate chips, creating a symphony of textures and flavors. Imagine the ultimate indulgence – a cookie, nestled perfectly inside another cookie. That’s precisely the magic we’re crafting here!
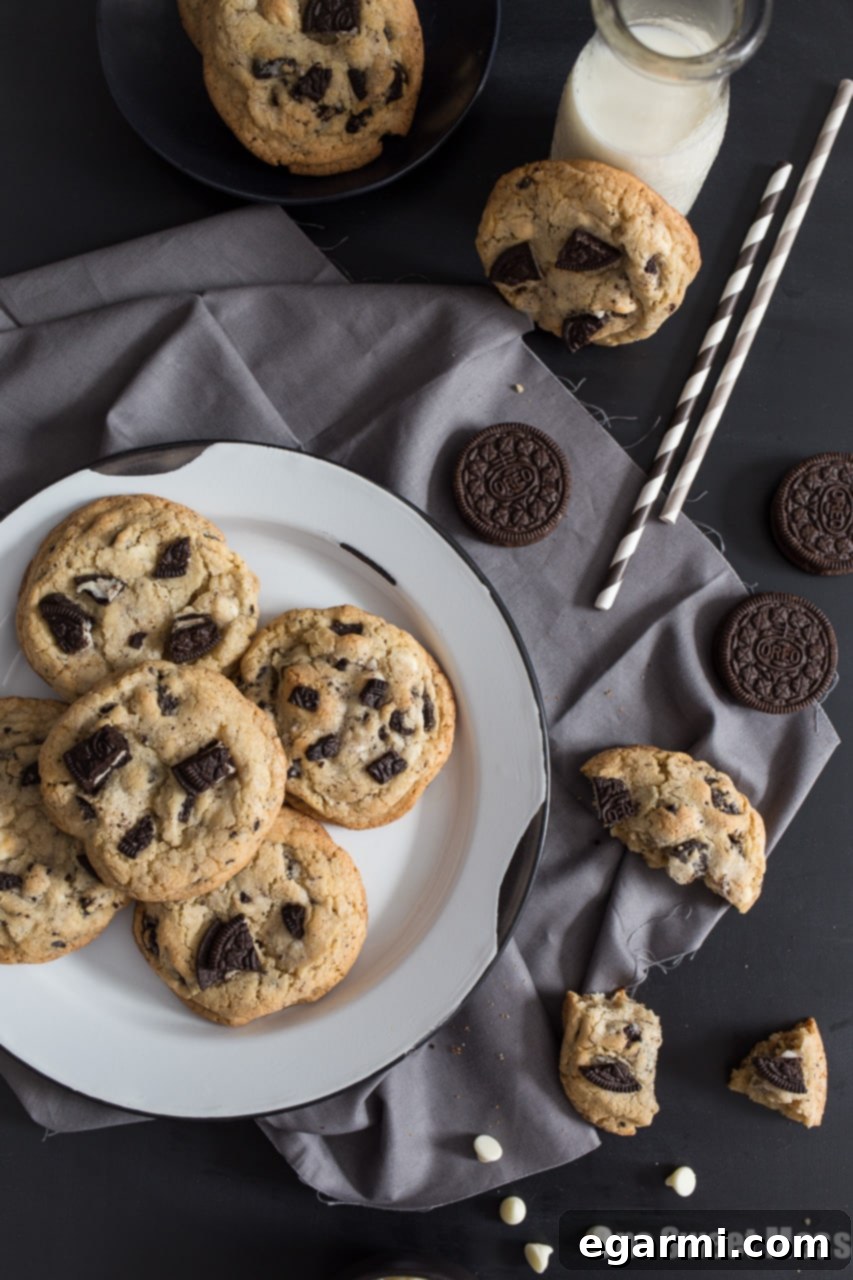
Life can throw unexpected curveballs, and sometimes, all you need is a warm, comforting cookie to make things a little brighter. Recently, our household faced a stressful situation when our beloved 1-year-old pitbull pup, a bundle of joy and energy, partially tore his ACL. It was a disheartening discovery, especially since the injury occurred during a simple run at the dog park, not some heroic feat. The news left me feeling incredibly stressed, and honestly, in desperate need of all the cookies I could get my hands on.
The poor guy now faces a strict 6-week rest period with completely restricted exercise – no walking, running, or jumping allowed. His world has shrunk to short bathroom breaks only. Navigating our two-story home became an immediate challenge; with two flights of stairs and the only yard access through the basement, we’ve had to barricade the steps and resort to carrying him up and down. It’s a testament to how much our furry friends impact our lives, and during such times, the simple act of baking can be a powerful balm for the soul.
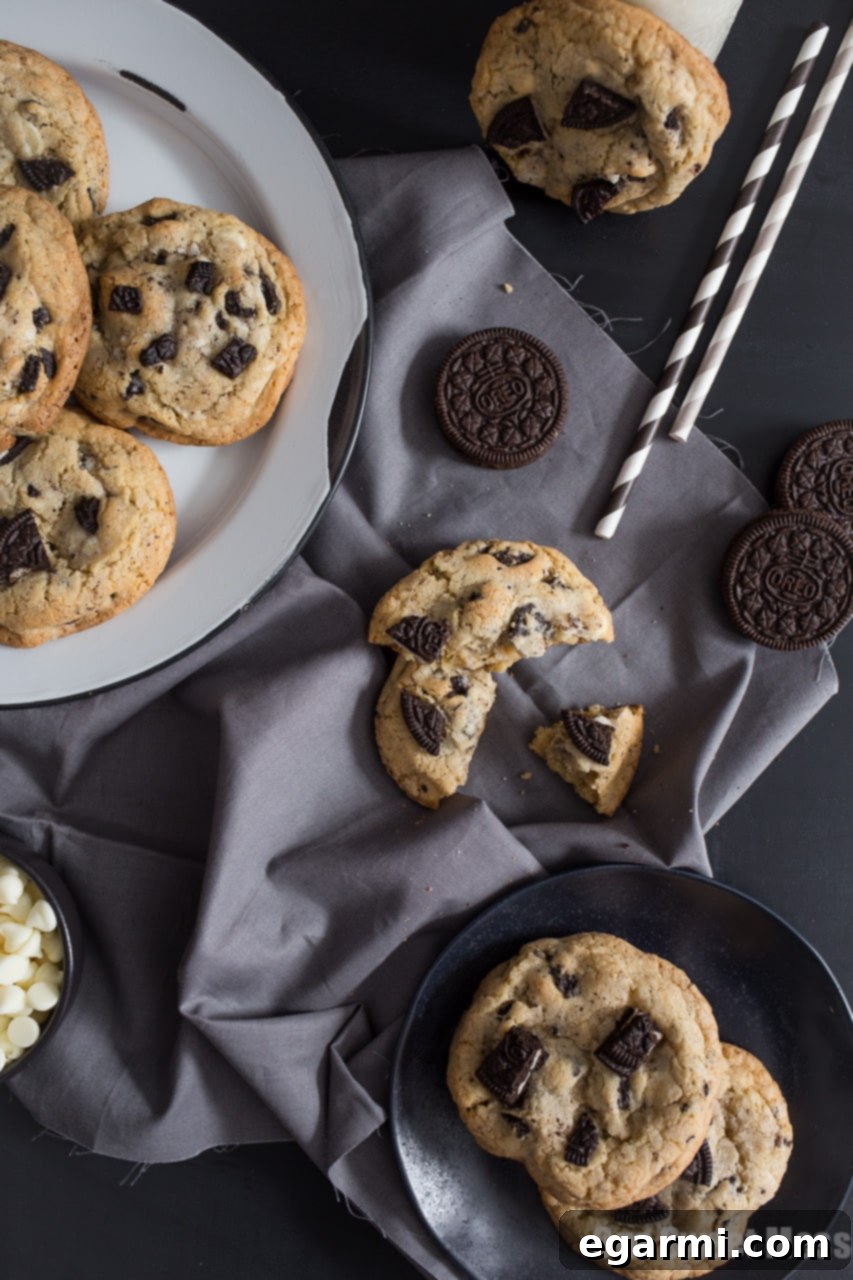
It’s during these moments of needing a little extra comfort that baking truly shines. And speaking of comfort, these Cookies & Cream Cookies were born out of that very need. They are a delightful escape, where crunchy Oreo cookies are lovingly folded into my absolute favorite cookie batter. Baked to perfection, they emerge from the oven with that coveted crispy, slightly crunchy exterior and a gorgeously gooey, tender inside. This particular soft-baked texture is something I’m incredibly passionate about achieving in every cookie recipe I develop.
To elevate these treats even further, I’ve added a generous handful of sweet white chocolate chips. The creamy sweetness of the white chocolate beautifully complements the classic chocolate and cream flavor of the crushed Oreos, adding another layer of indulgence. This cookie base is remarkably versatile, a testament to years of meticulous refinement. It’s the same perfected foundation I used to create those incredible Cherry Almond Chocolate Chunk Cookies, a recipe that took significant time, effort, and more than a few sticks of butter to get just right. Every bit of that dedication was worth it to create such a reliable and delicious starting point for so many cookie variations.
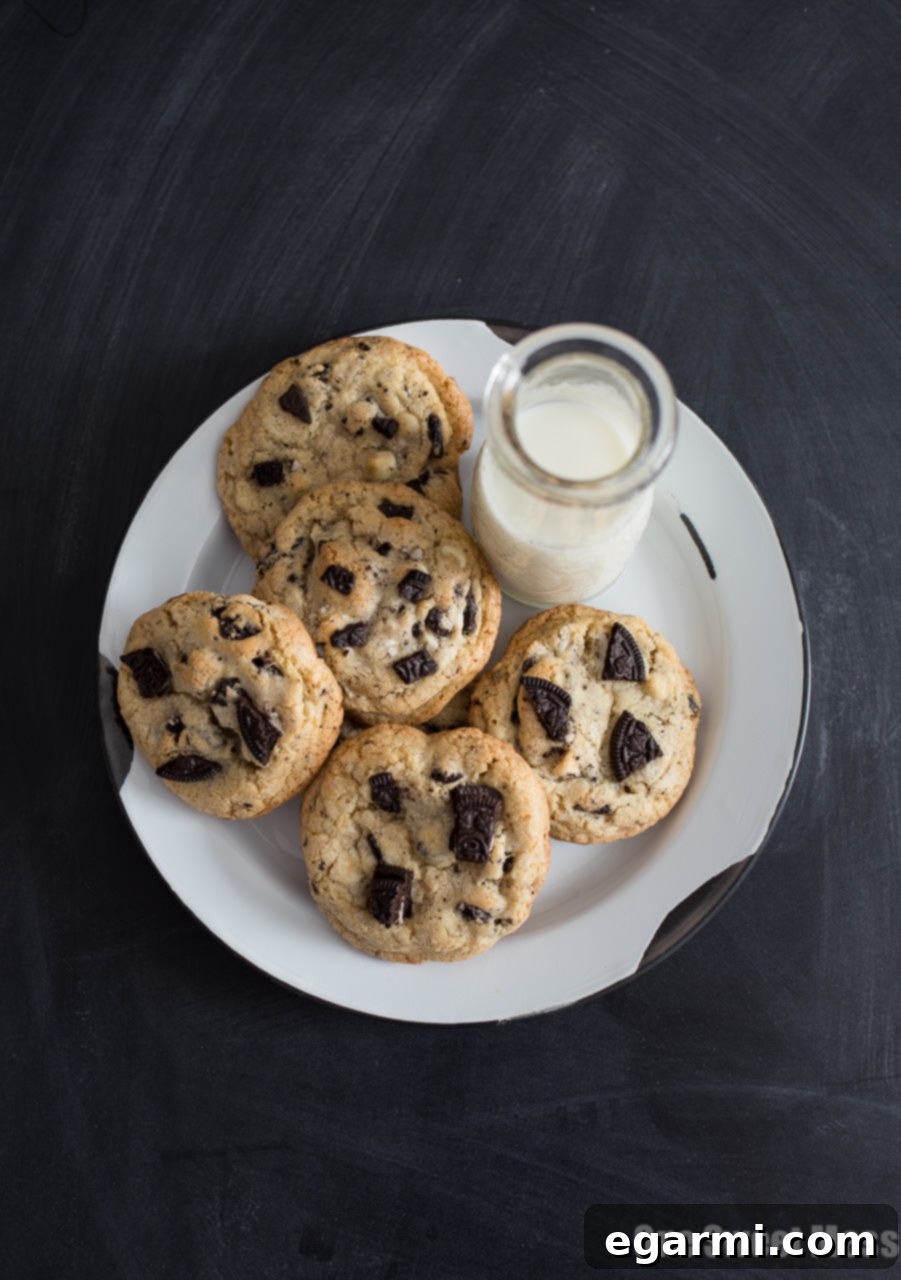
Why You’ll Fall in Love with These Cookies & Cream Delights
These aren’t just any cookies; they’re a celebration of flavor and texture that will quickly become a household favorite. Here’s why this Cookies & Cream recipe stands out:
- Perfect Texture Harmony: Experience the best of both worlds – a subtly crisp edge that gives way to an incredibly soft, chewy, and gooey center. This ideal texture is achieved through careful ingredient ratios and precise baking times.
- Double the Cookie Fun: We’re not just making cookies; we’re incorporating crushed chocolate sandwich cookies (Oreos!) directly into the dough. This adds an amazing textural contrast and that iconic cookies and cream flavor throughout every bite.
- Sweet White Chocolate Kisses: Melted white chocolate chips provide pockets of creamy sweetness that perfectly balance the deep chocolate notes from the Oreos, adding a touch of elegance and extra indulgence.
- Simple & Straightforward: Despite their gourmet taste, these cookies are surprisingly easy to make. With clear, step-by-step instructions, even novice bakers can achieve bakery-quality results.
- Versatile Base: As mentioned, the cookie dough itself is a tried-and-true winner, offering a fantastic canvas for future baking experiments. Once you master this base, the possibilities for flavor variations are endless!
- Ultimate Comfort Food: Whether you’re having a challenging day or simply craving something sweet, these cookies offer unparalleled comfort and satisfaction. They’re perfect for sharing, or for savoring all by yourself with a cup of coffee or a glass of cold milk.
Unlocking the Magic: Essential Tips for Perfect Cookies
While this recipe is designed for success, a few expert tips can help you achieve bakery-perfect Cookies & Cream creations every single time. Elevate your baking game with these tried-and-true techniques:
Ingredients Matter: The Foundation of Flavor
- Room Temperature Butter: This is non-negotiable for proper creaming. Softened butter (not melted!) incorporates air effectively, leading to a lighter, fluffier dough and a tender cookie. Take it out of the fridge at least 30-60 minutes before you start.
- Brown Sugar vs. Granulated Sugar: The combination is key! Brown sugar adds moisture and chewiness, thanks to its molasses content, while granulated sugar contributes to crispiness and spread. Don’t swap them out in equal measure.
- All-Purpose Flour: Make sure to measure your flour correctly. Spoon it into your measuring cup and then level it off with a straight edge. Packing flour can lead to dense, dry cookies.
- Fresh Leavening Agents: Baking soda provides lift and helps achieve that soft interior. Ensure your baking soda isn’t expired for best results.
- Vanilla Extract: Use good quality vanilla! It makes a noticeable difference in the overall flavor profile of your cookies.
Crafting the Perfect Dough: Mixing Techniques
- Creaming Butter and Sugars: Don’t rush this step! Beat the butter and sugars together until they are light, fluffy, and pale in color, usually for about 2-3 minutes. This process incorporates air, which contributes to the cookies’ tender texture.
- Don’t Overmix the Dry Ingredients: Once you add the flour mixture, mix only until just combined. Overmixing develops the gluten in the flour, leading to tough, dry cookies. A few streaks of flour are fine; they’ll disappear when you fold in the Oreos and white chocolate chips.
- Crushing Oreos: For the best texture, aim for a mix of fine crumbs and larger chunks. This gives you both uniform flavor distribution and delightful crunch in every bite. A food processor works great, or simply place them in a Ziploc bag and crush with a rolling pin.
- Folding, Not Mixing: Gently fold in the crushed Oreos and white chocolate chips with a spatula. This prevents overmixing and ensures the additions are evenly distributed without breaking them down too much.
Baking for Success: Oven & Timing
- Preheat Thoroughly: Always preheat your oven to the specified temperature for at least 15-20 minutes before baking. A consistently hot oven ensures even baking and proper cookie spread.
- Parchment Paper or Silicone Mats: Line your baking sheets! This prevents sticking, promotes even browning, and makes cleanup a breeze.
- Even Scoops: Use a cookie scoop (about 2 tablespoons) to ensure uniform cookie size. This guarantees all your cookies bake evenly at the same rate.
- Space Them Out: Place cookie dough balls at least 2-3 inches apart on the baking sheet. They will spread, and you want to prevent them from merging into one giant cookie.
- The Golden Rule: Don’t Overbake! This is perhaps the most crucial tip for soft-baked cookies. Bake until the edges are lightly golden brown, but the centers still look slightly soft and underdone. They will continue to set as they cool on the baking sheet. A minute or two too long can turn soft cookies into crunchy ones.
- Rotate Your Pans: If your oven has hot spots, rotating the baking sheet halfway through the baking time will ensure all cookies brown evenly.
Cooling & Storing: The Final Touches
- Cool on the Pan First: Allow the cookies to cool on the baking sheet for 5-10 minutes. This allows them to firm up slightly before you transfer them to a wire rack, preventing them from breaking.
- Wire Rack Cooling: Transferring cookies to a wire rack allows air to circulate around them, preventing sogginess and ensuring they cool completely.
- Airtight Storage: Once completely cool, store your Cookies & Cream Cookies in an airtight container at room temperature for up to 5 days. For extended freshness, you can also freeze baked cookies or raw cookie dough.
Frequently Asked Questions (FAQ)
Here are some common questions about making the best Cookies & Cream Cookies:
Q: Can I use different types of chocolate chips?
A: Absolutely! While white chocolate chips provide a lovely contrast, feel free to experiment with milk chocolate chips, dark chocolate chunks, or even a mix for a different flavor profile.
Q: What if I don’t have Oreos? Can I use other sandwich cookies?
A: You can certainly try! Other chocolate sandwich cookies would likely work, though the classic Oreo flavor is what gives these cookies their distinctive taste. Experimentation is part of the fun!
Q: Can I freeze the cookie dough?
A: Yes! Roll the cookie dough into balls and place them on a parchment-lined baking sheet. Freeze until solid, then transfer the frozen dough balls to an airtight freezer bag for up to 3 months. When ready to bake, you can bake them directly from frozen, adding a minute or two to the baking time.
Q: My cookies spread too much. What went wrong?
A: Several factors can cause excessive spreading: your butter might have been too warm (partially melted), your oven might not have been hot enough, or you might have added too much leavening agent. Chilling the dough for at least 30 minutes before baking can often help reduce spreading.
Q: How do I get my cookies to be perfectly round?
A: For perfectly round cookies, immediately after taking the hot cookies out of the oven, use a large round cookie cutter or the rim of a glass (larger than your cookie) to gently scoot around the edges of each cookie. This gently pushes the warm edges back into a perfectly circular shape. Do this while they are still hot and pliable on the baking sheet.
Q: Can I reduce the sugar in the recipe?
A: While possible, reducing sugar can affect the texture and spread of the cookies. Sugar isn’t just for sweetness; it also contributes to moisture, browning, and structure. If you do reduce it, do so minimally (e.g., by 1/4 cup total) and be prepared for a slight change in texture.
Cookies & Cream Cookies
Yield: 12 cookies
Total Time: 23 minutes
Prep Time: 10 minutes
Cook Time: 13 minutes
Ingredients:
- 1 stick (1/2 cup) unsalted butter, at room-temperature
- 1/2 cup brown sugar, packed
- 1/2 cup granulated sugar
- 1 large egg
- 1 teaspoon vanilla extract
- 1 and 1/2 cups all-purpose flour
- 1/2 teaspoon baking soda
- 1/4 teaspoon kosher salt
- 8 chocolate sandwich cookies (like Oreos), crushed
- 1/3 cup white chocolate chips
Directions:
- Preheat your oven to 375 degrees F (190 degrees C). Line a baking sheet with parchment paper or a silicone baking mat for easy release and cleanup.
- In a small bowl, whisk together the all-purpose flour, baking soda, and kosher salt. Set this dry mixture aside.
- In the bowl of a stand mixer fitted with the paddle attachment (or a large bowl using a hand mixer), cream together the softened unsalted butter and both sugars (brown and granulated) until the mixture is light, fluffy, and pale in color, typically about 2 minutes. Scrape down the sides of the bowl with a spatula, then add the large egg and vanilla extract. Mix until thoroughly combined, ensuring no streaks of egg remain.
- Gradually add the dry ingredients to the wet ingredients in three batches, mixing on low speed until just combined after each addition. Be sure to scrape down the sides of the bowl between additions. Avoid overmixing once the flour is added. Finally, gently fold in the crushed chocolate sandwich cookies and white chocolate chips until they are evenly distributed throughout the dough.
- Using a 2-tablespoon cookie scoop or two spoons, measure out uniform balls of dough and place them on the prepared baking sheet, ensuring they are about 3 inches apart to allow for spreading.
- Bake for 12-13 minutes, or until the edges of the cookies are a beautiful light golden brown, and the centers still appear slightly soft. For even baking, rotate the baking pan halfway through the cooking time. Remember, the center of each cookie will set further as it cools, so avoid overbaking.
- Allow the cookies to cool on the baking sheet for 5 minutes before carefully transferring them to a wire rack to cool completely. This helps them firm up and prevents breakage.
- Once entirely cool, store your Cookies & Cream Cookies in an airtight container at room temperature for up to 5 days to maintain their freshness and delightful texture.
All images and text ©One Sweet Mess.
Enjoying Your Homemade Cookies & Cream Cookies
Now that you’ve mastered these fantastic Cookies & Cream Cookies, it’s time to enjoy them! Serve them warm for an ultimate gooey experience, or cooled for a more structured, yet still incredibly soft, bite. They pair perfectly with a tall glass of cold milk, a steaming cup of coffee, or even crumbled over a scoop of vanilla bean ice cream for an extra decadent dessert. These cookies are ideal for bake sales, potlucks, or simply as a comforting treat for yourself and your loved ones during any stressful or joyous occasion.
So, whether you’re navigating a tough day like mine, or simply in need of a delicious pick-me-up, reach for this Cookies & Cream cookie recipe. Get into the kitchen, embrace the joy of baking, and treat yourself to some much-needed, homemade cookie comfort. Happy baking!