
The Ultimate Guide to Fluffy Homemade Biscuits: A Timeless Family Recipe
Sunday holds a special place in my heart; it’s the quintessential day for slowing down, savoring quiet moments, and indulging in life’s simple pleasures. For me, that often means spending time in the kitchen, baking, and creating cherished memories with my family. And when it comes to the ultimate comfort food, nothing quite compares to the sublime perfection of a warm, fluffy, and tender homemade biscuit. It’s a taste of home, a hug in edible form, and an experience that transports you back to simpler times. This particular biscuit recipe isn’t just any recipe; it’s a culinary heirloom, passed down through generations, originating from my great-grandmother, who was, without a doubt, the undisputed biscuit queen of her era. Her mastery of biscuit-making was legendary, and I have vivid memories of watching her graceful, swift movements in the kitchen as she conjured batch after batch of these delightful treats for our eagerly waiting family.
A Legacy of Love: My Grandmother’s Biscuit Wisdom
My grandmother, inheriting her mother’s extraordinary talent, carried on this beautiful tradition. I recall countless Sundays spent mesmerized at her kitchen table, observing her work her magic. When I say she “whipped up” biscuits, I mean it in the most literal sense. Her hands moved with an almost supernatural speed and precision; mixing, kneading, rolling, and cutting the dough in what felt like mere minutes. There was an innate rhythm to her movements, a silent dance of flour and butter, resulting in a fresh batch of golden-brown biscuits in what seemed like no time at all. She was an inspiration, a true culinary artist whose passion for baking infused every crumb of her delicious creations. This recipe is more than just ingredients and instructions; it’s a piece of our family history, a testament to the enduring power of food to connect generations and create lasting joy.

The Art and Science of Perfect Homemade Biscuits
There’s a unique satisfaction that comes from baking biscuits from scratch, a tactile pleasure in feeling the dough transform beneath your fingertips. This homemade biscuit recipe is incredibly straightforward, yet it consistently delivers exceptional results. The dough itself can be prepared using traditional methods—a pastry cutter and your hands—or with the convenience of a food processor, depending on your preference and time constraints. However, regardless of the tools you choose, the true secret to achieving those coveted tender, flaky layers lies in two fundamental principles: **cold ingredients and minimal handling of the dough.** Cold butter and shortening are absolutely crucial, as they create steam pockets during baking, resulting in that irresistible flakiness. Overmixing, on the other hand, develops the gluten too much, leading to tough, dense biscuits instead of light, airy ones. It’s a delicate balance, but one that is easily mastered with a little attention to detail.

Elevating Your Biscuit Experience: Toppings and Pairings
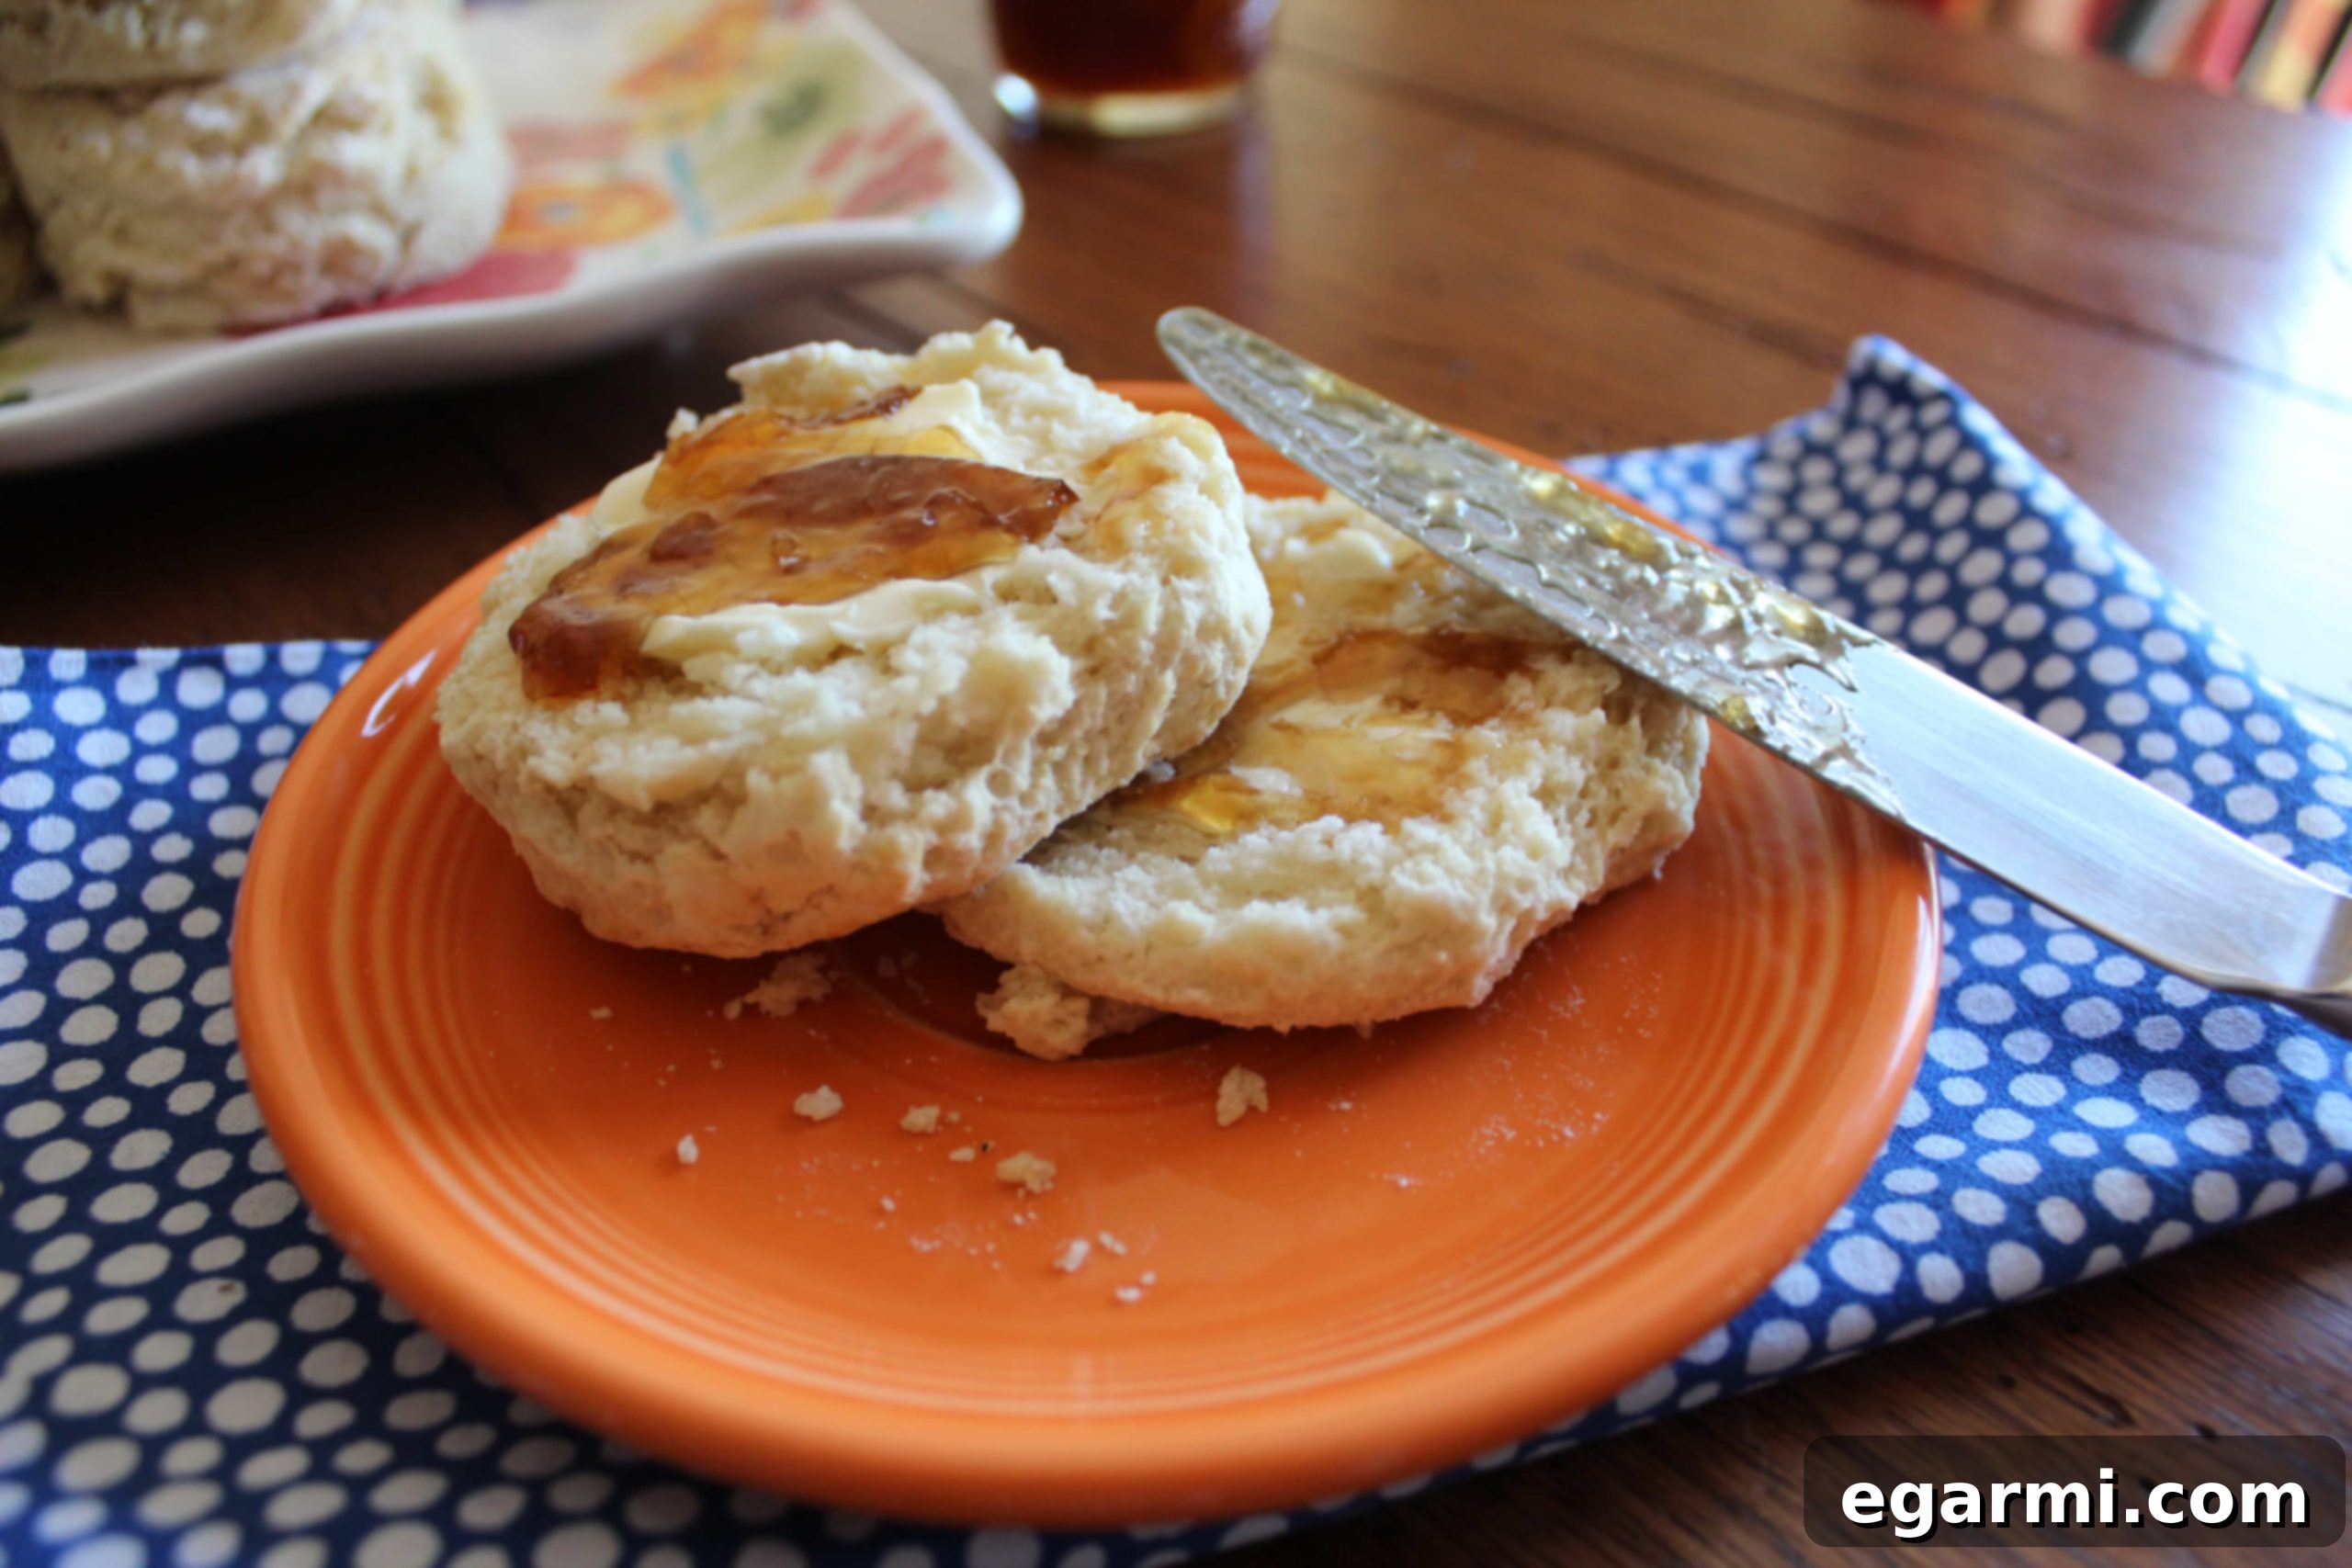
Once your perfect homemade biscuits emerge from the oven, golden and fragrant, the possibilities for enjoyment are endless. While they are undeniably delicious on their own, a generous slather of your favorite topping elevates the experience even further. I particularly enjoy topping mine with homemade orange marmalade, a delightful gift that offers a burst of sweet and tangy citrus notes. But don’t feel limited! Classic strawberry jam, a dollop of sweet peach preserves, or even a savory sausage gravy can turn these simple biscuits into a hearty breakfast or brunch centerpiece. For a truly indulgent treat, a drizzle of local honey or a smear of apple butter can transform them into a decadent dessert. The versatility of a good biscuit means it can complement almost any meal, from a leisurely Sunday breakfast to a comforting side dish with dinner.
The Ingenious Trick for Reheating Leftover Biscuits
It’s a rare occasion to have leftover biscuits, but if you do find yourself with a few, my grandmother also imparted a brilliant, simple, yet incredibly ingenious trick for reheating them to perfection. Forget the microwave, which often leaves biscuits soft and somewhat rubbery. Instead, slice your leftover biscuit in half horizontally, exposing the tender interior. Place these halves in your toaster for just a few seconds, keeping a close eye on them. The magic happens quickly: the exterior crisps up beautifully, regaining that delightful crunch, while the inside warms through without drying out. The result is a biscuit that tastes almost as fresh as it did right out of the oven. Slather these revived halves with a generous pat of butter and a spoonful of your favorite jam, and you’ve got yourself an instant, satisfying mini-meal. I confess, I could happily live off these biscuits, whether freshly baked or expertly reheated!

Look at those soft, fluffy pillows of love. The golden crust gives way to a tender, cloud-like interior, promising a truly comforting bite. Enjoy the process of baking them, and more importantly, savor every moment of eating them!
Love and sweet treats,
Jennie
The Quintessential Homemade Buttermilk Biscuit Recipe
This recipe is designed to yield beautifully fluffy, tender, and flavorful buttermilk biscuits, perfect for any occasion. Following these steps carefully will ensure a batch of biscuits that rivals any bakery.
Ingredients:
- 2 cups all-purpose flour (ensure it’s fresh for best results)
- 4 tsp. baking powder (critical for lift)
- 1/4 tsp. baking soda (reacts with buttermilk for extra rise and tenderness)
- 3/4 tsp. salt (enhances flavor and balances sweetness)
- 1 tbs. sugar (for a hint of sweetness and browning)
- 2 tbs. unsalted butter, very cold and cut into small cubes (key for flakiness)
- 2 tbs. shortening, very cold (contributes to tenderness and richness)
- 1 cup buttermilk, cold (provides tang, moisture, and reacts with leavening agents)
Equipment You’ll Need:
- Large mixing bowl
- Pastry cutter, fork, or food processor
- Rolling pin
- Biscuit cutter (a 2-inch or 2.5-inch cutter works well)
- Greased baking sheet
Step-by-Step Baking Instructions:
1. Prepare Your Oven and Baking Sheet:
Preheat your oven to 450 degrees F (230 degrees C). High heat is essential for a quick, high rise. Lightly grease a baking sheet or line it with parchment paper to prevent sticking.
2. Combine Dry Ingredients:
In a large mixing bowl, combine the all-purpose flour, baking powder, baking soda, salt, and sugar. Whisk these dry ingredients thoroughly to ensure the leavening agents and salt are evenly distributed. This step is crucial for consistent rise and flavor throughout your batch of biscuits.
3. Incorporate Cold Fats (Butter and Shortening):
This is where the magic of flakiness begins. You have two primary methods for this:
- Traditional Hand Method: Using a pastry cutter, two forks, or even your fingertips, cut the very cold, cubed butter and shortening into the flour mixture. Work quickly to prevent the fats from warming up. Continue until the mixture resembles coarse, wet crumbs, with some pea-sized pieces of butter still visible. These small pockets of fat will create steam during baking, yielding those desirable flaky layers.
- Food Processor Method: If you prefer a quicker approach, place the dry ingredients in the bowl of a food processor. Add the cold butter and shortening. Pulse several times until the mixture resembles wet crumbs, again with some small pieces of fat remaining. Be careful not to over-process.
4. Add Cold Buttermilk:
Make a well in the center of the flour and fat mixture. Pour in the chilled buttermilk. Using a fork or spatula, stir just until the dough comes together. The key here is to mix minimally. Overmixing will activate the gluten in the flour, resulting in tough biscuits. A slightly shaggy, sticky dough is exactly what you want.
5. Shape the Dough:
Lightly flour a clean work surface. Turn the dough out onto the floured surface. Gently knead the dough a few times – just enough to bring it together into a cohesive mass. Avoid excessive kneading. Using a rolling pin, roll the dough out until it is about 1/2 inch thick. For extra flaky layers, you can fold the dough in half once or twice and re-roll before cutting.
6. Cut and Arrange Biscuits:
Using a biscuit cutter (or the rim of a glass if you don’t have one), cut out rounds of dough. Press straight down firmly; do not twist the cutter, as twisting can seal the edges and inhibit the biscuits from rising properly. Gather any scraps, gently press them together (again, minimal handling), and cut out additional biscuits. Place the cut biscuit rounds onto your prepared greased baking sheet, ensuring they are slightly touching each other if you desire softer sides, or spaced apart for crispier edges.
7. Bake to Golden Perfection:
Bake in the preheated oven for 12-15 minutes, or until the tops of the biscuits are beautifully golden brown and they have risen significantly. Keep an eye on them towards the end of the baking time, as oven temperatures can vary.
8. Serve and Savor:
Once baked, transfer the biscuits to a wire rack to cool slightly, or serve them immediately while they are still warm. They are absolutely divine straight from the oven! Slather with extra butter, your favorite jam, or even a savory gravy. Enjoy the fruits of your labor, these delicious, homemade fluffy biscuits that carry the legacy of generations.